Accessing SD-WAN Conversion Tool
The initial steps to access the UI and use the Cisco SD-WAN Conversion Tool are explained in this section.
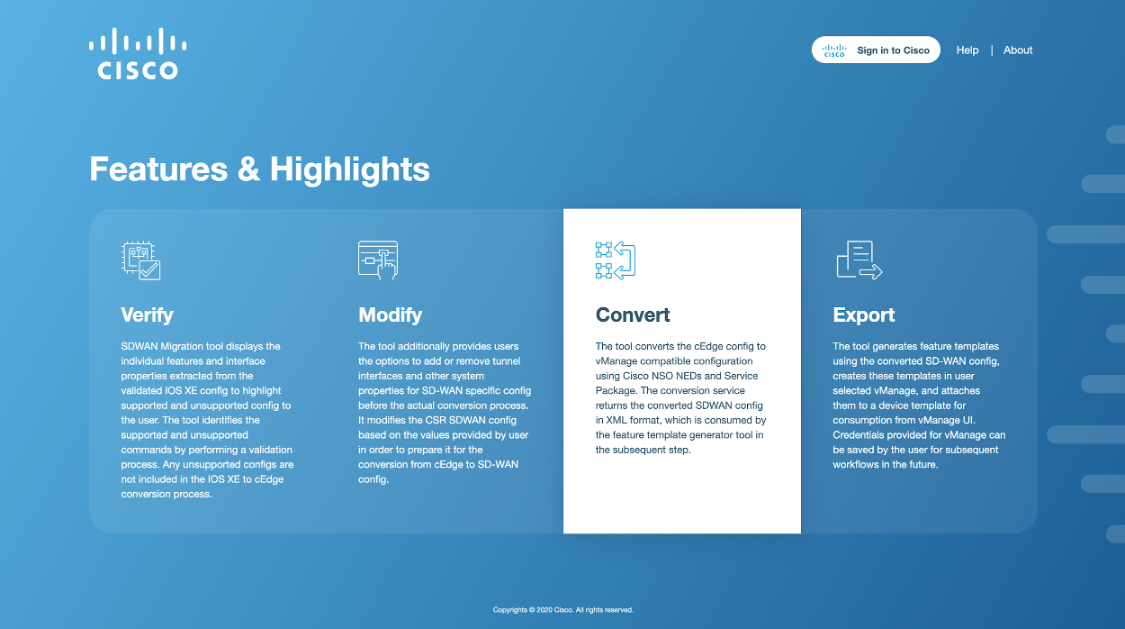
Access the SD-WAN Conversion Tool from your browser. The login page of the Cisco SD-WAN Conversion Tool will appear on the screen. To begin, click the Sign in to Cisco button. Alternatively, you can also click on any of the features below to sign in to your cisco account.

Figure 1. Cisco SD-WAN Conversion Tool interface
This will lead the user to the Cisco sign-in page where they will be able to enter their Cisco account credentials.

Figure 2. Signing into the SD-WAN Conversion Tool
Once the user has been authenticated, they will be redirected back to the SD-WAN Conversion Tool. A user profile will be created in the tool and user details including email, first name, and last name will be obtained from Cisco’s authentication service.
Click on Contact Support and enter the details to submit any other query.

User Types
Two types of users can log into the SD-WAN Conversion Tool. These users are categorized as:
Admin User
Admin users can perform conversion workflows and have complete control over user management.
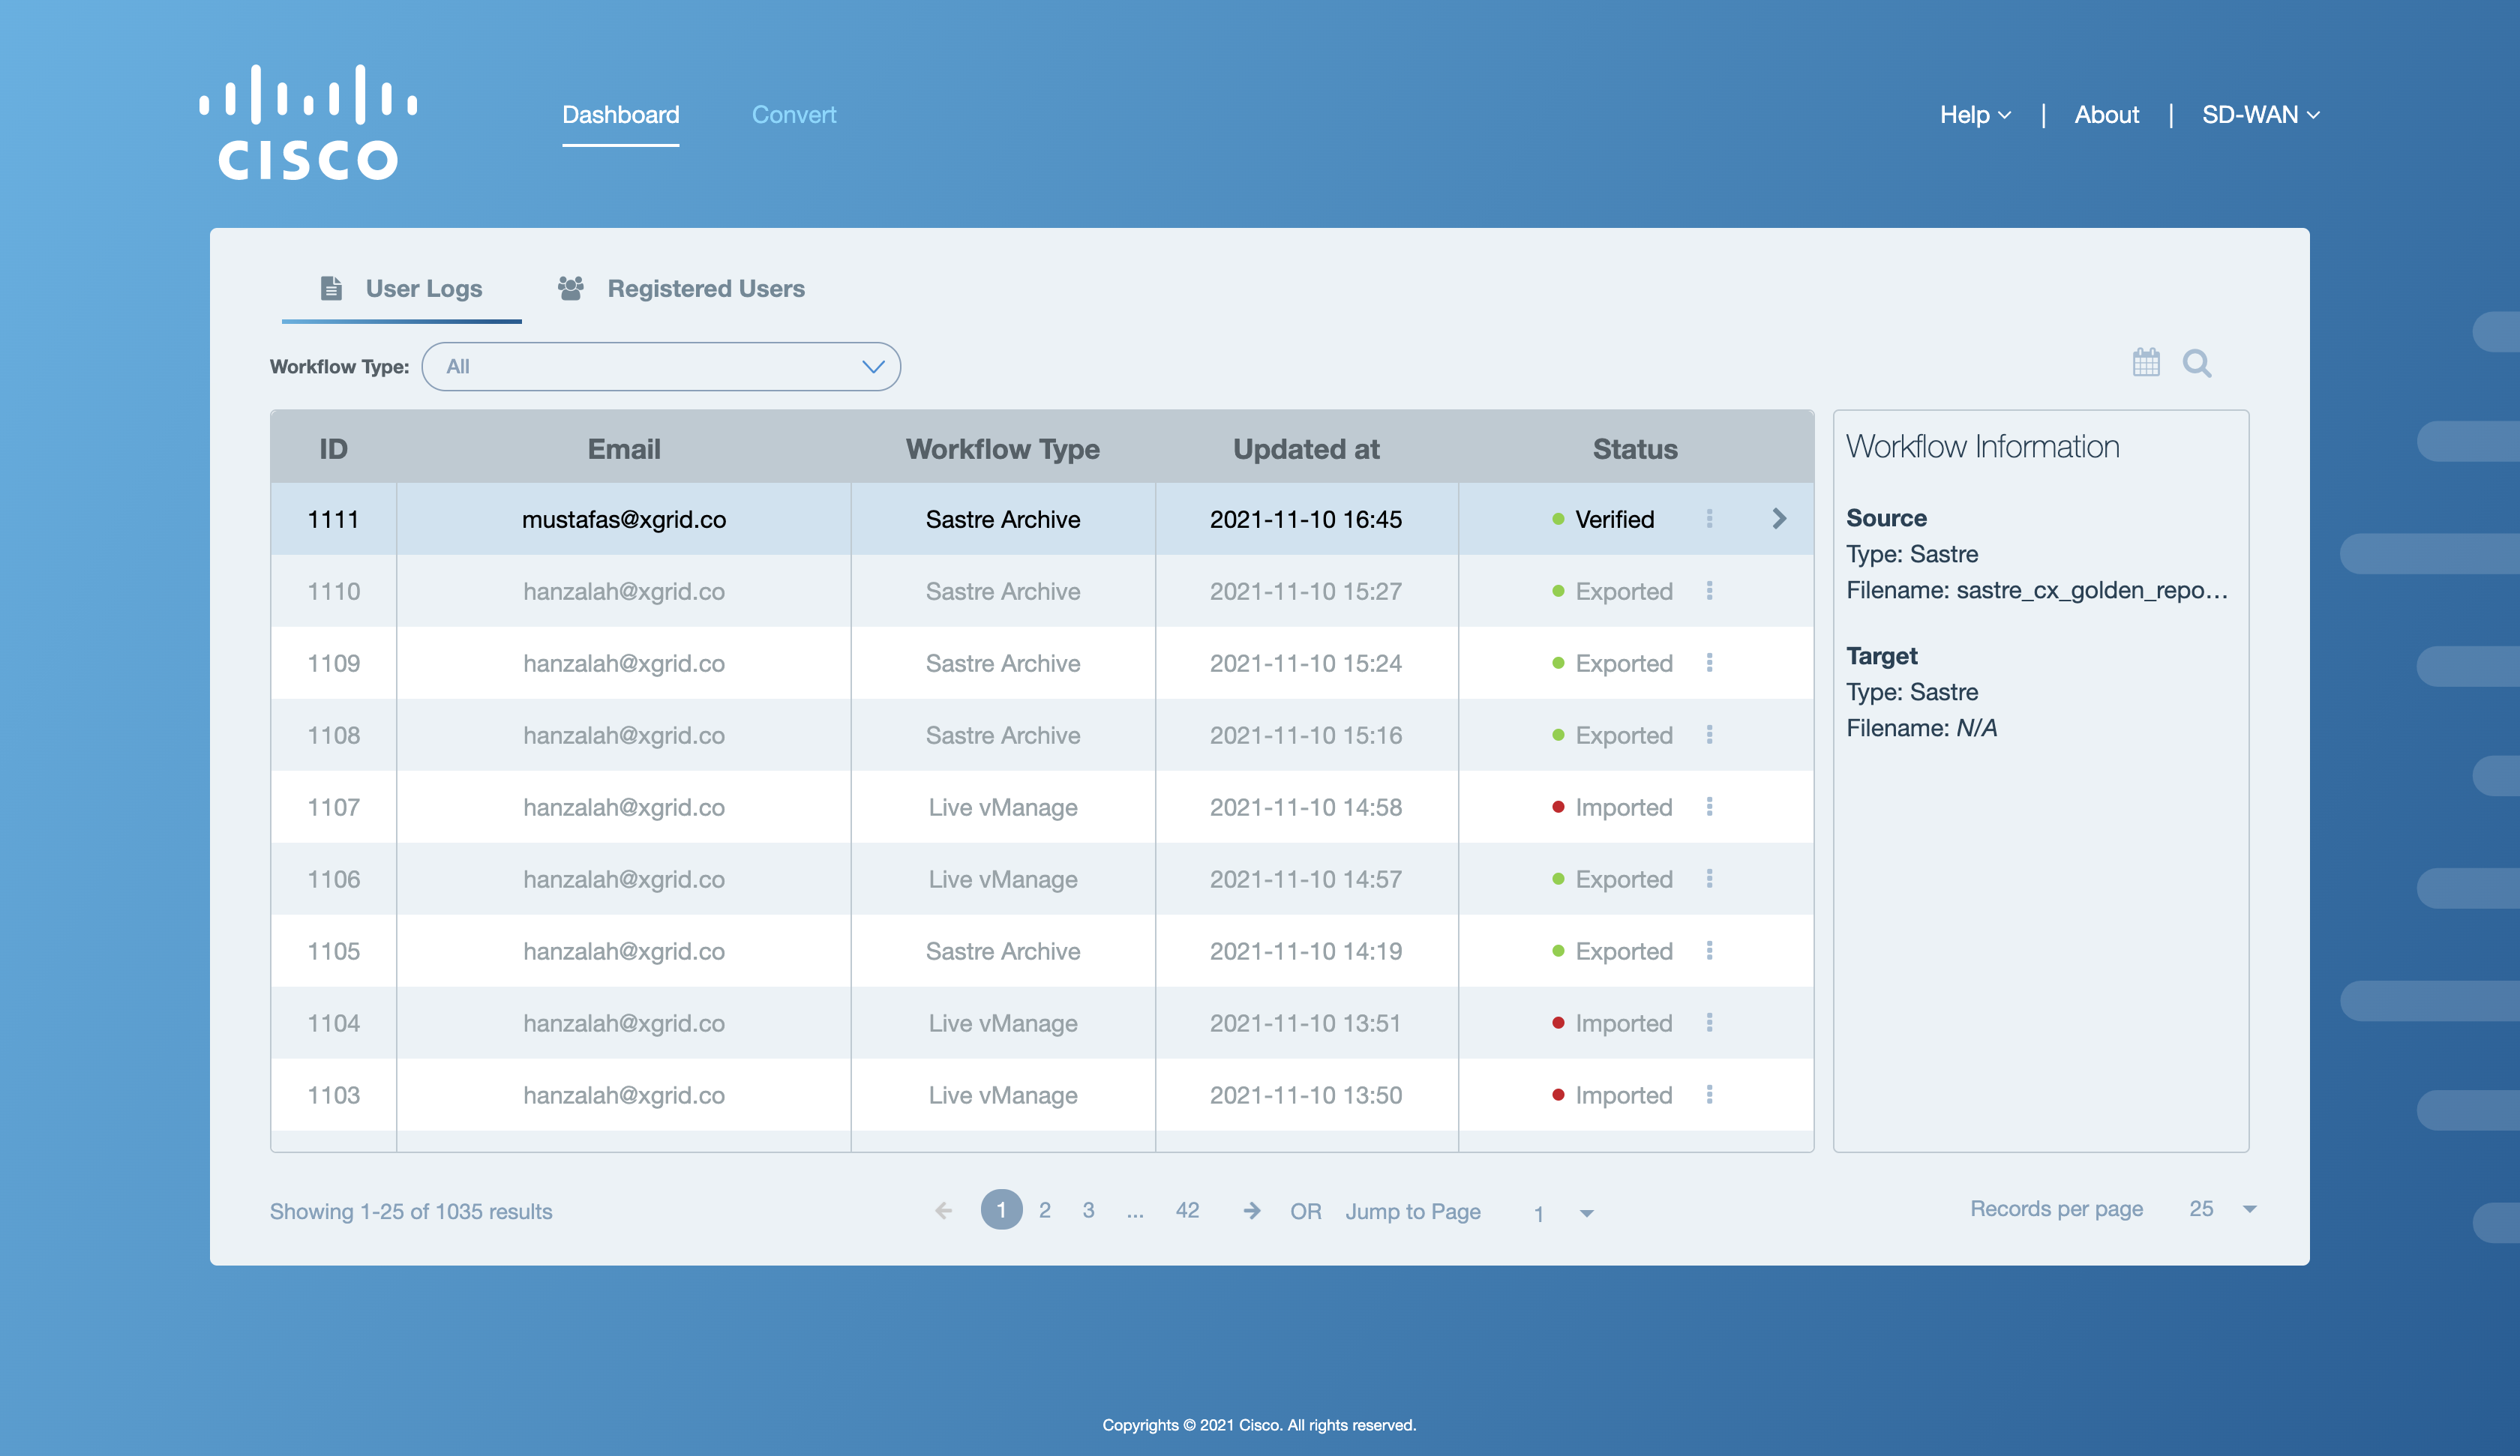
Upon successfully logging into the admin account, the following screen will appear on the application window with the Dashboard tab selected by default.

Figure 1. Landing page for the admin user
Normal User
Normal users can convert and export different configurations to compatible SD-WAN templates.
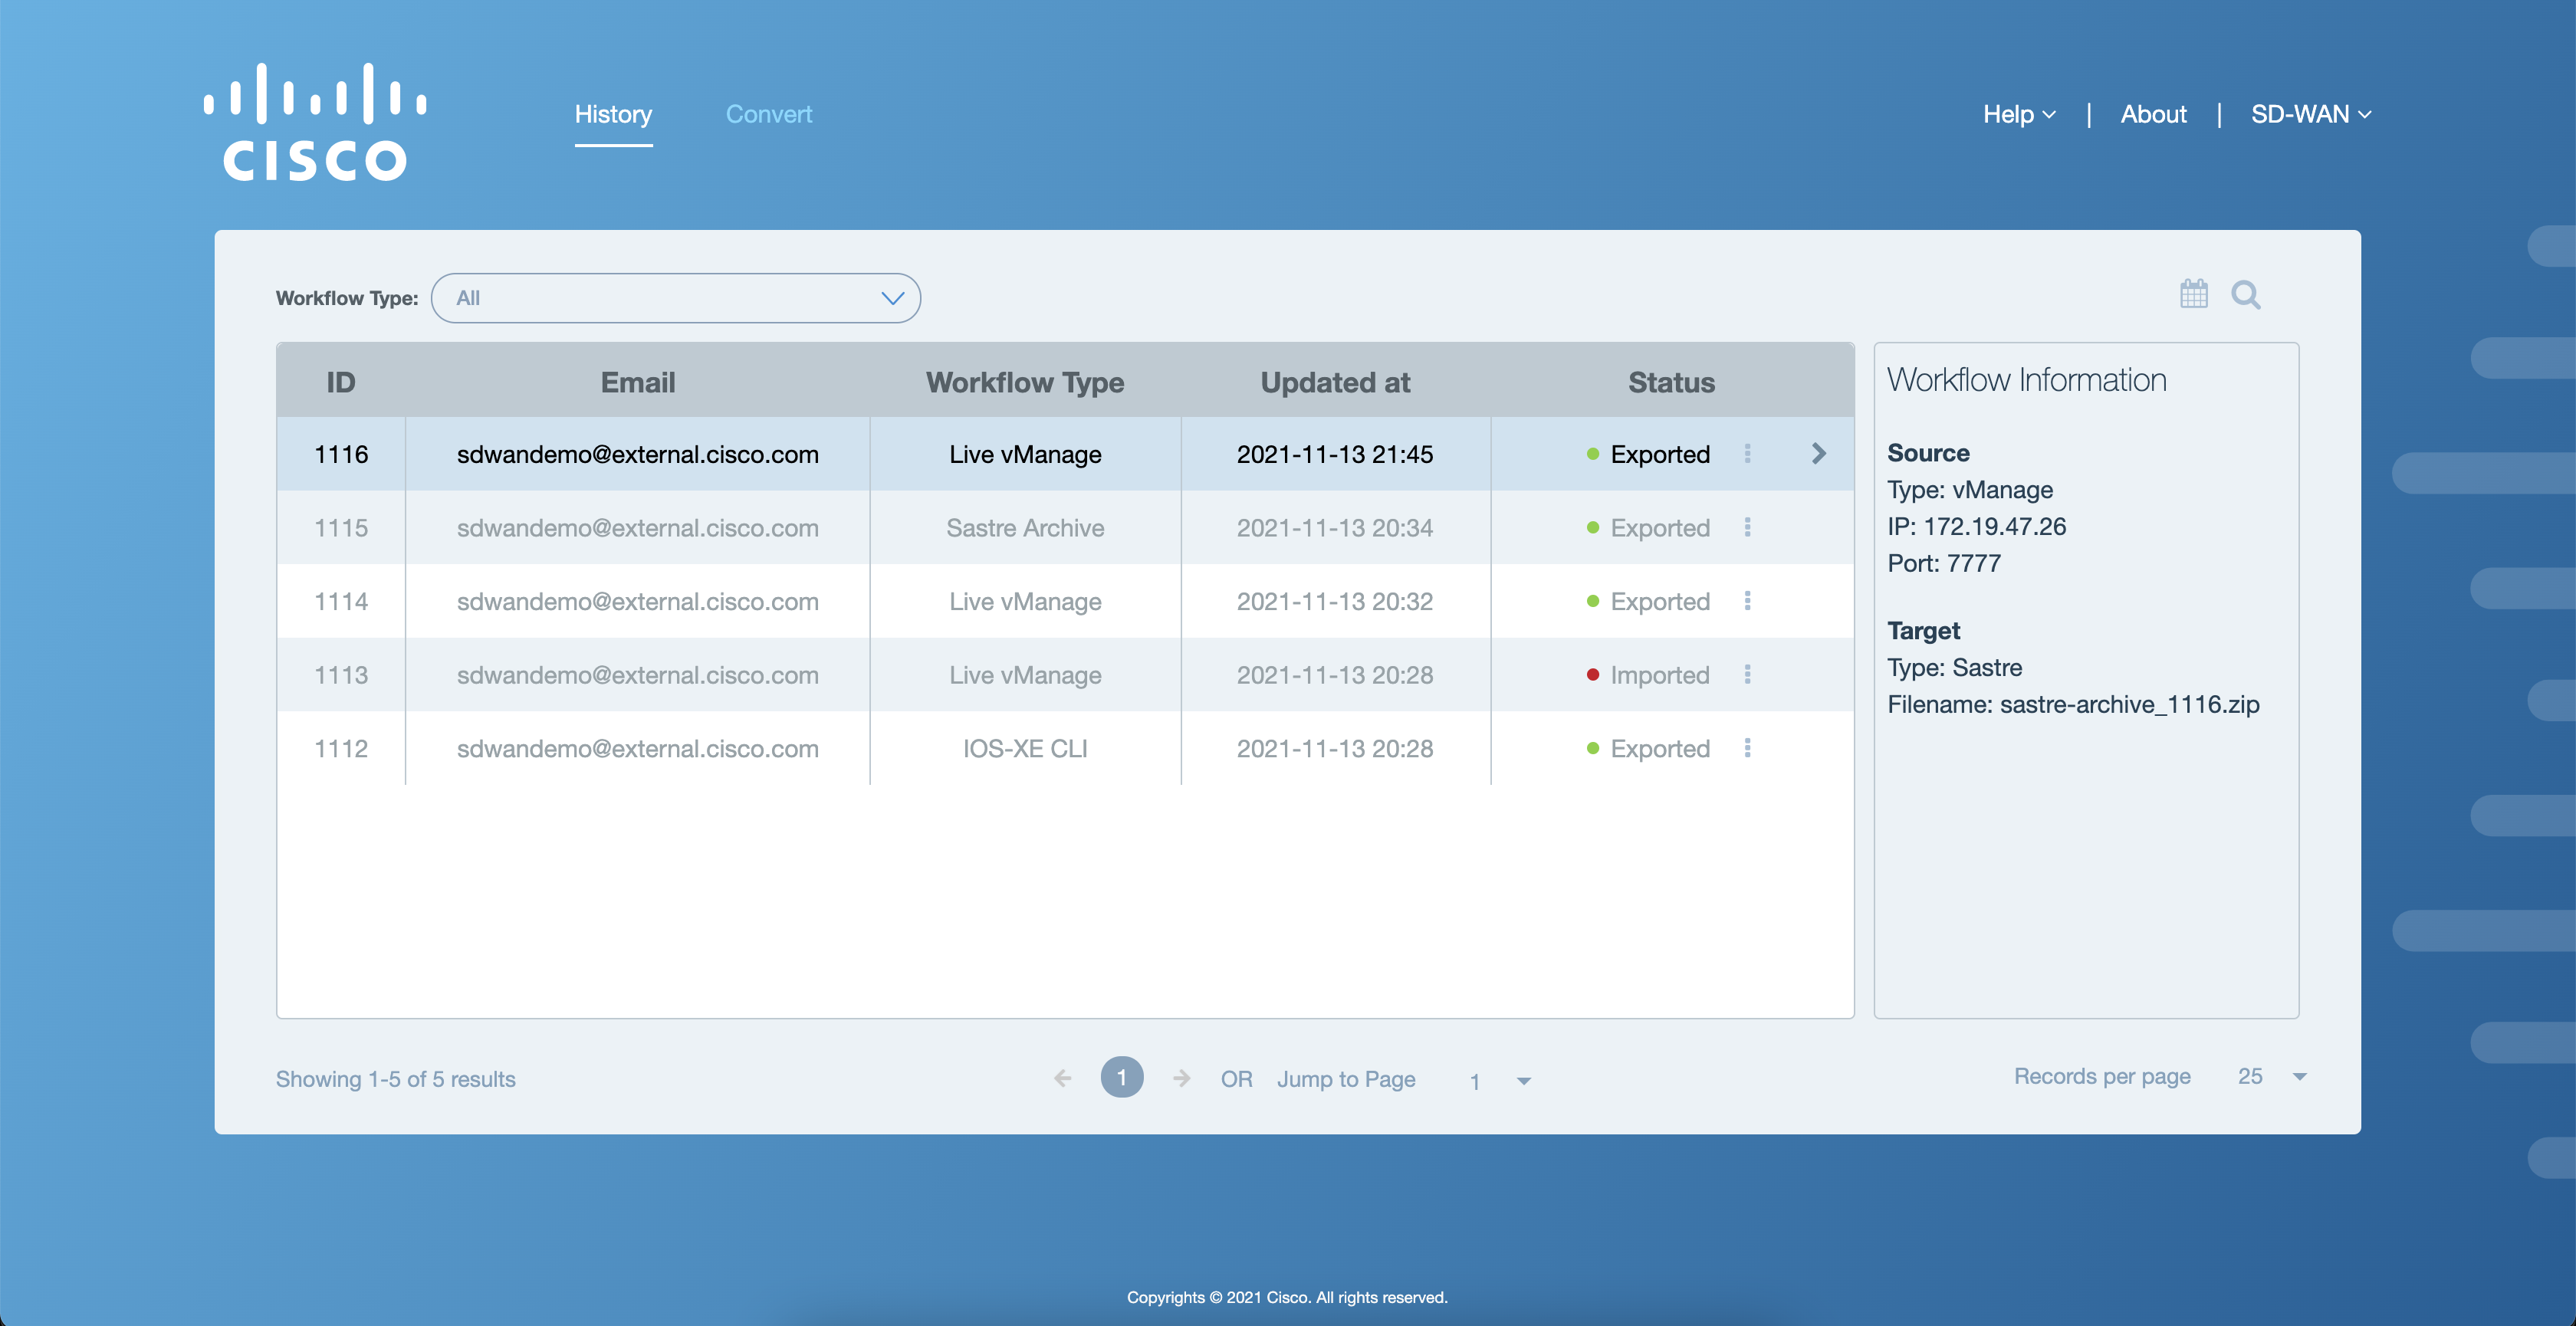
Upon successfully logging into their user account, the following screen will appear on the application window with the User Logs tab selected by default.

Figure 1. Landing page for the normal user