vEdge CLI to Cisco Edge Router CLI
The following steps are involved in the conversion and export of vEdge CLI configuration to a vManage or as a Sastre archive in the form of a Cisco Edge Router CLI template:
Upload
The user initially uploads a vEdge CLI configuration file that they want to convert and export to a vManage or as a Sastre archive in the form of a Cisco Edge Router CLI template. The configuration file is parsed and validated by the SD-WAN Conversion Tool to ensure it conforms with the structure and configuration blocks of a vEdge CLI configuration. In case of any errors, the line numbers of the errors and the string containing the error messages are returned to the UI for the user to identify and fix the specific issues in the uploaded config.
Activity Window
The activity window for the Upload step allows the following two options to the user for uploading a vEdge CLI configuration file:
Drag and drop.
Manually browse for a file.
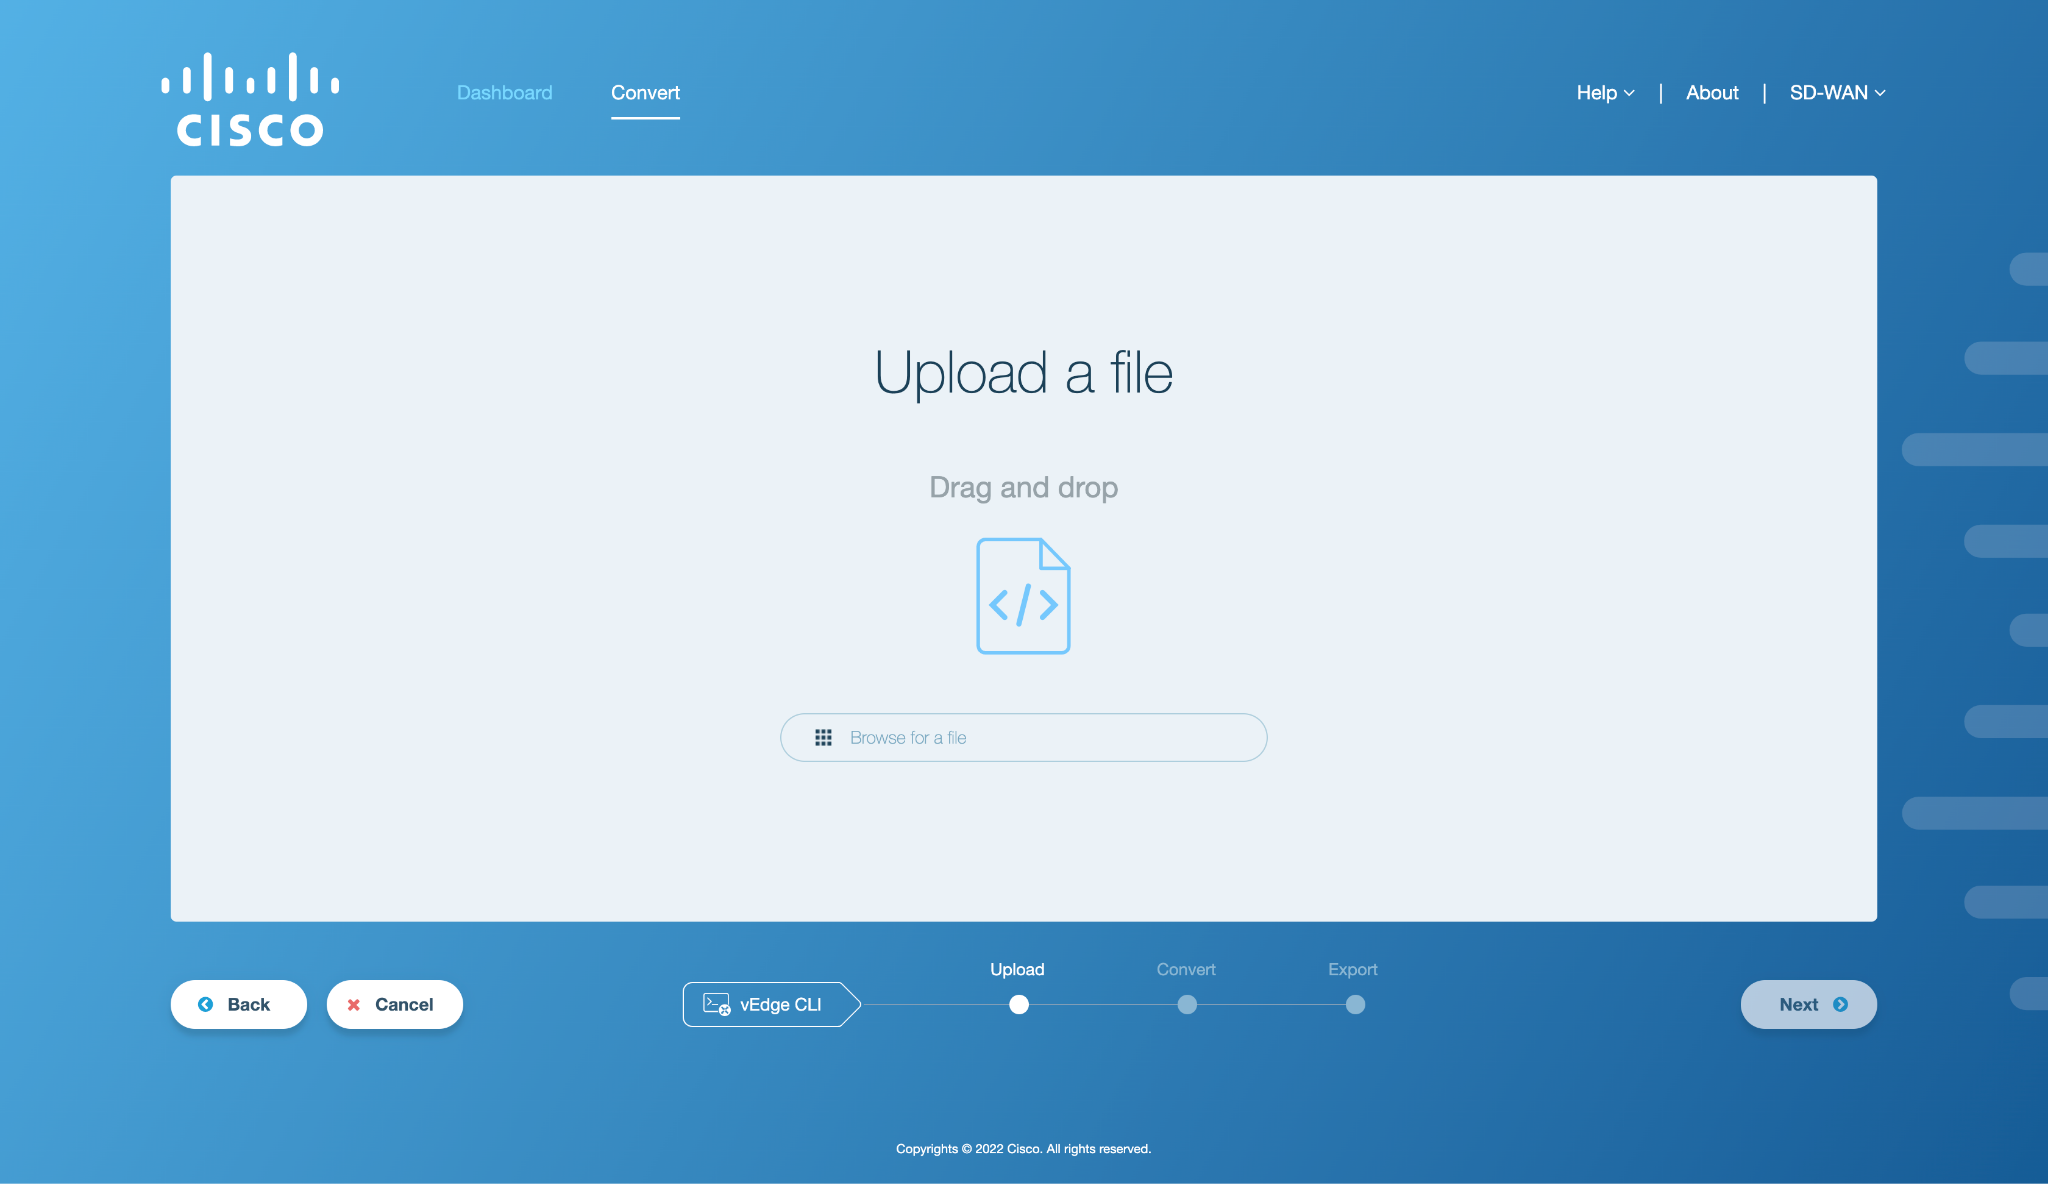
Figure 1. Upload activity window
Upload Workflow
The first step required by the user is to upload the vEdge CLI configuration file which is to be converted and exported as Cisco Edge Router CLI template. The SD-WAN Conversion Tool supports two ways to upload the configuration file:
Drag and Drop: To upload a file, simply drag and drop it to the activity window. The filename will be displayed next to the
icon, as shown in the figure below.
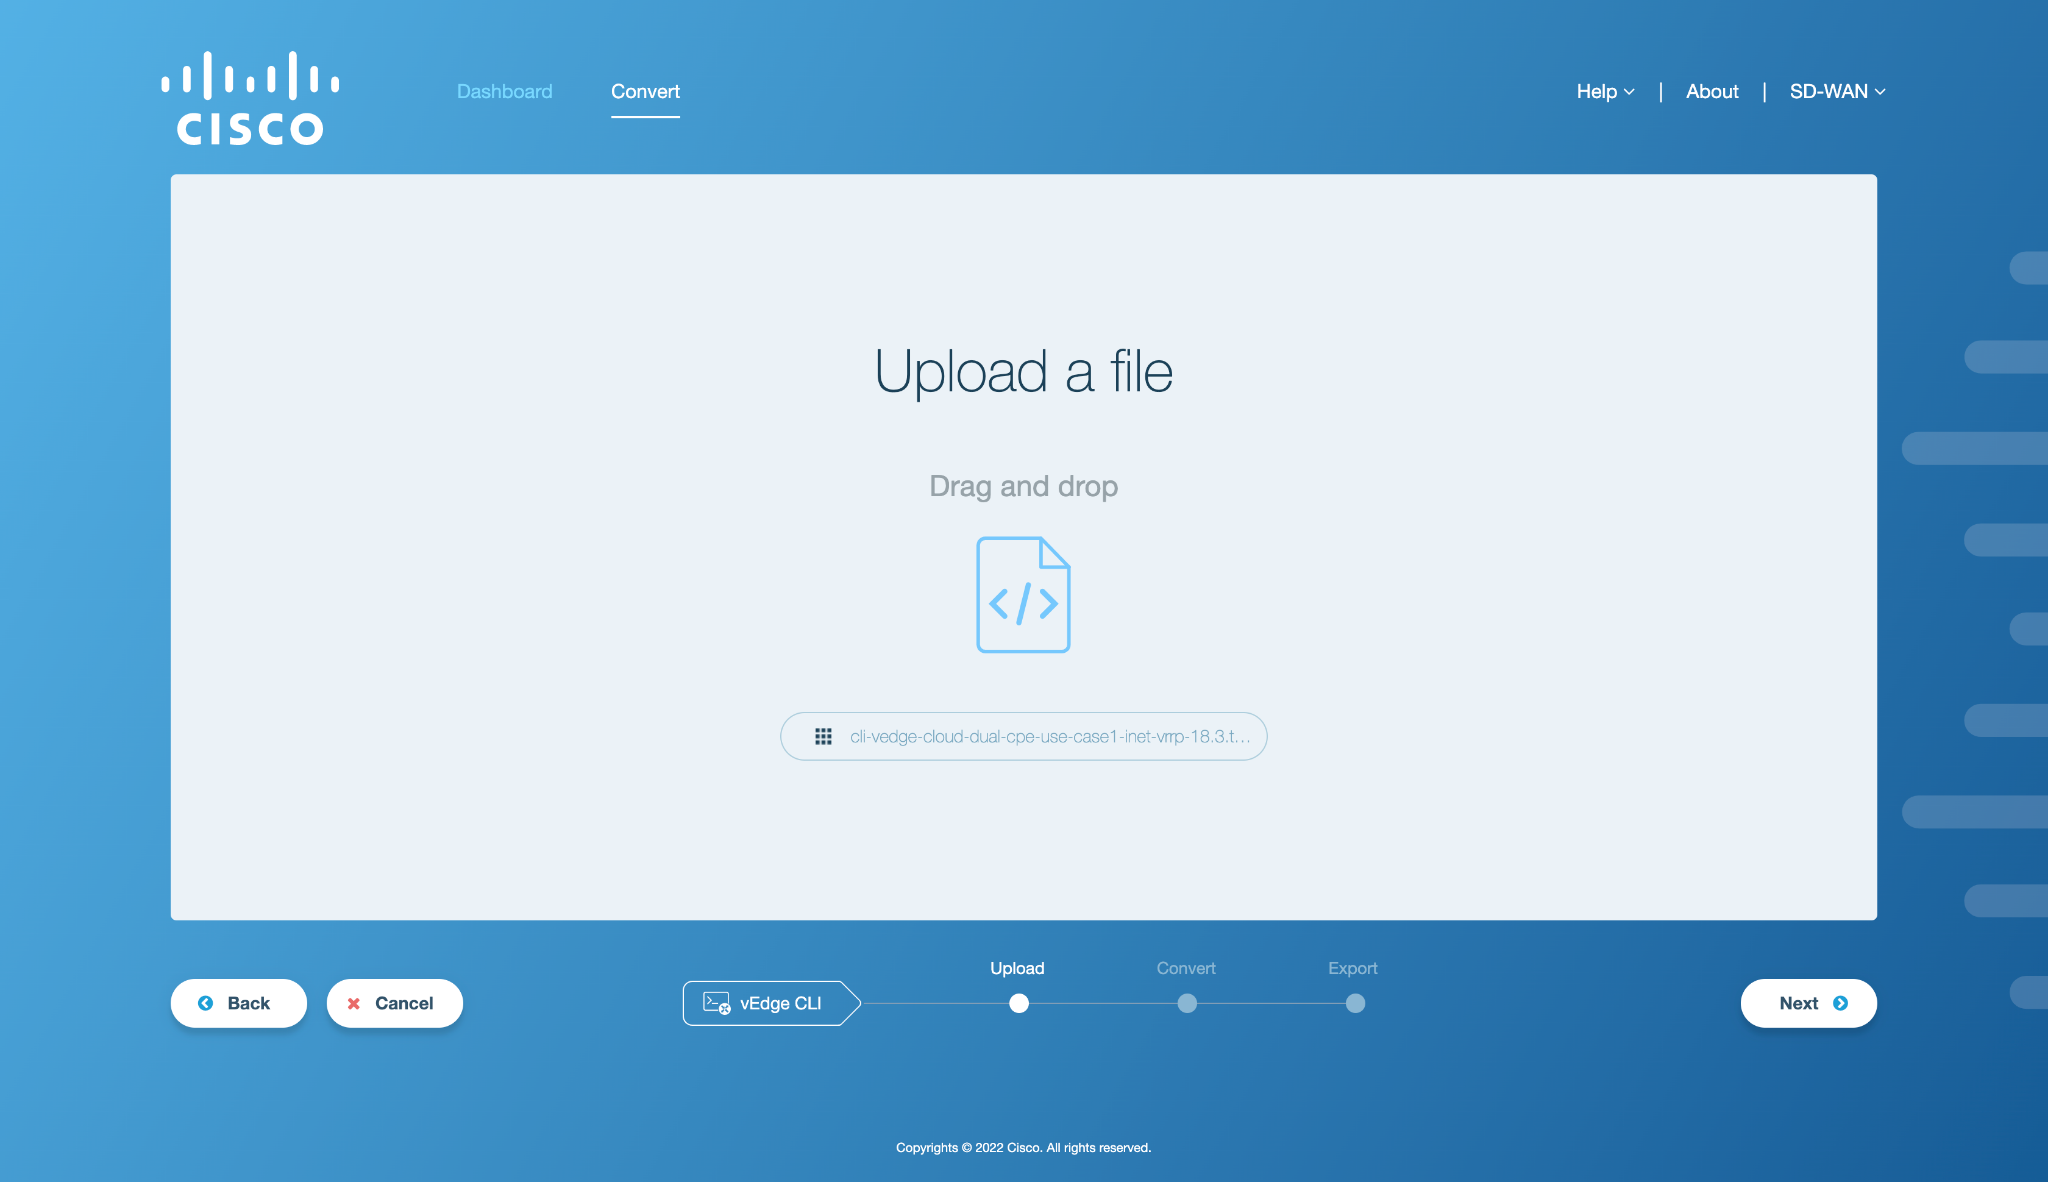
Figure 2. Uploaded file in activity window
Manually Browse: To upload a file manually, click on the
Note
Currently, The SD-WAN Conversion Tool supports uploading text files with plain text or a config file without any extension in the upload workflow for vEdge CLI to Cisco Edge Router CLI.
Click on Next to upload the file to the SD-WAN Conversion Tool. A loading screen will appear as shown in the figure below.
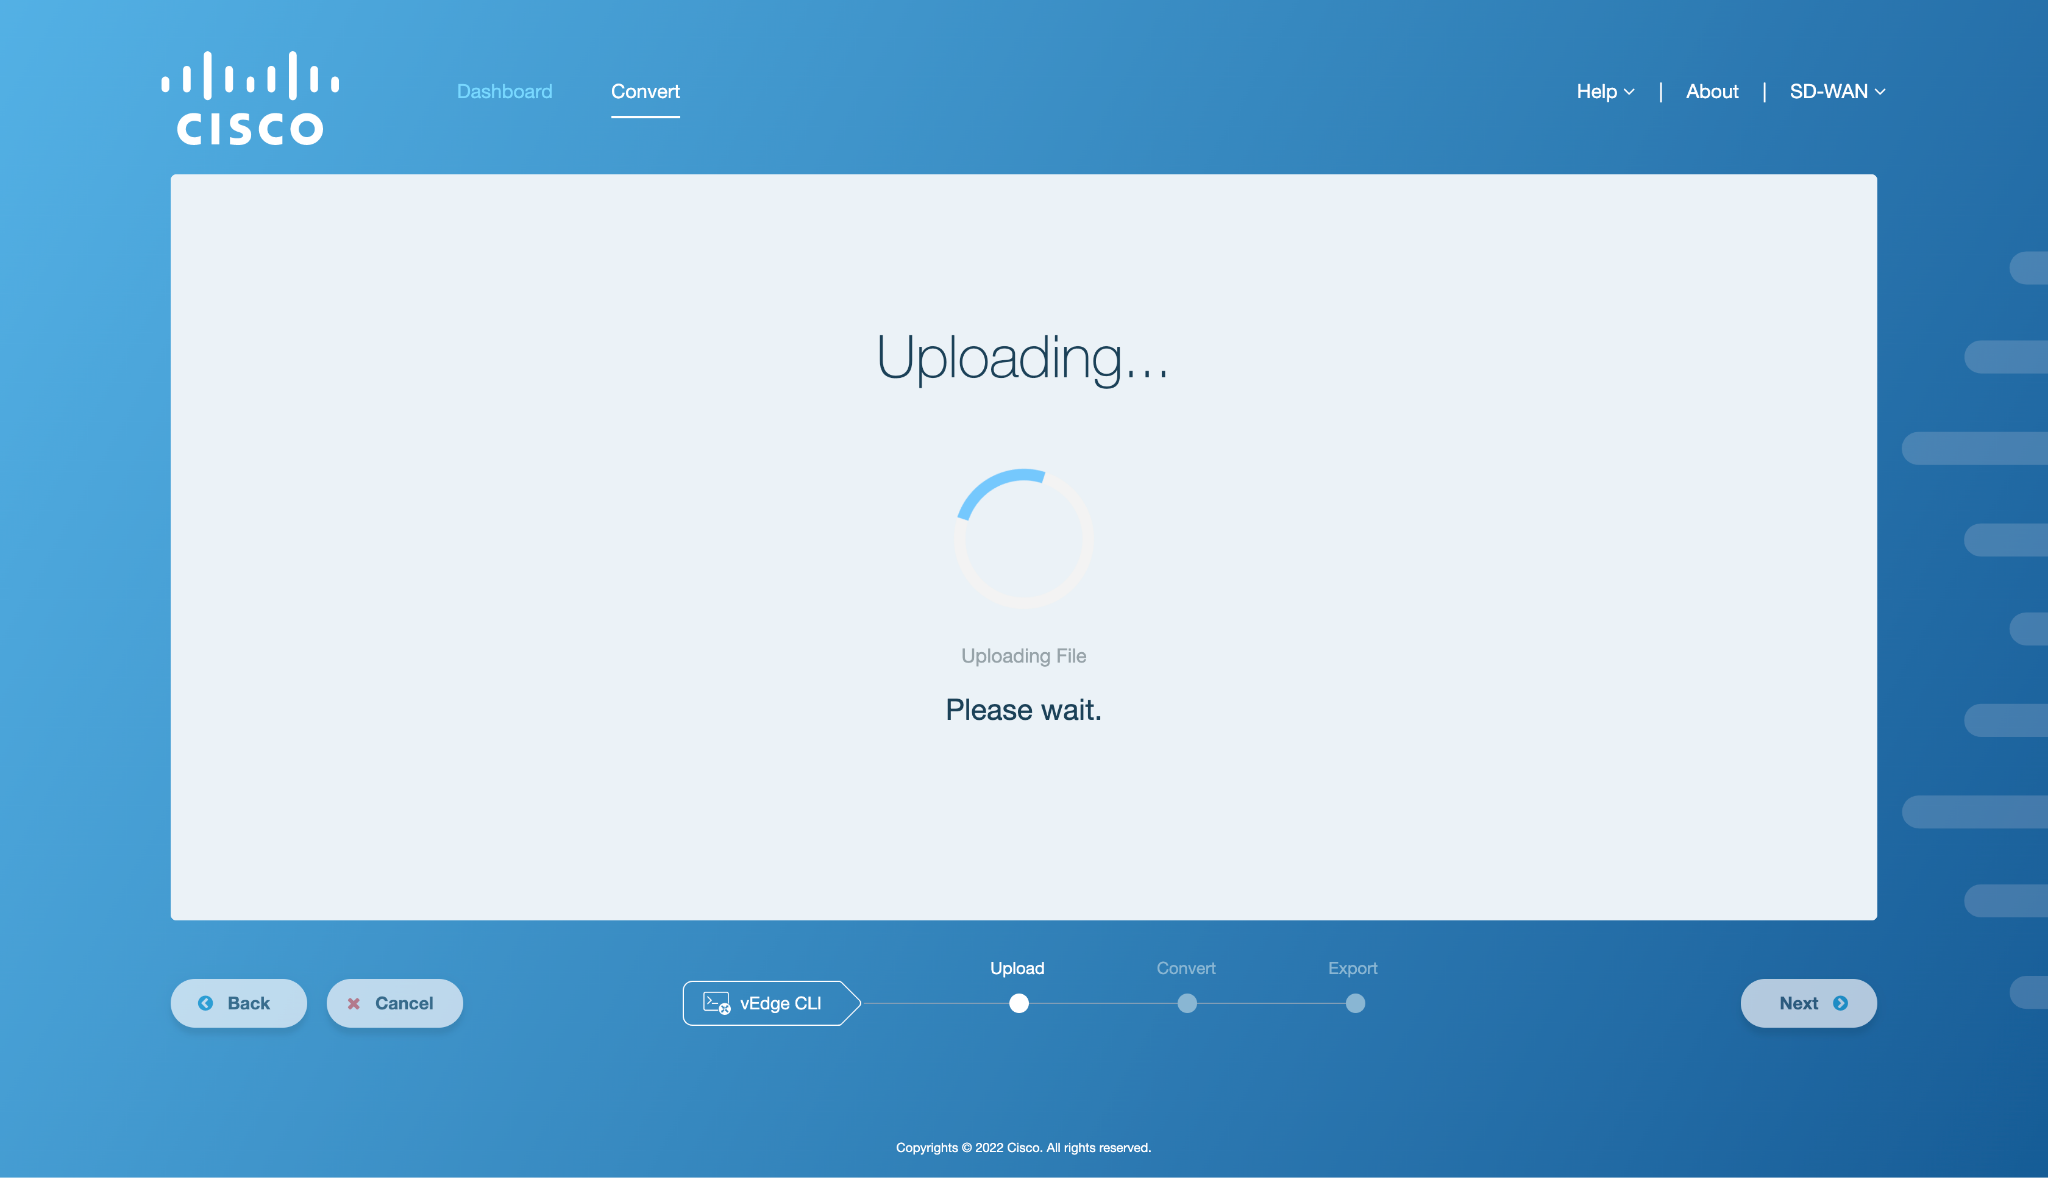
Figure 3. Loading screen for Upload operation
Upon successfully uploading the file to the SD-WAN Conversion Tool, the user will see a two-pane screen as shown below.
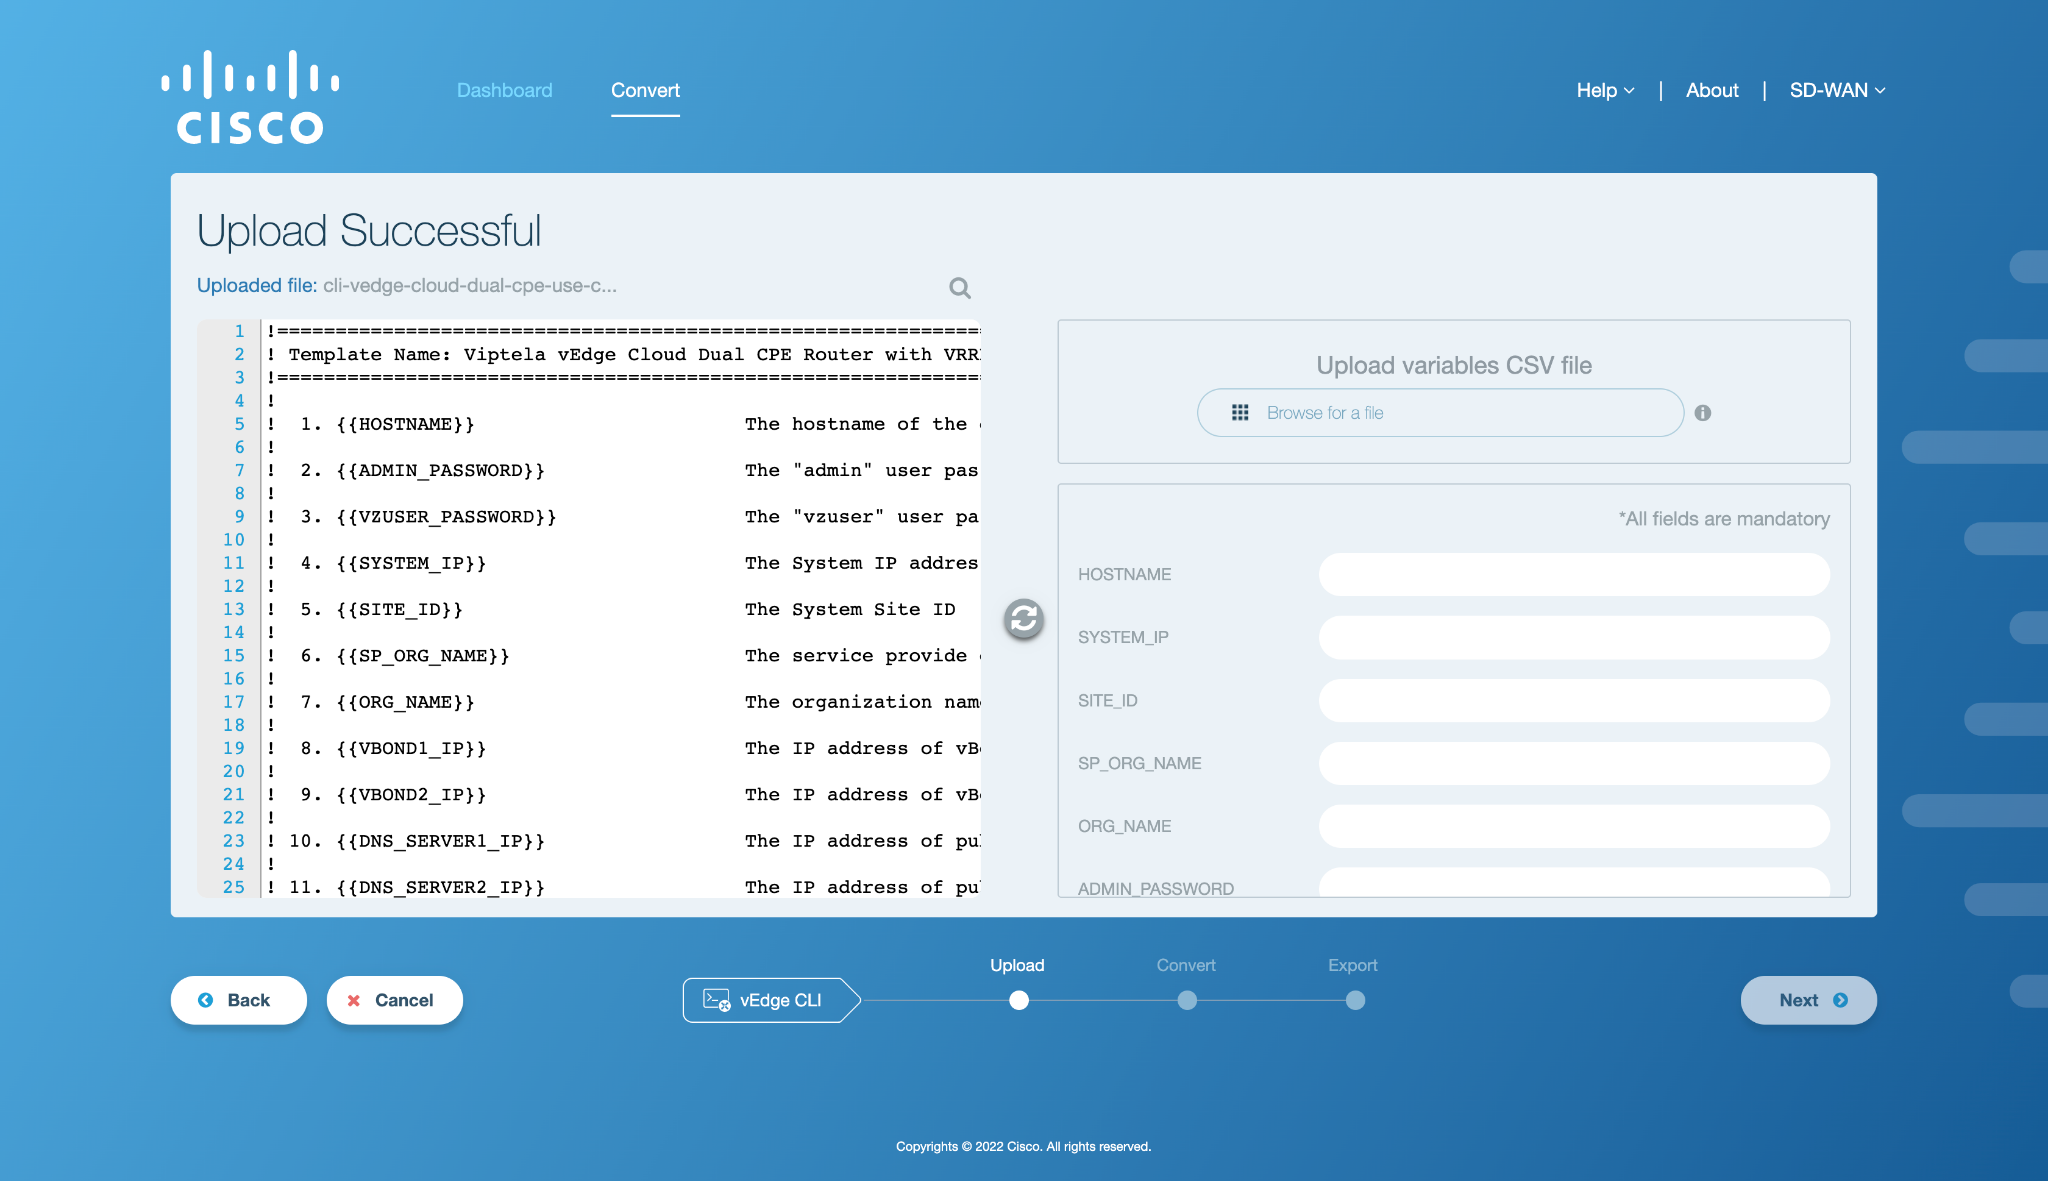
Figure 4. Upload successful
The contents of the original file will be displayed in an on-screen editor on the left side of the screen and the device variables extracted from the file (if any) will be displayed on the right side. The user can update the configuration on the left and click on
to update the variables on the right.
Note
In case of an error in upload, refer to Upload Error: vEdge CLI Workflow section in Appendix A.
Once the user has inserted in the values of the device variables by uploading a CSV file or manually filling in the values, click Next to proceed. A loading screen will appear on the application window that indicates the beginning of the validation process in which the configuration is validated with the inserted values of device variables if present.
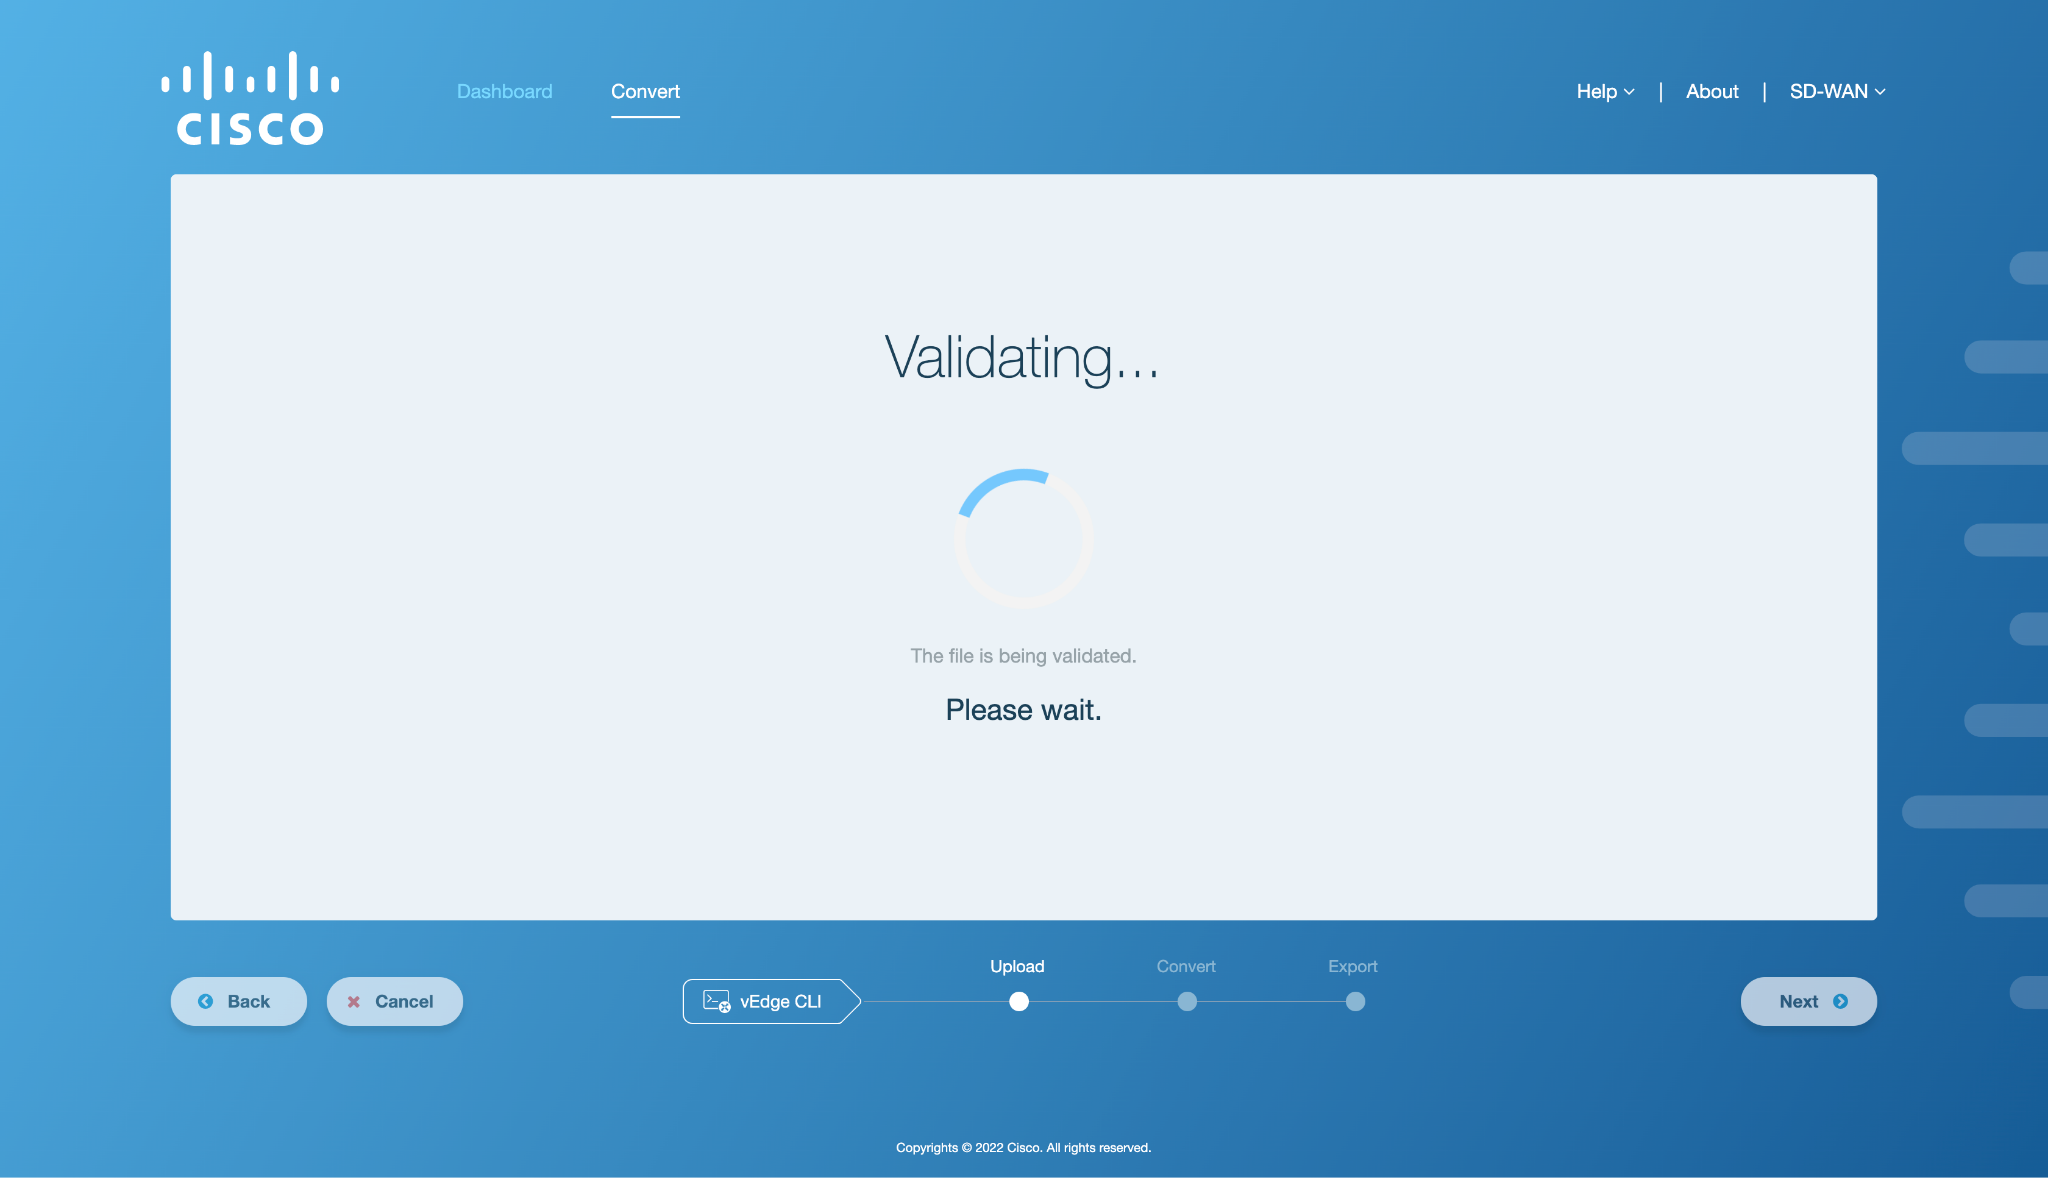
Figure 5. Validating the config file
After the configuration is successfully validated, the following screen is shown where the validated configuration content is displayed in an on-screen editor.
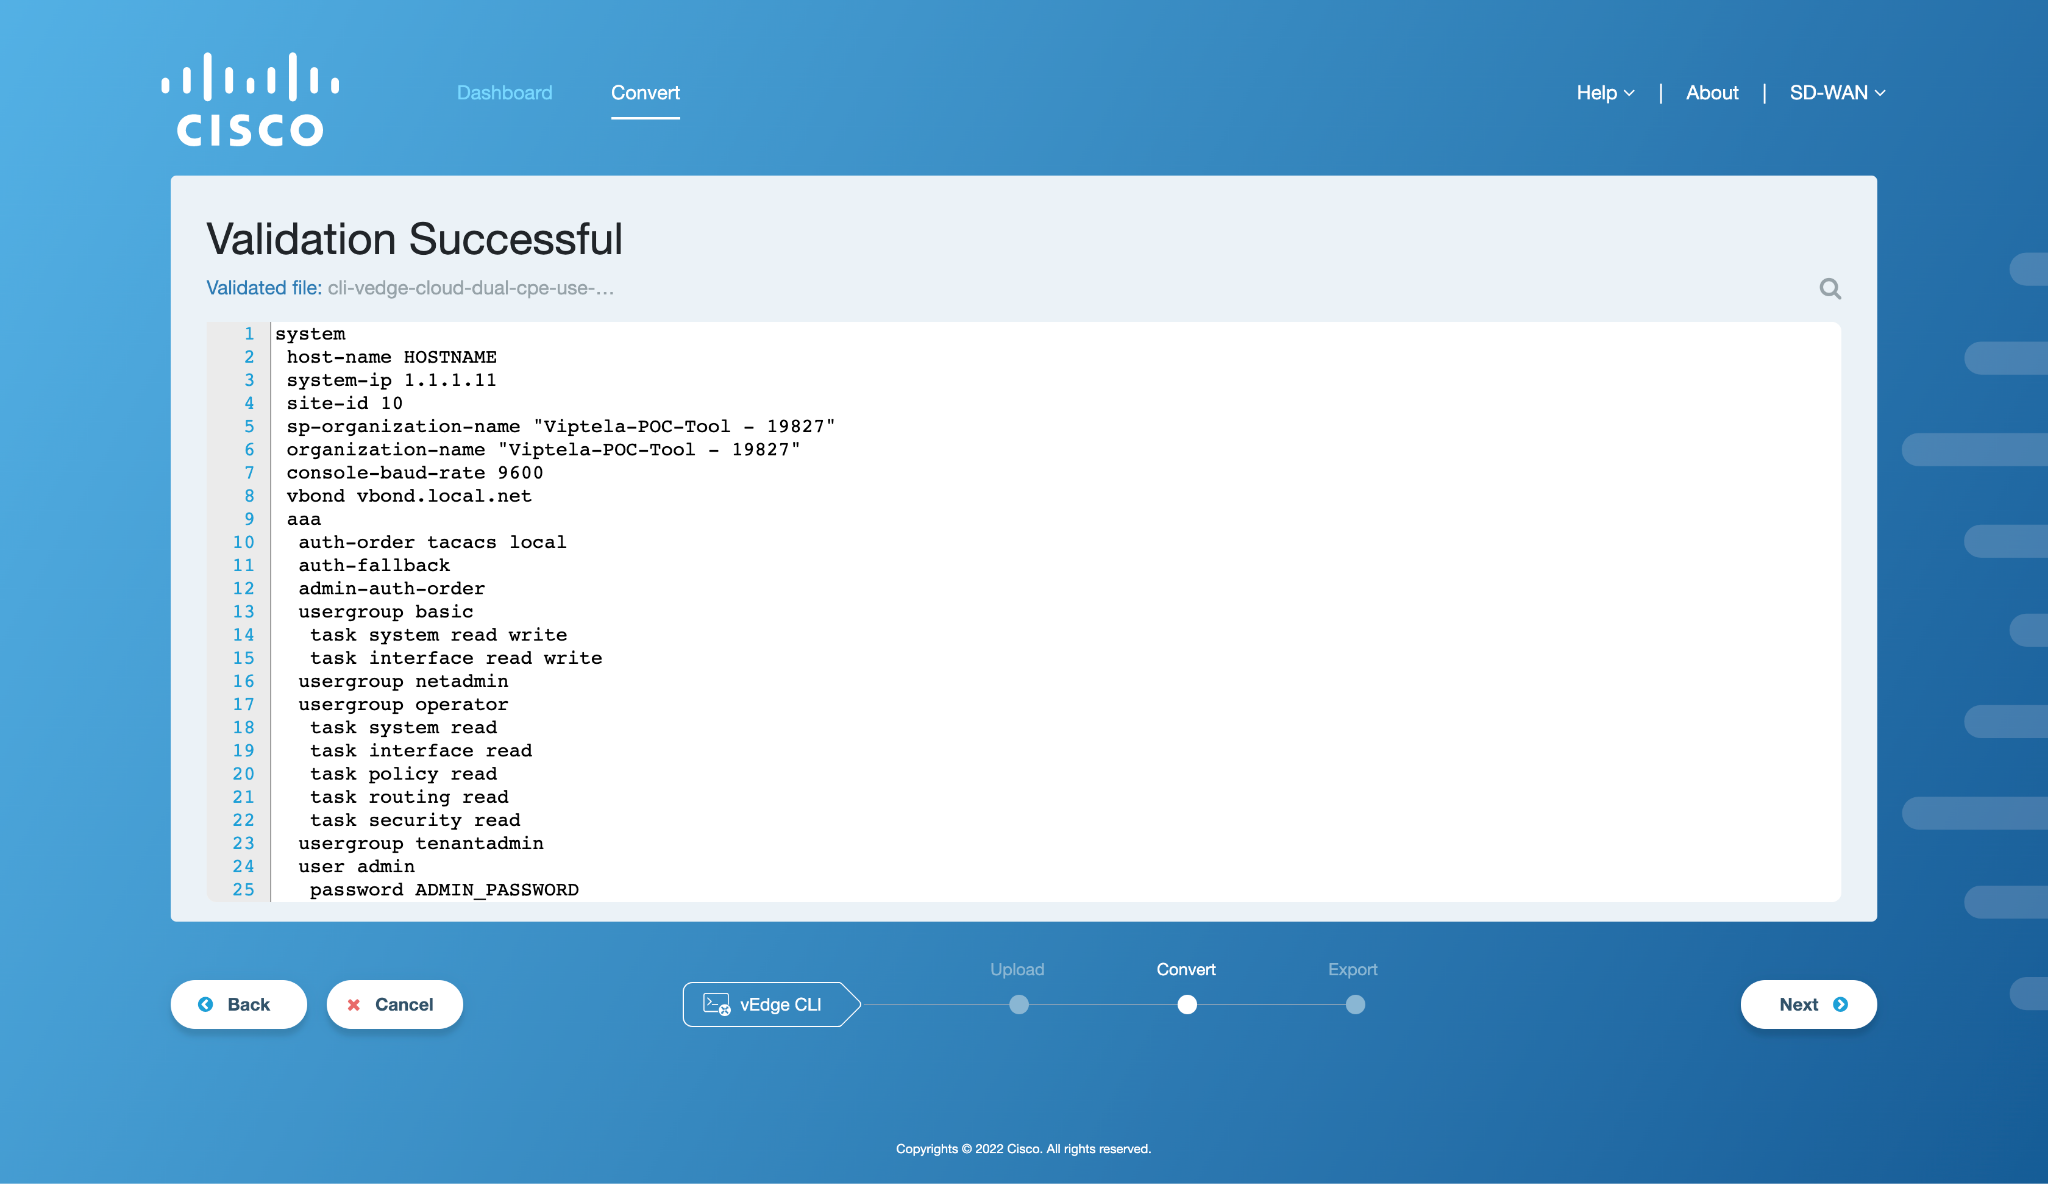
Figure 6. Successful validation.
Note
In case of an error in validation, refer to Validation Error: vEdge CLI Workflow section in Appendix A.
Click on Next to initiate the conversion process of the SD-WAN configuration.
Convert
The SD-WAN Conversion Tool converts the vEdge CLI configuration to the Cisco Edge Router CLI configuration. A Cisco Edge Router CLI template is created using the converted configuration in the subsequent step.
Activity Window
This section gives the details of the available functionalities for the Convert step in the activity window. An example activity window for this step is shown in the figure below.
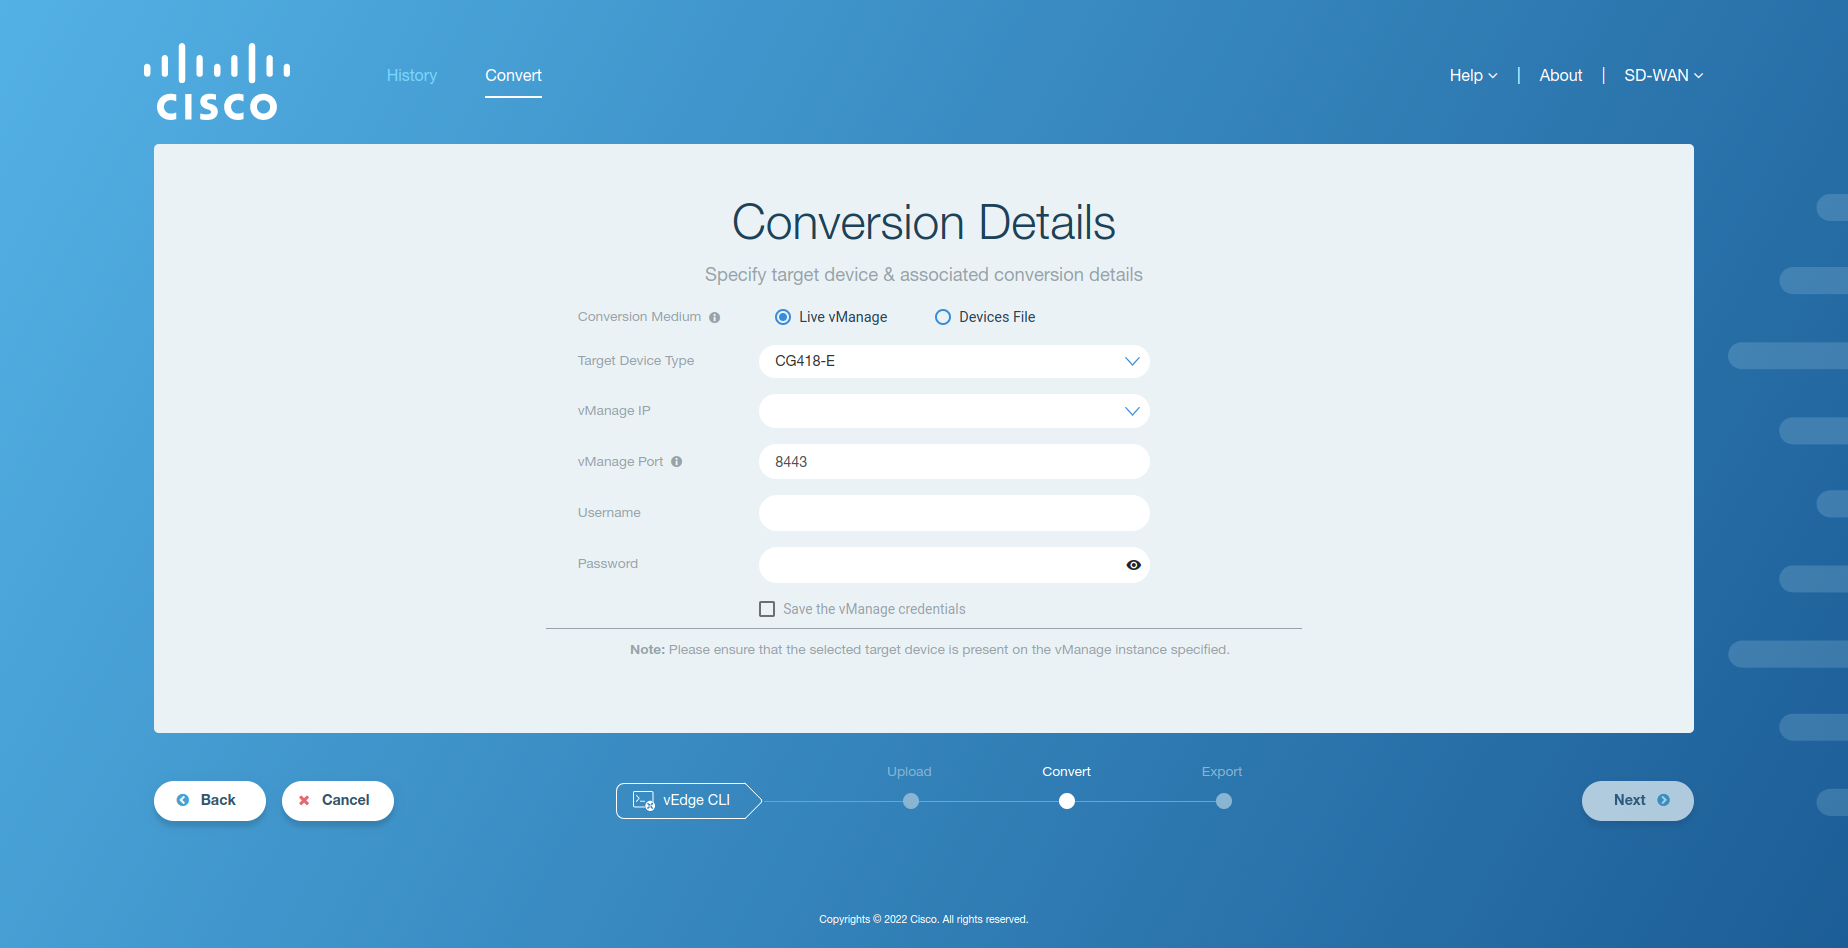
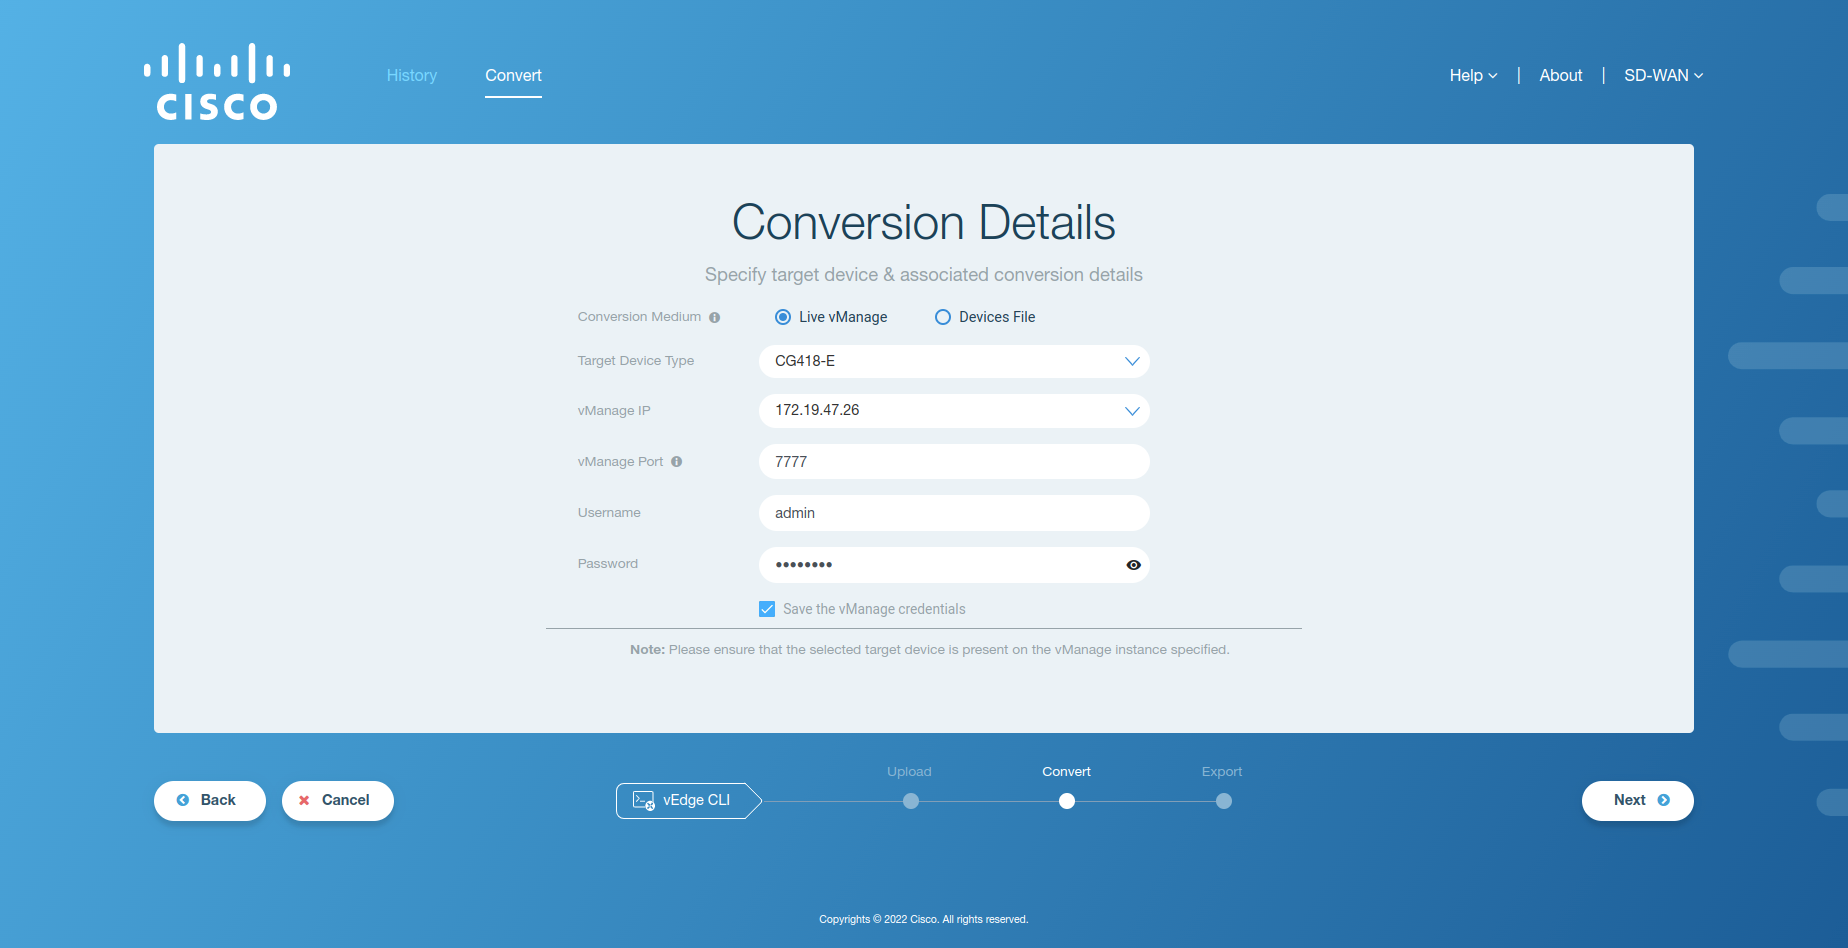
Figure 7: Conversion details
Field Name |
Description |
|---|---|
Conversion Medium |
Type of medium used for the conversion process. If Live vManage is selected, provided vManage instance is used for the conversion process. If the Devices File is selected, vManage instance reserved by the tool is used for the conversion process. |
Target Device Type |
Lists the available SD-WAN device types. The selected device type will be used as the target device for the exported templates. |
vManage IP/New IP |
This is the IP or domain name of the running vManage to which the Cisco Edge Router CLI templates will be exported. The user can either enter a new IP or select from the list of previously saved vManage IPs from the dropdown menu. |
vManage Port |
This is the port of the vManage to which the Cisco Edge Router CLI templates will be exported. |
Username |
This is the username of the vManage server. |
Password |
This is the password of the vManage server. |
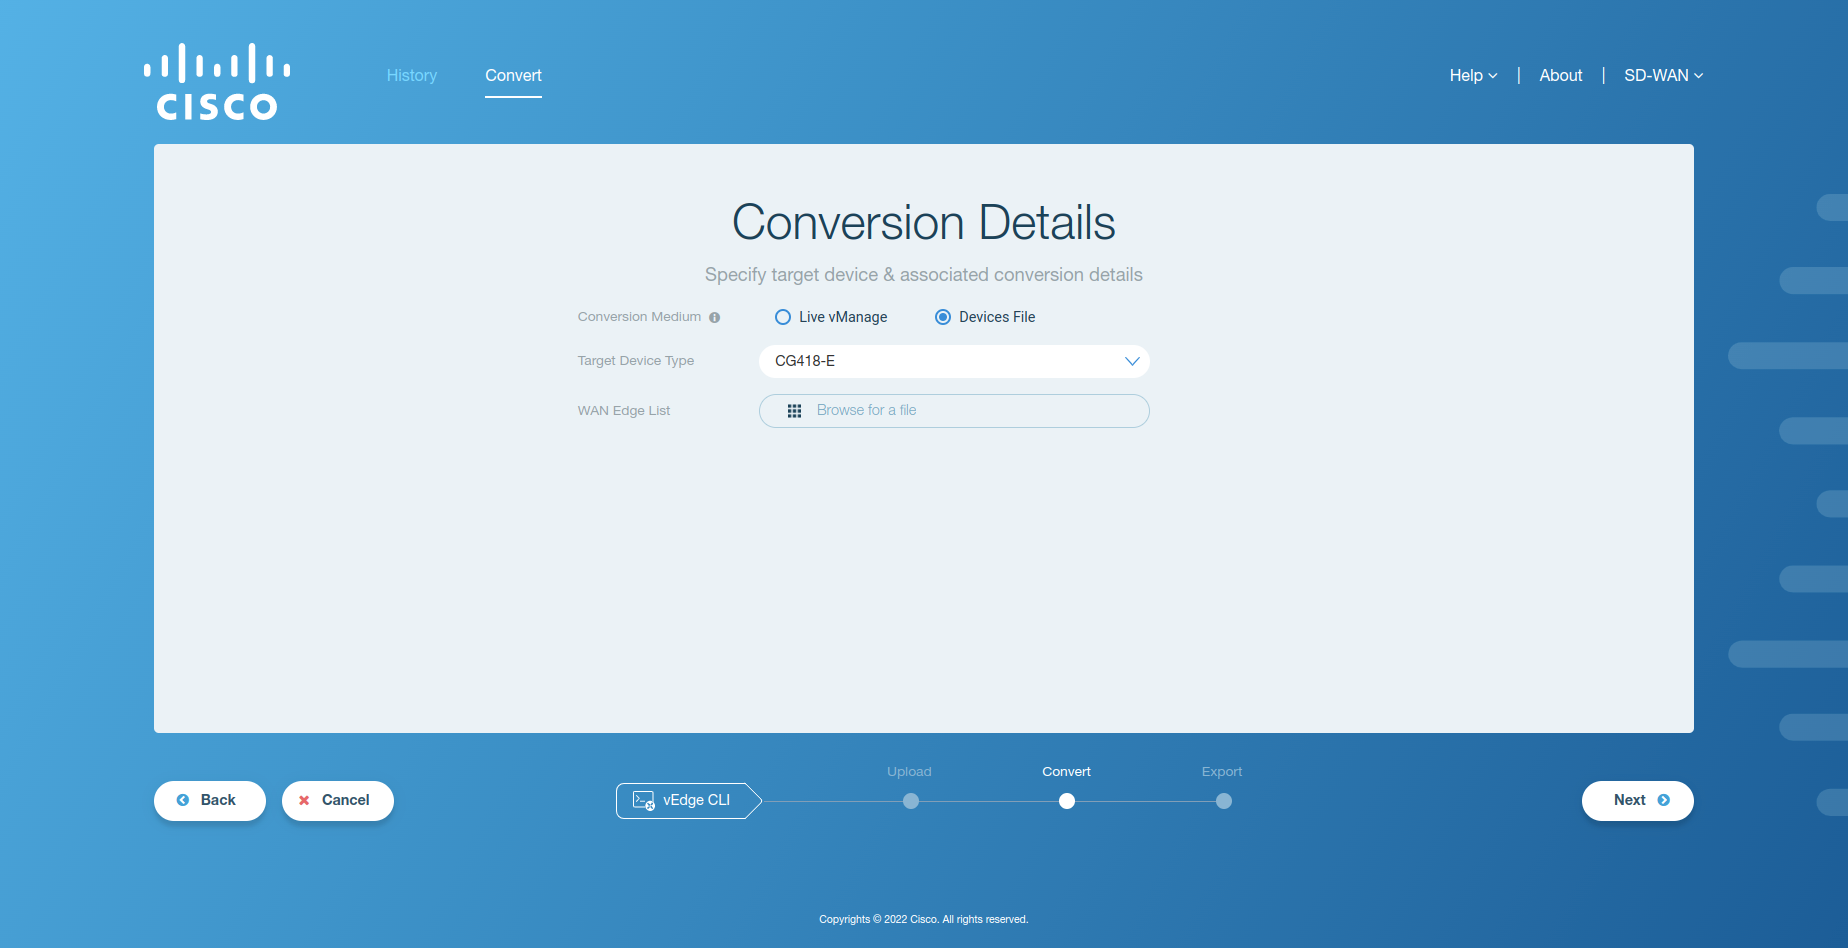
Figure 8: Conversion details with device file
Field Name |
Description |
|---|---|
Conversion Medium |
Type of medium used for the conversion process. If Live vManage is selected, provided vManage instance is used for the conversion process. If Devices File is selected, the vManage instance reserved by the tool is used for the conversion process. |
Target Device Type |
Lists the available SD-WAN device types. The selected device type will be used as the target device for the exported templates. |
WAN Edge List |
WAN Edge List is a .viptela file which can be downloaded from Cisco PnP Portal. |
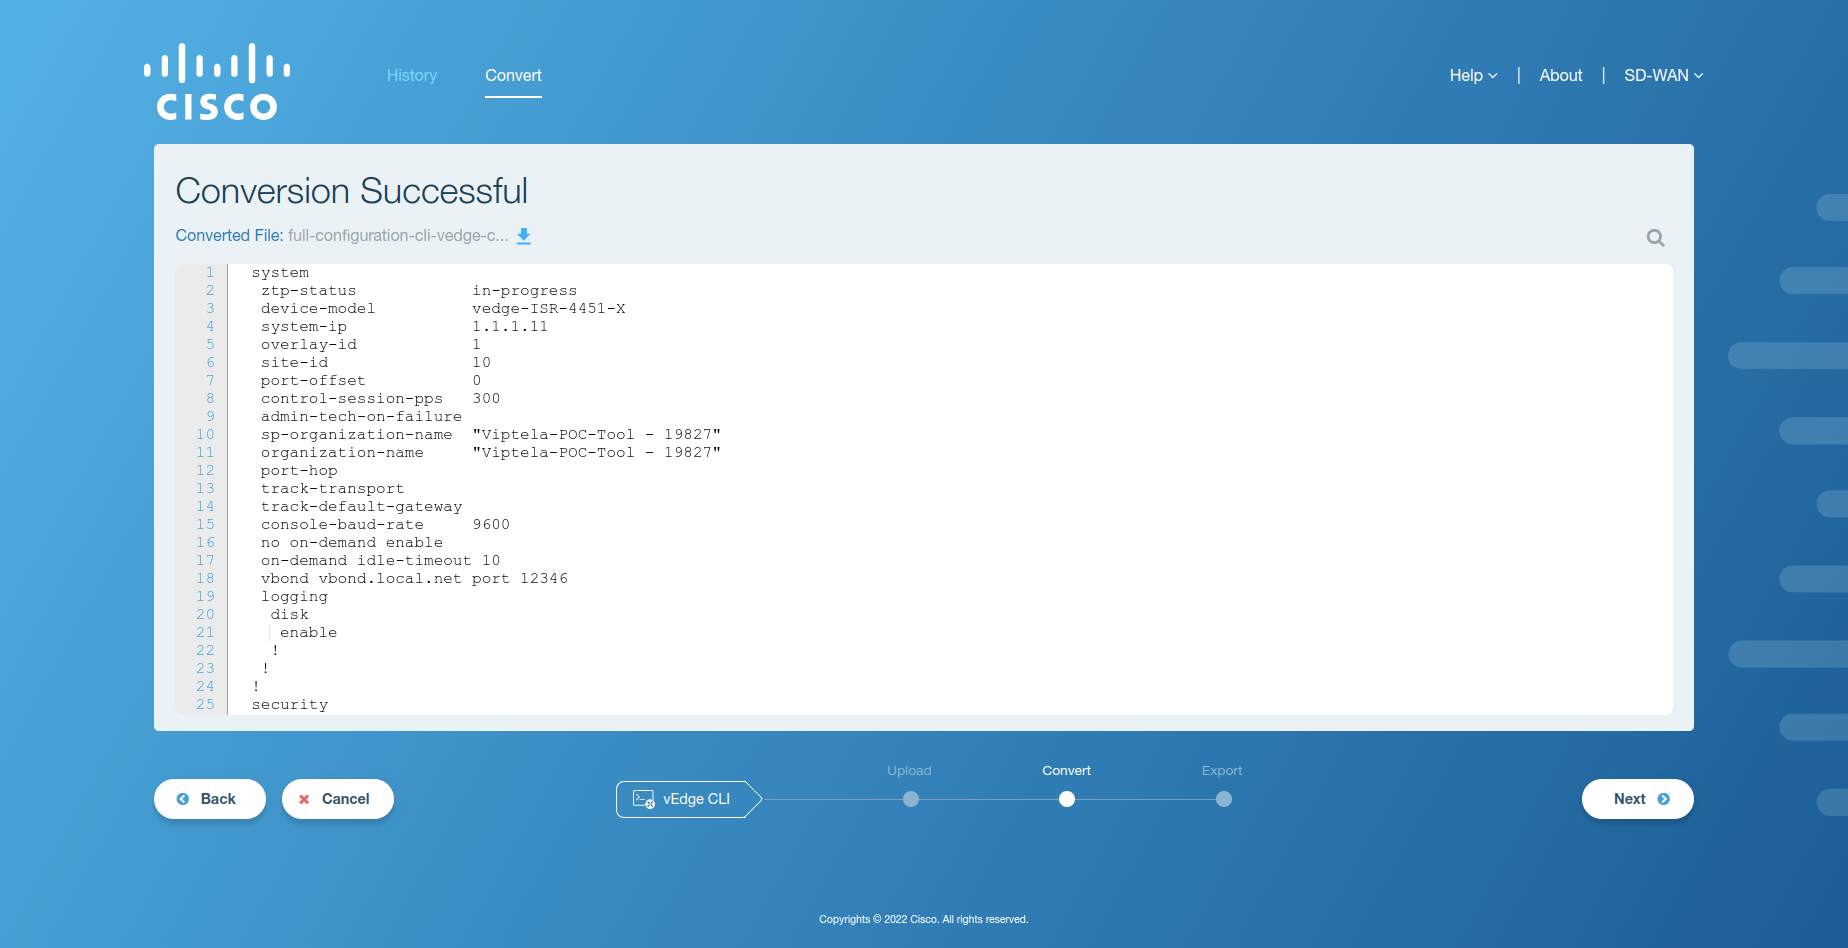
Figure 9: Conversion successful
Converted File: This is the configuration file that is generated in the conversion process based upon the configuration in the vEdge CLI configuration file. The user can download this config file by clicking on
 .
.Non-editable Window: It displays the contents of the converted configuration file. No changes can be made to the configuration at this point.
Convert Workflow
Once the vEdge CLI config file has been validated successfully, the next step is to convert this configuration to the Cisco Edge Router CLI configuration.
After the config file has been successfully validated, click on Next to proceed. A loading screen will appear on the application window that indicates the beginning of the conversion process.
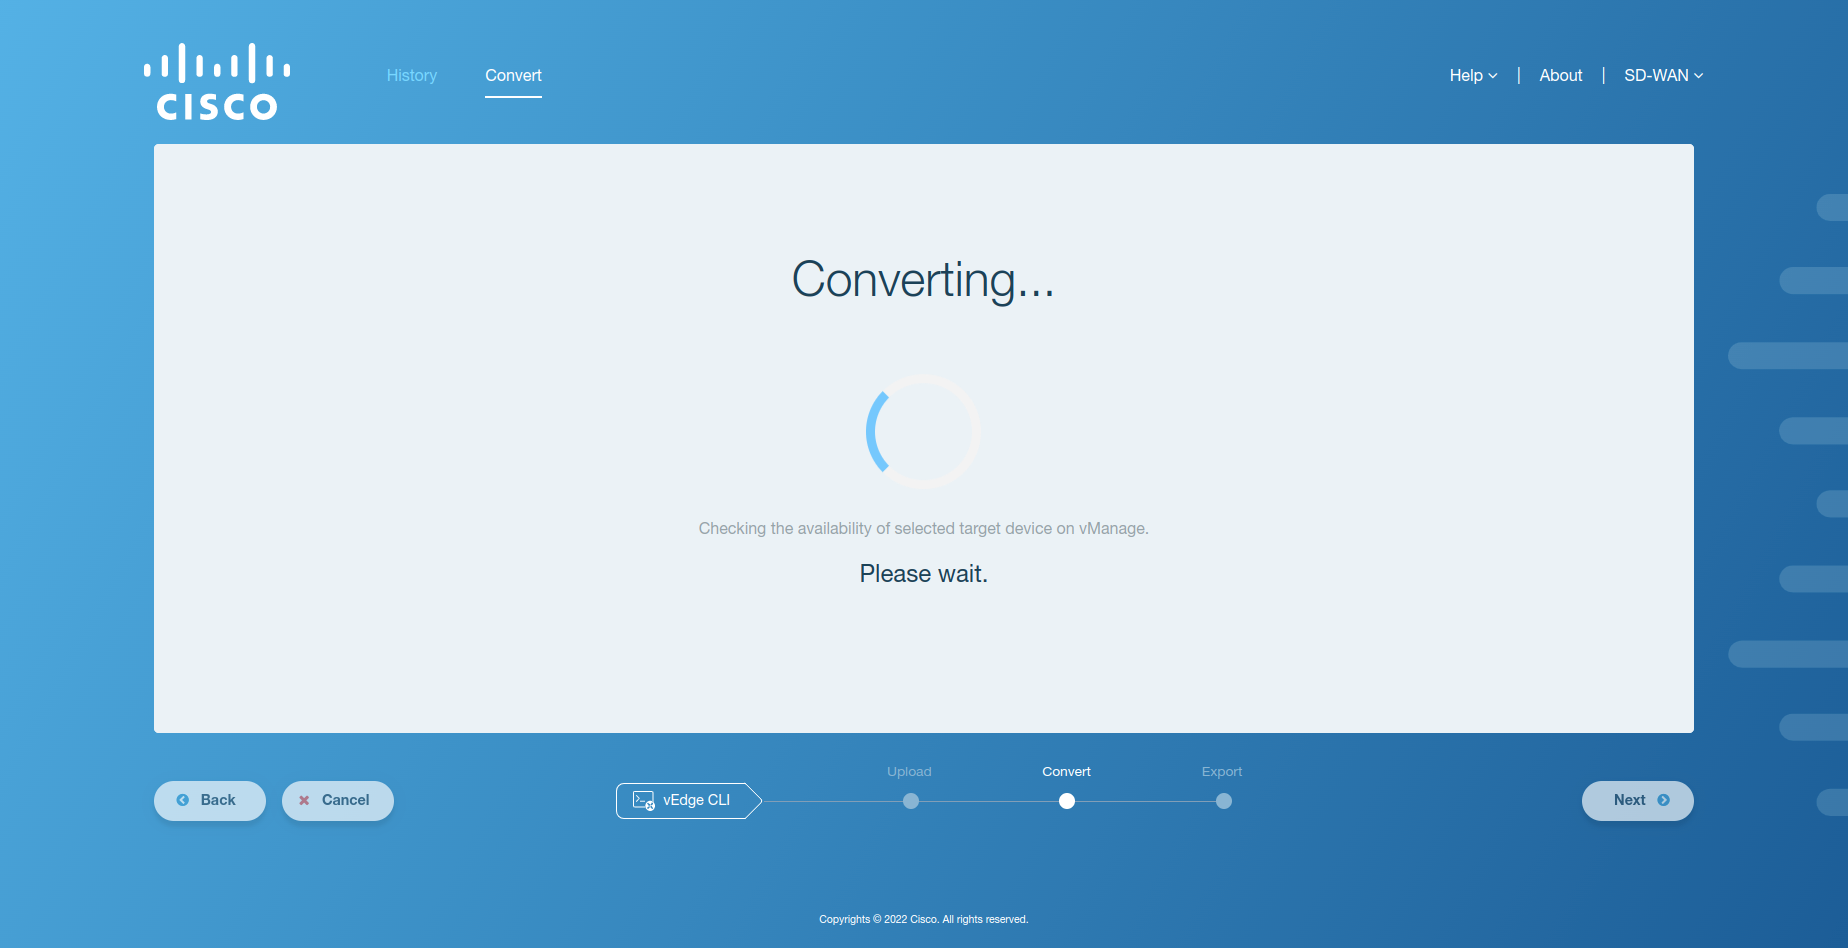
Figure 10. Conversion loader
Figure 11. Conversion successful
Note
In case of an error, refer to the Conversion Error: vEdge CLI Workflow section in Appendix A.
Export
The SD-WAN Conversion Tool generates Cisco Edge Router CLI template using the converted SD-WAN configuration. In the case of vManage as a target, these templates are created in user-selected vManage and attached to a device template for consumption from the vManage UI. The credentials provided for vManage can be saved by the user for subsequent workflows in the future. In the case of the Sastre archive as a target, the tool creates a Sastre archive that contains the Cisco Edge Router CLI template which can be downloaded from the tool’s UI.
Activity Window
This section gives the details of the available functionalities in the activity window for the Export step. An example activity window for this step is shown in the figure below.
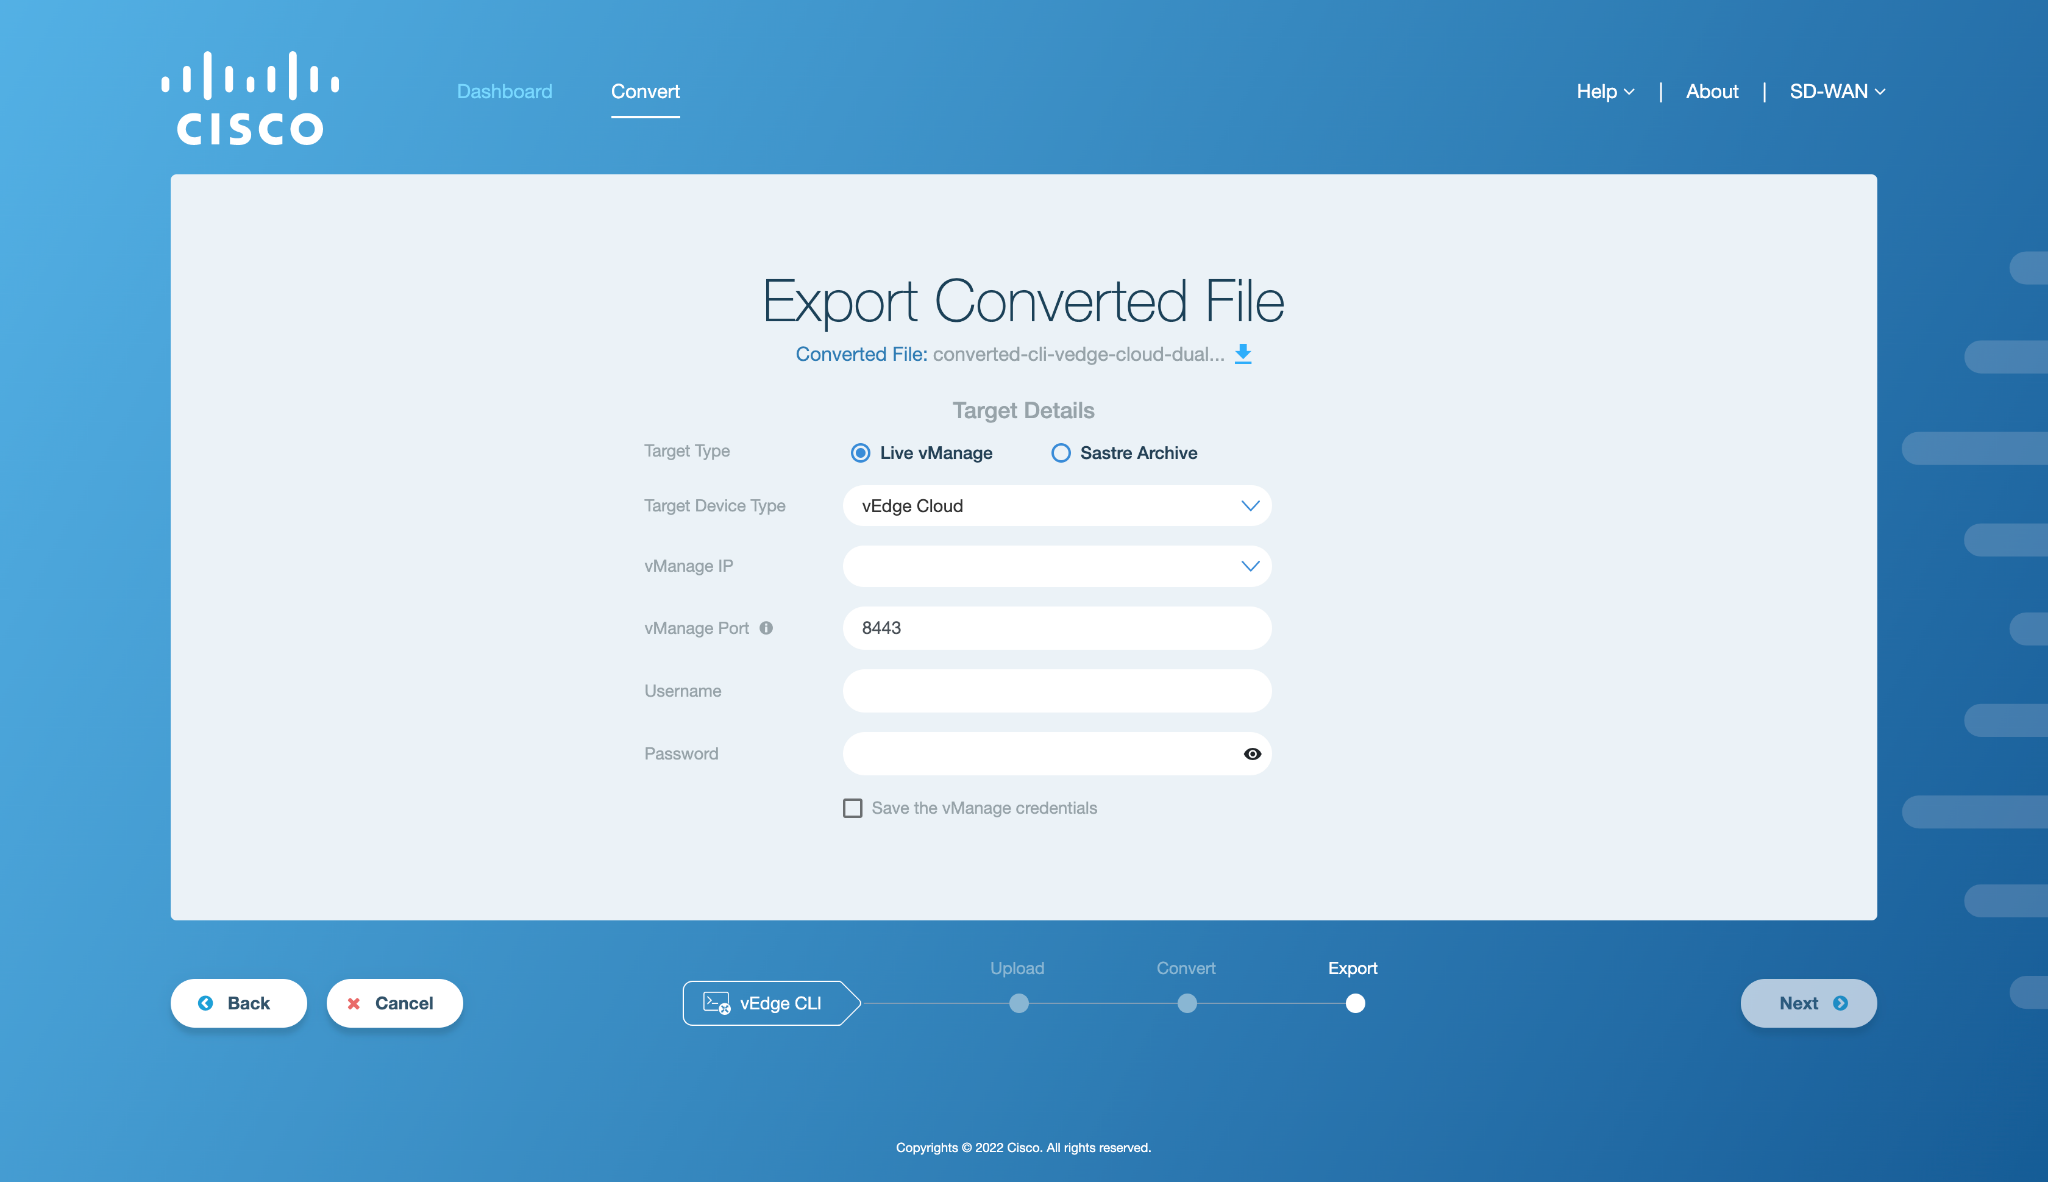
Figure 12. Export form
Field Name |
Description |
|---|---|
Target Type |
Type of target (Live vManage or Sastre archive) for the conversion. |
Target Device Type |
It lists the available SD-WAN device types. The selected device type will be used as the target device for the exported templates. |
vManage IP/New IP |
This is the IP or domain name of the running vManage to which the Cisco Edge Router CLI templates will be exported. The user can either enter a new IP or select from the list of previously saved vManage IPs from the drop-down menu. This field is disabled when the Sastre archive is selected as the target type. |
vManage Port |
This is the port of the vManage to which the Cisco Edge Router CLI templates will be exported. This field is disabled when the Sastre archive is selected as the target type. |
Username |
This is the username of the server on which vManage is running. It is disabled when the Sastre archive is selected as the target type. |
Password |
This is the password of the server on which vManage is running. It is disabled when the Sastre archive is selected as the target type. |
Note
All Cisco Edge Router and vEdge devices present in vManage 20.5 are supported as target device types in the vEdge CLI to Cisco Edge Router CLI workflow.
Export Workflow
Once the vEdge CLI config file has been converted successfully, the next step is to export this config file.
After the config file has been successfully converted to Cisco Edge Router CLI configuration, click on Next to proceed. The following screen will appear.
Figure 13: Export Form
Fill in the required fields by entering the relevant configuration details of the target to proceed with the export process. An example is shown in the figure below.

Figure 14. Filled Export Form
Once the user has filled in the relevant fields, click on Next to proceed. A loading screen will appear on the application window that indicates the beginning of the export process in which the Cisco Edge Router CLI templates generated from the configuration are exported to vManage or as a Sastre archive.
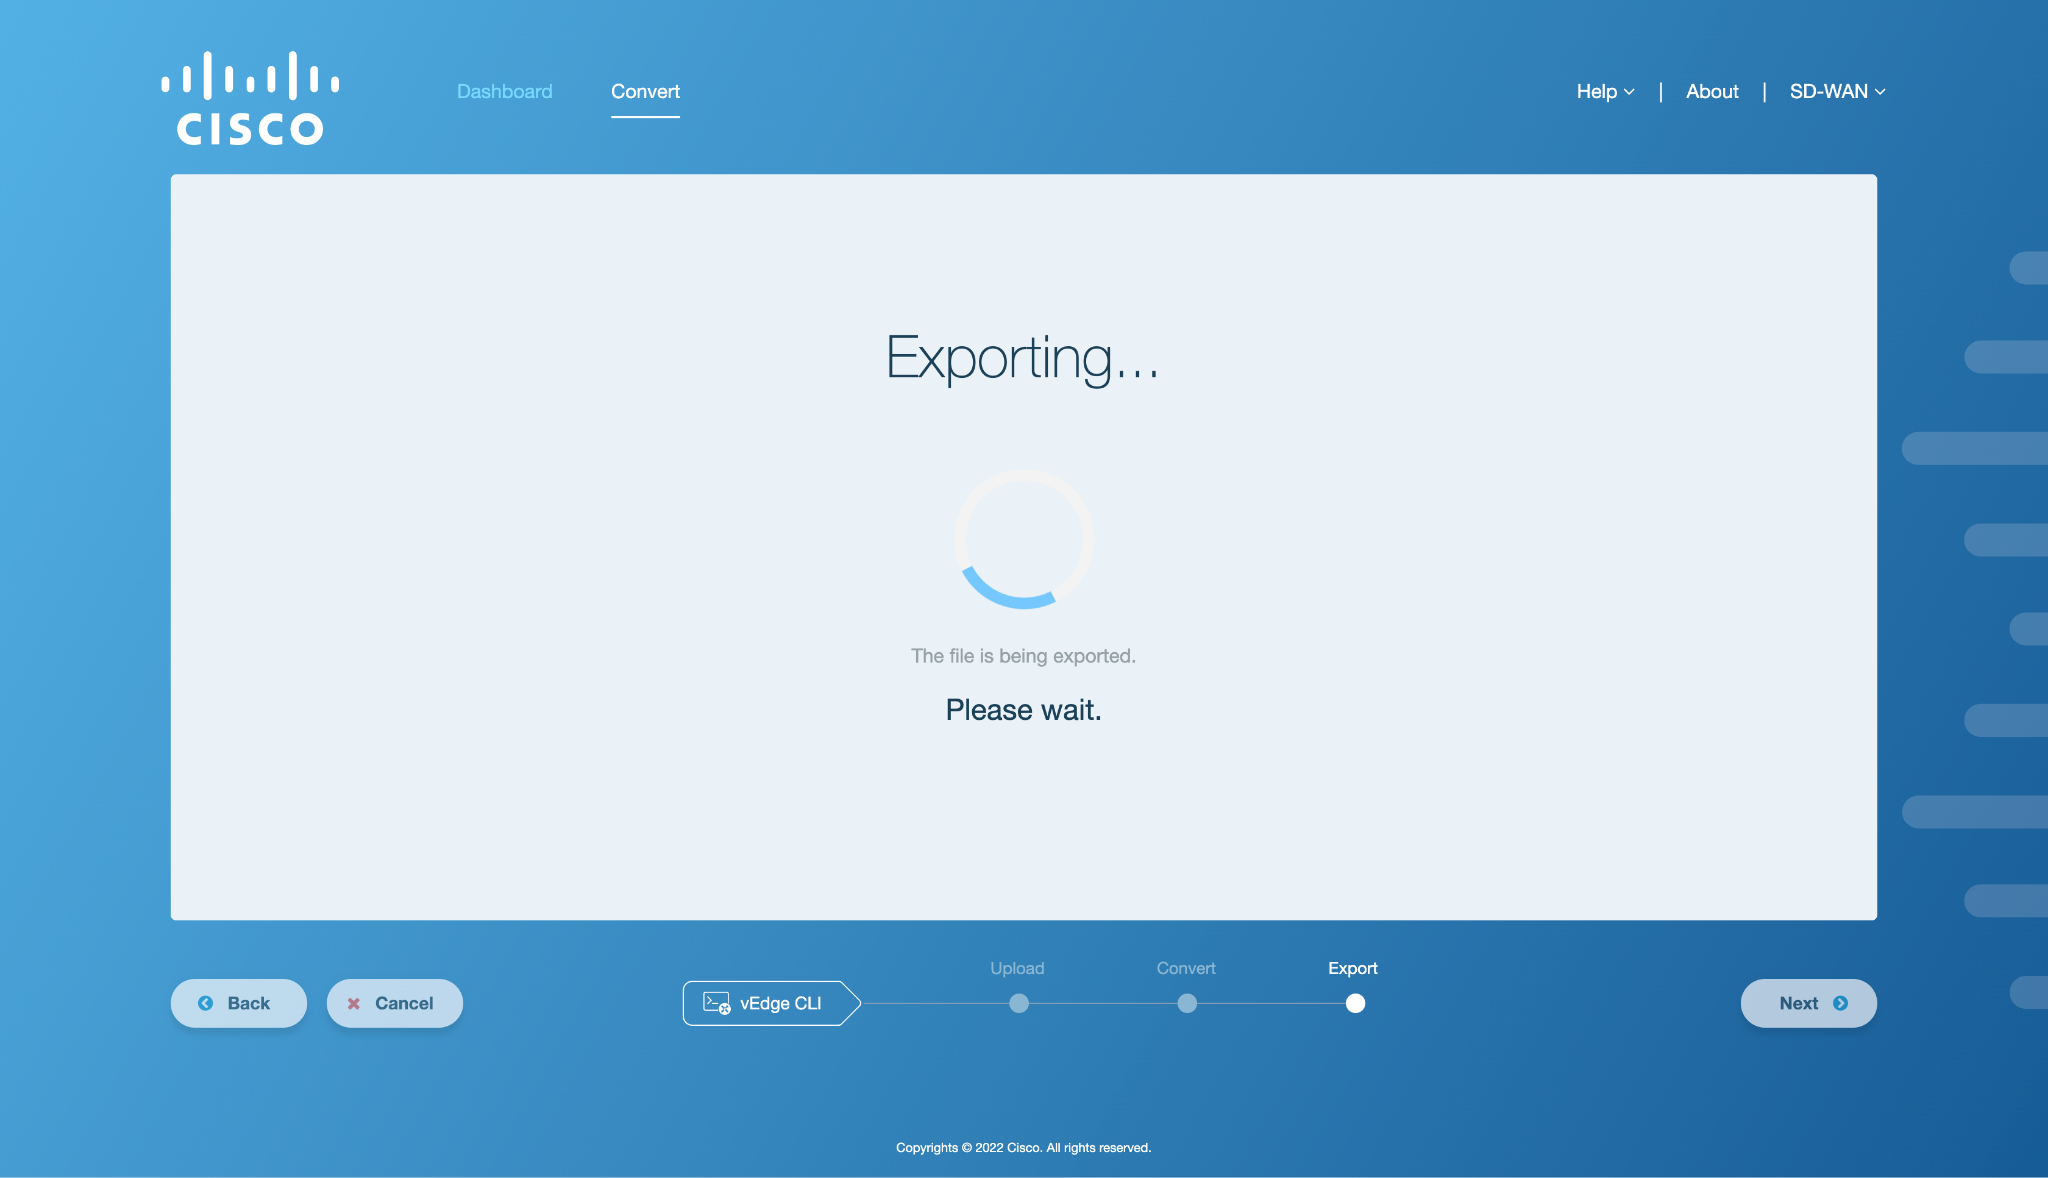
Figure 15. Export loader
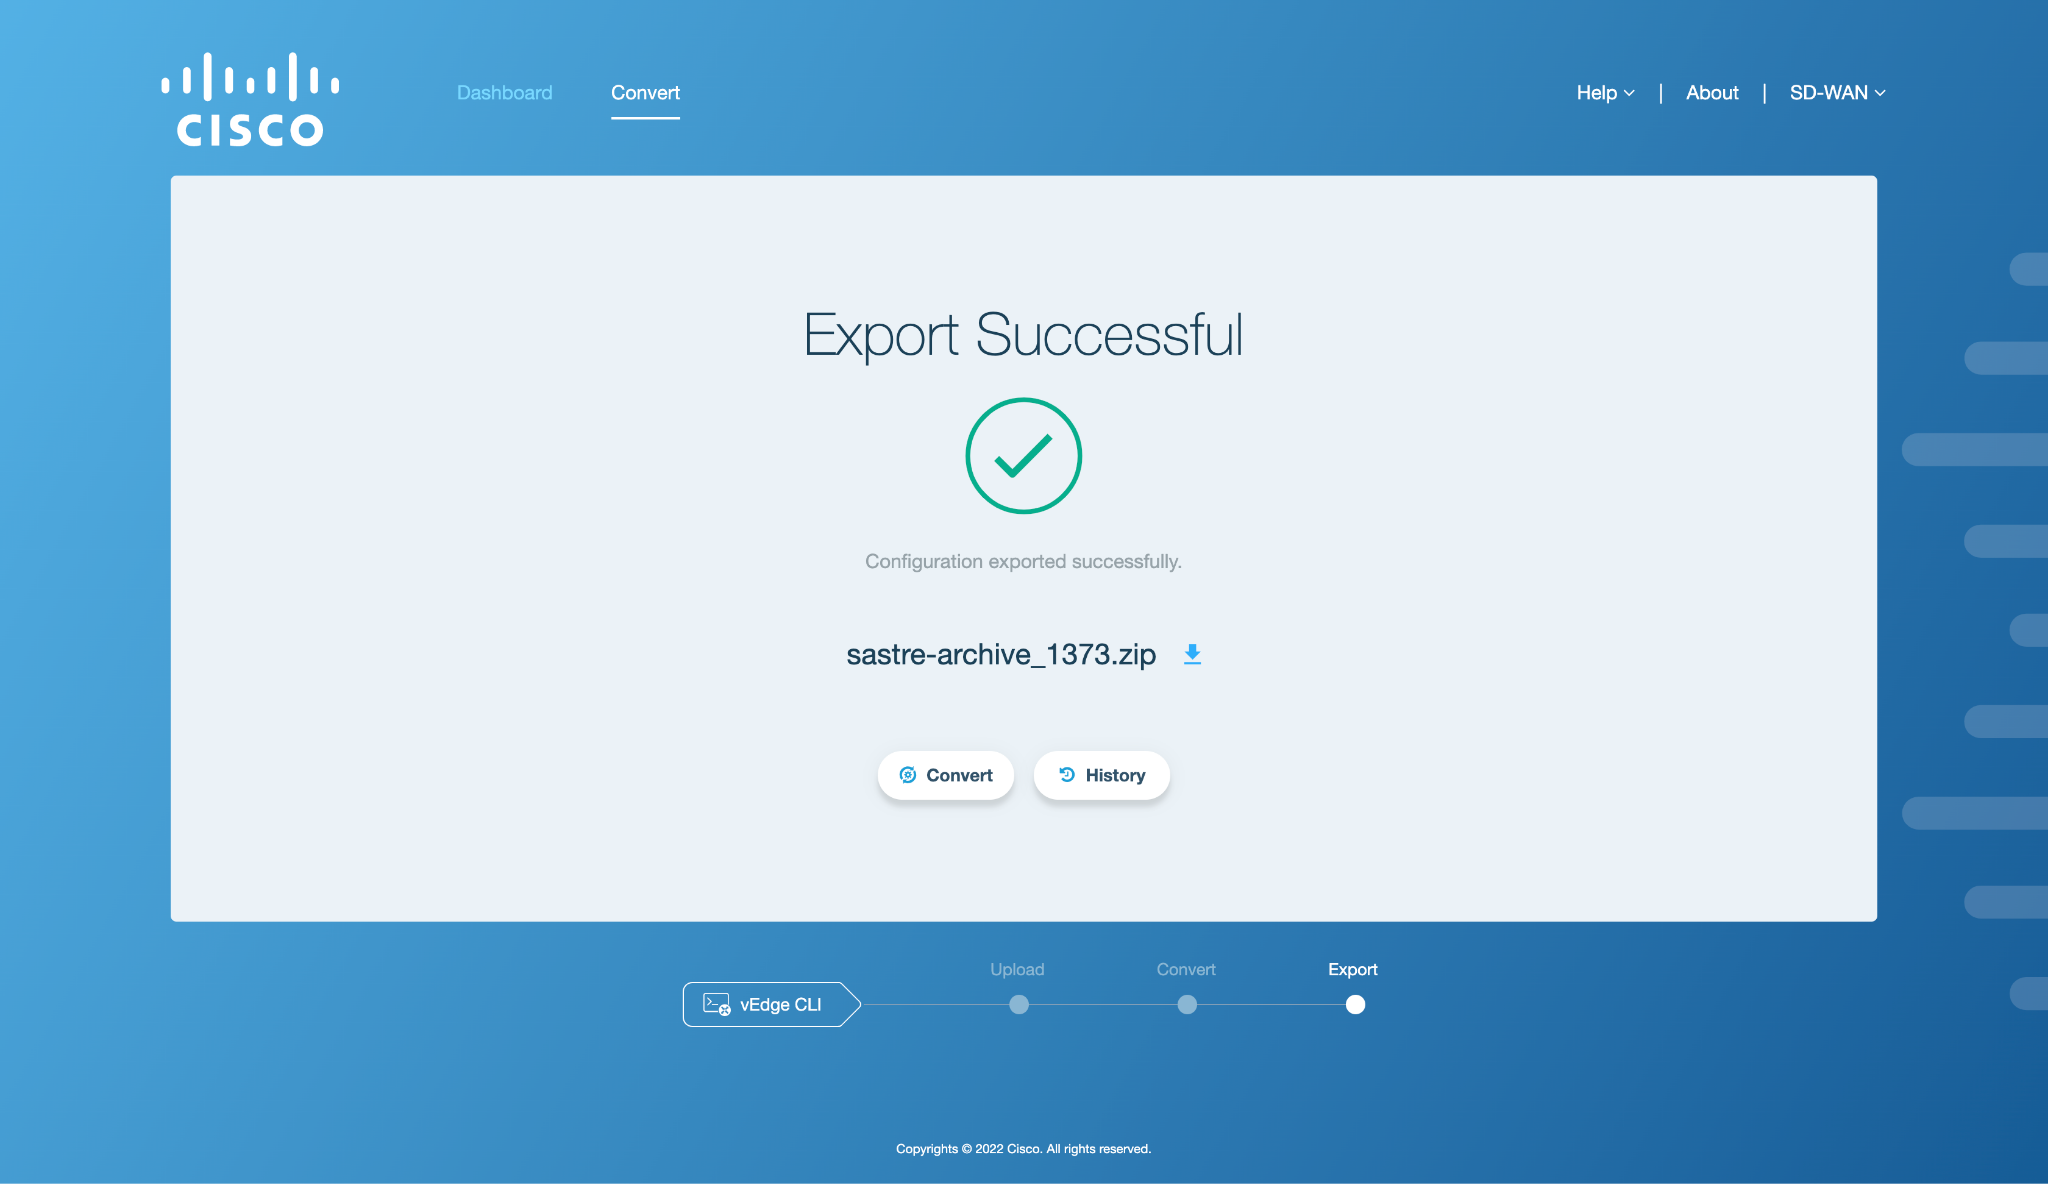
After the templates have been successfully exported to vManage or as a Sastre archive, a screen will appear on the application window indicating a successful export process. The successful export screen would vary based on the target environment chosen earlier by the user. In the case of the Sastre target type, the user will be additionally shown a Sastre archive available for download. The screenshots for both scenarios are shown below.

Note
In case of an error, refer to the Export Error: vEdge CLI Workflow section in Appendix A.
On the export successful screen, the following two buttons are available to the user:
Convert: To perform another configuration conversion, click the Convert button. This will take the user back to the workflow selection screen.
History: To view the history of the configuration conversion workflows, click the History button. This will take the user to the History tab.