Converting a Sample Config File
This section covers an end-to-end user flow for converting a sample IOS-XE file to SD-WAN compatible config file. The steps given below can be used as a reference while converting Cisco IOS-XE configuration to a compatible SD-WAN configuration.
Select the Upload tab from the top left corner of the UI.
Drag and drop a configuration file into the activity window. The name of the file will be displayed next to the
 icon, for example, ios_running_config, as shown in the figure below.
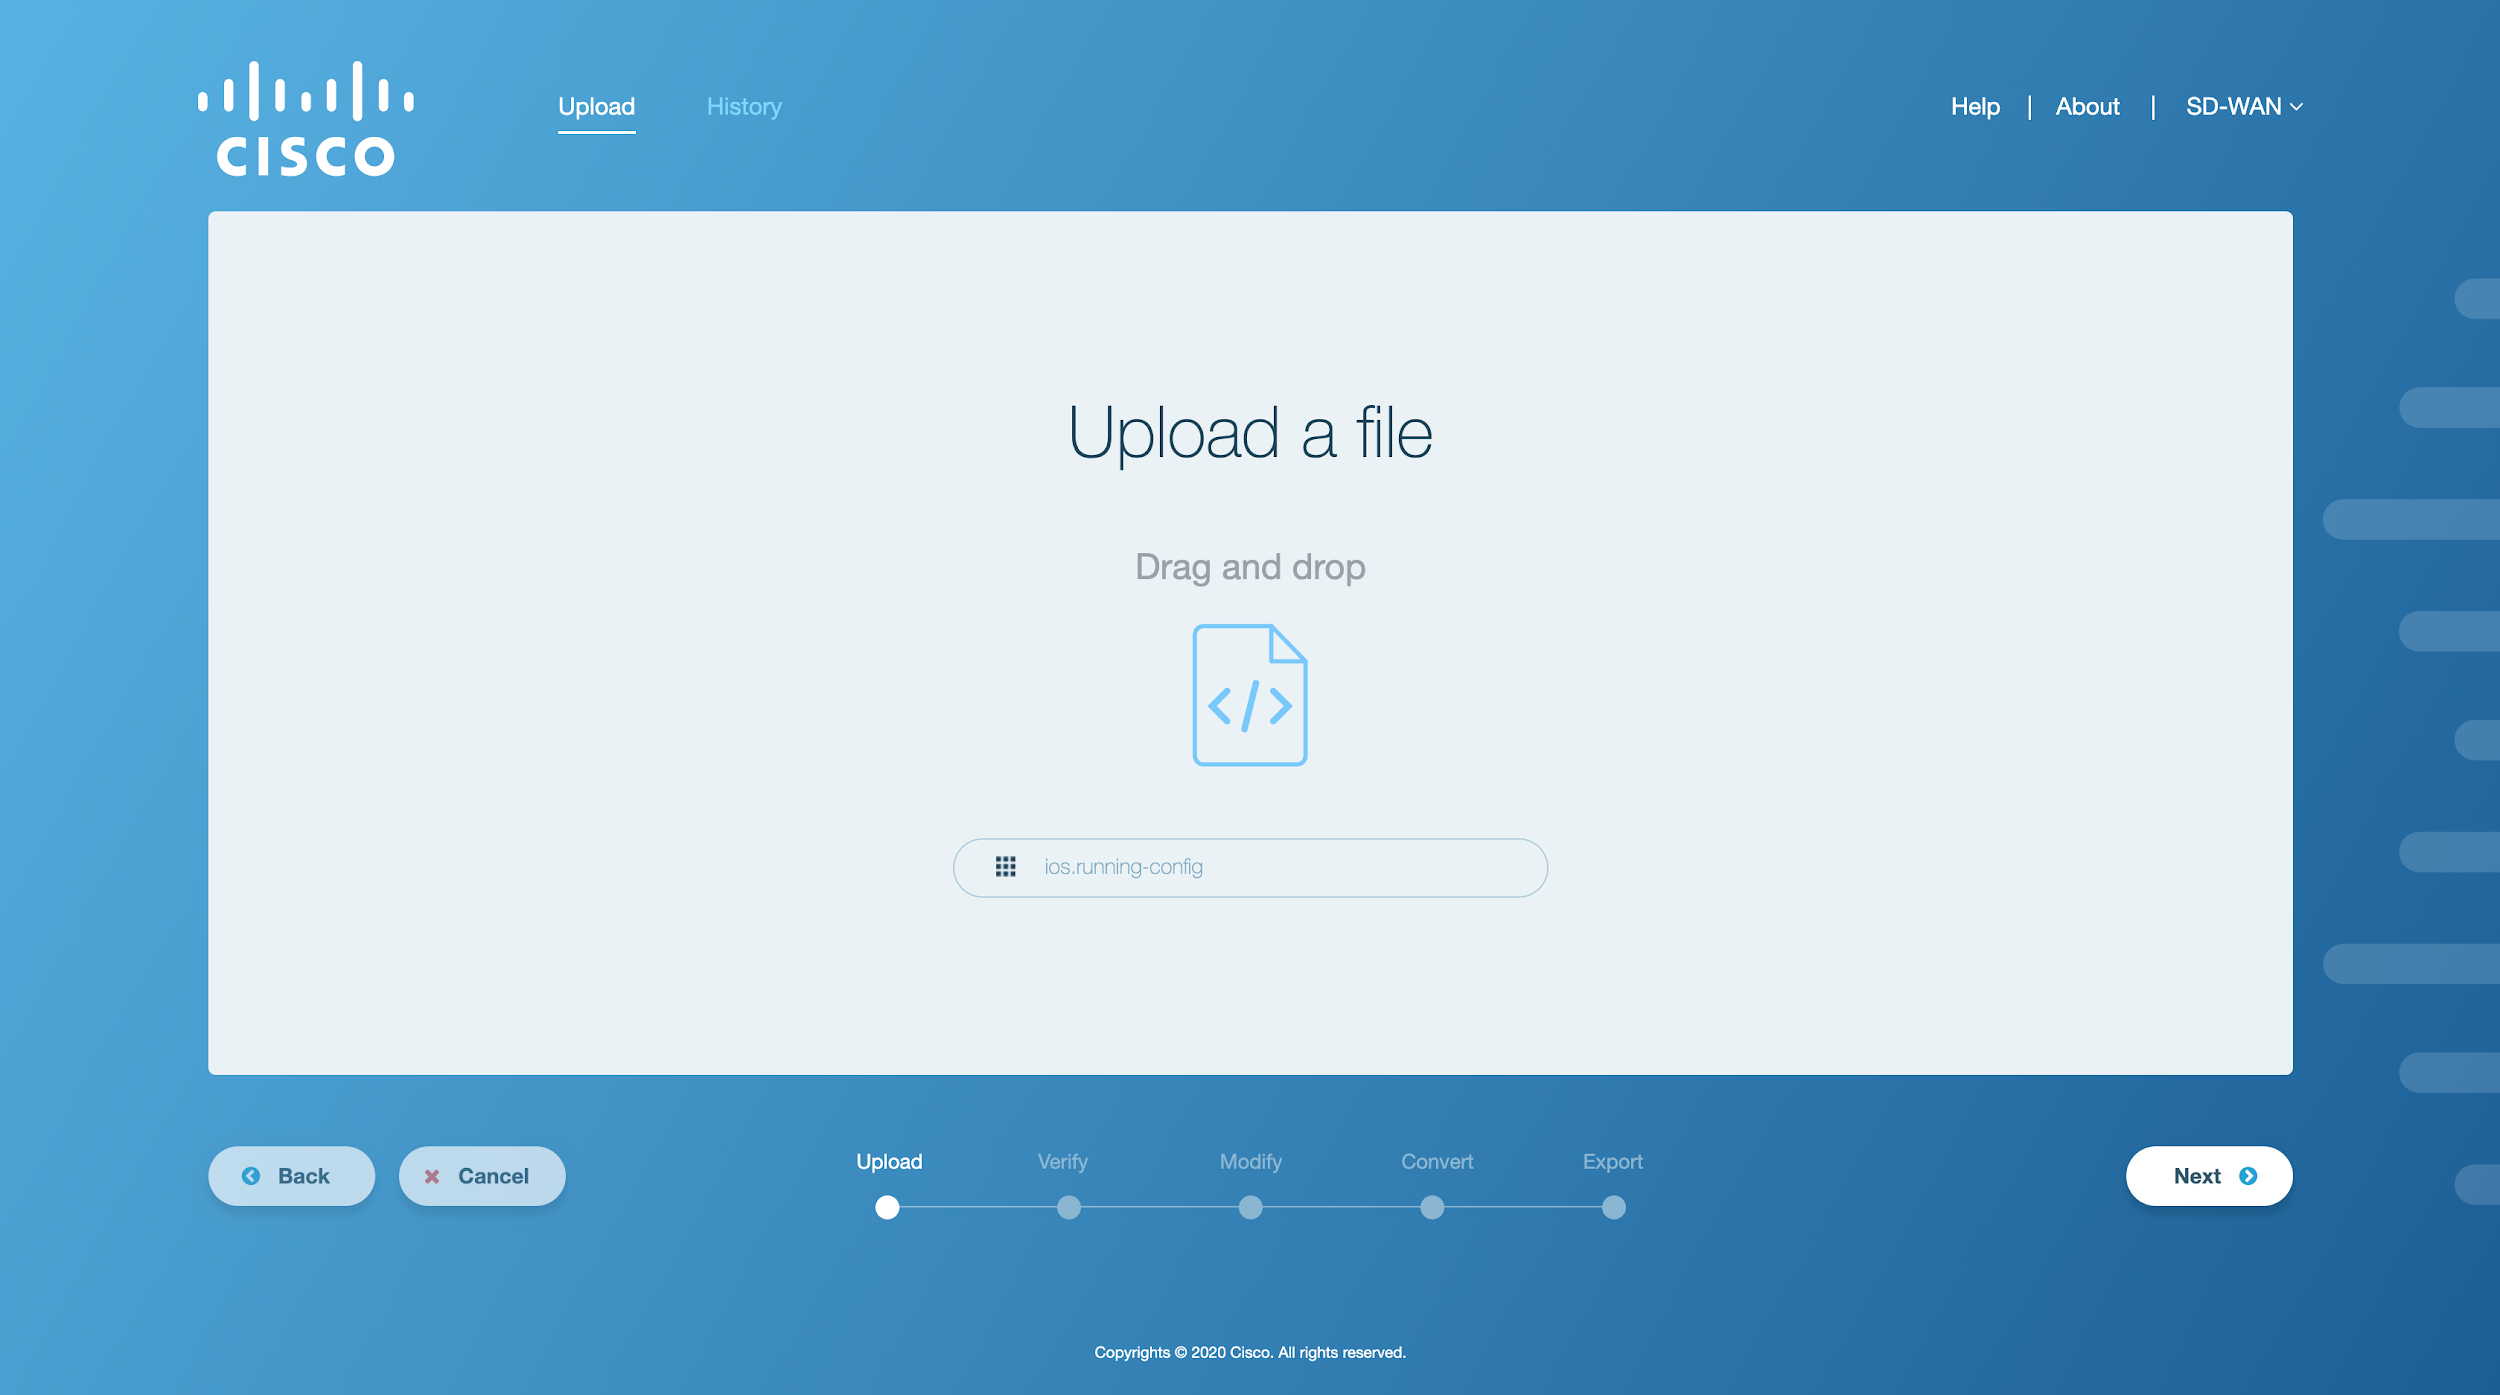
Figure 1. Sample config file uploaded
Note
Currently, SD-WAN Conversion Tool supports text files with plain text or a config file without any extension.
Click on Next to upload this file on SD-WAN Conversion Tool. A loading screen will appear on the application window as shown in the figure below.
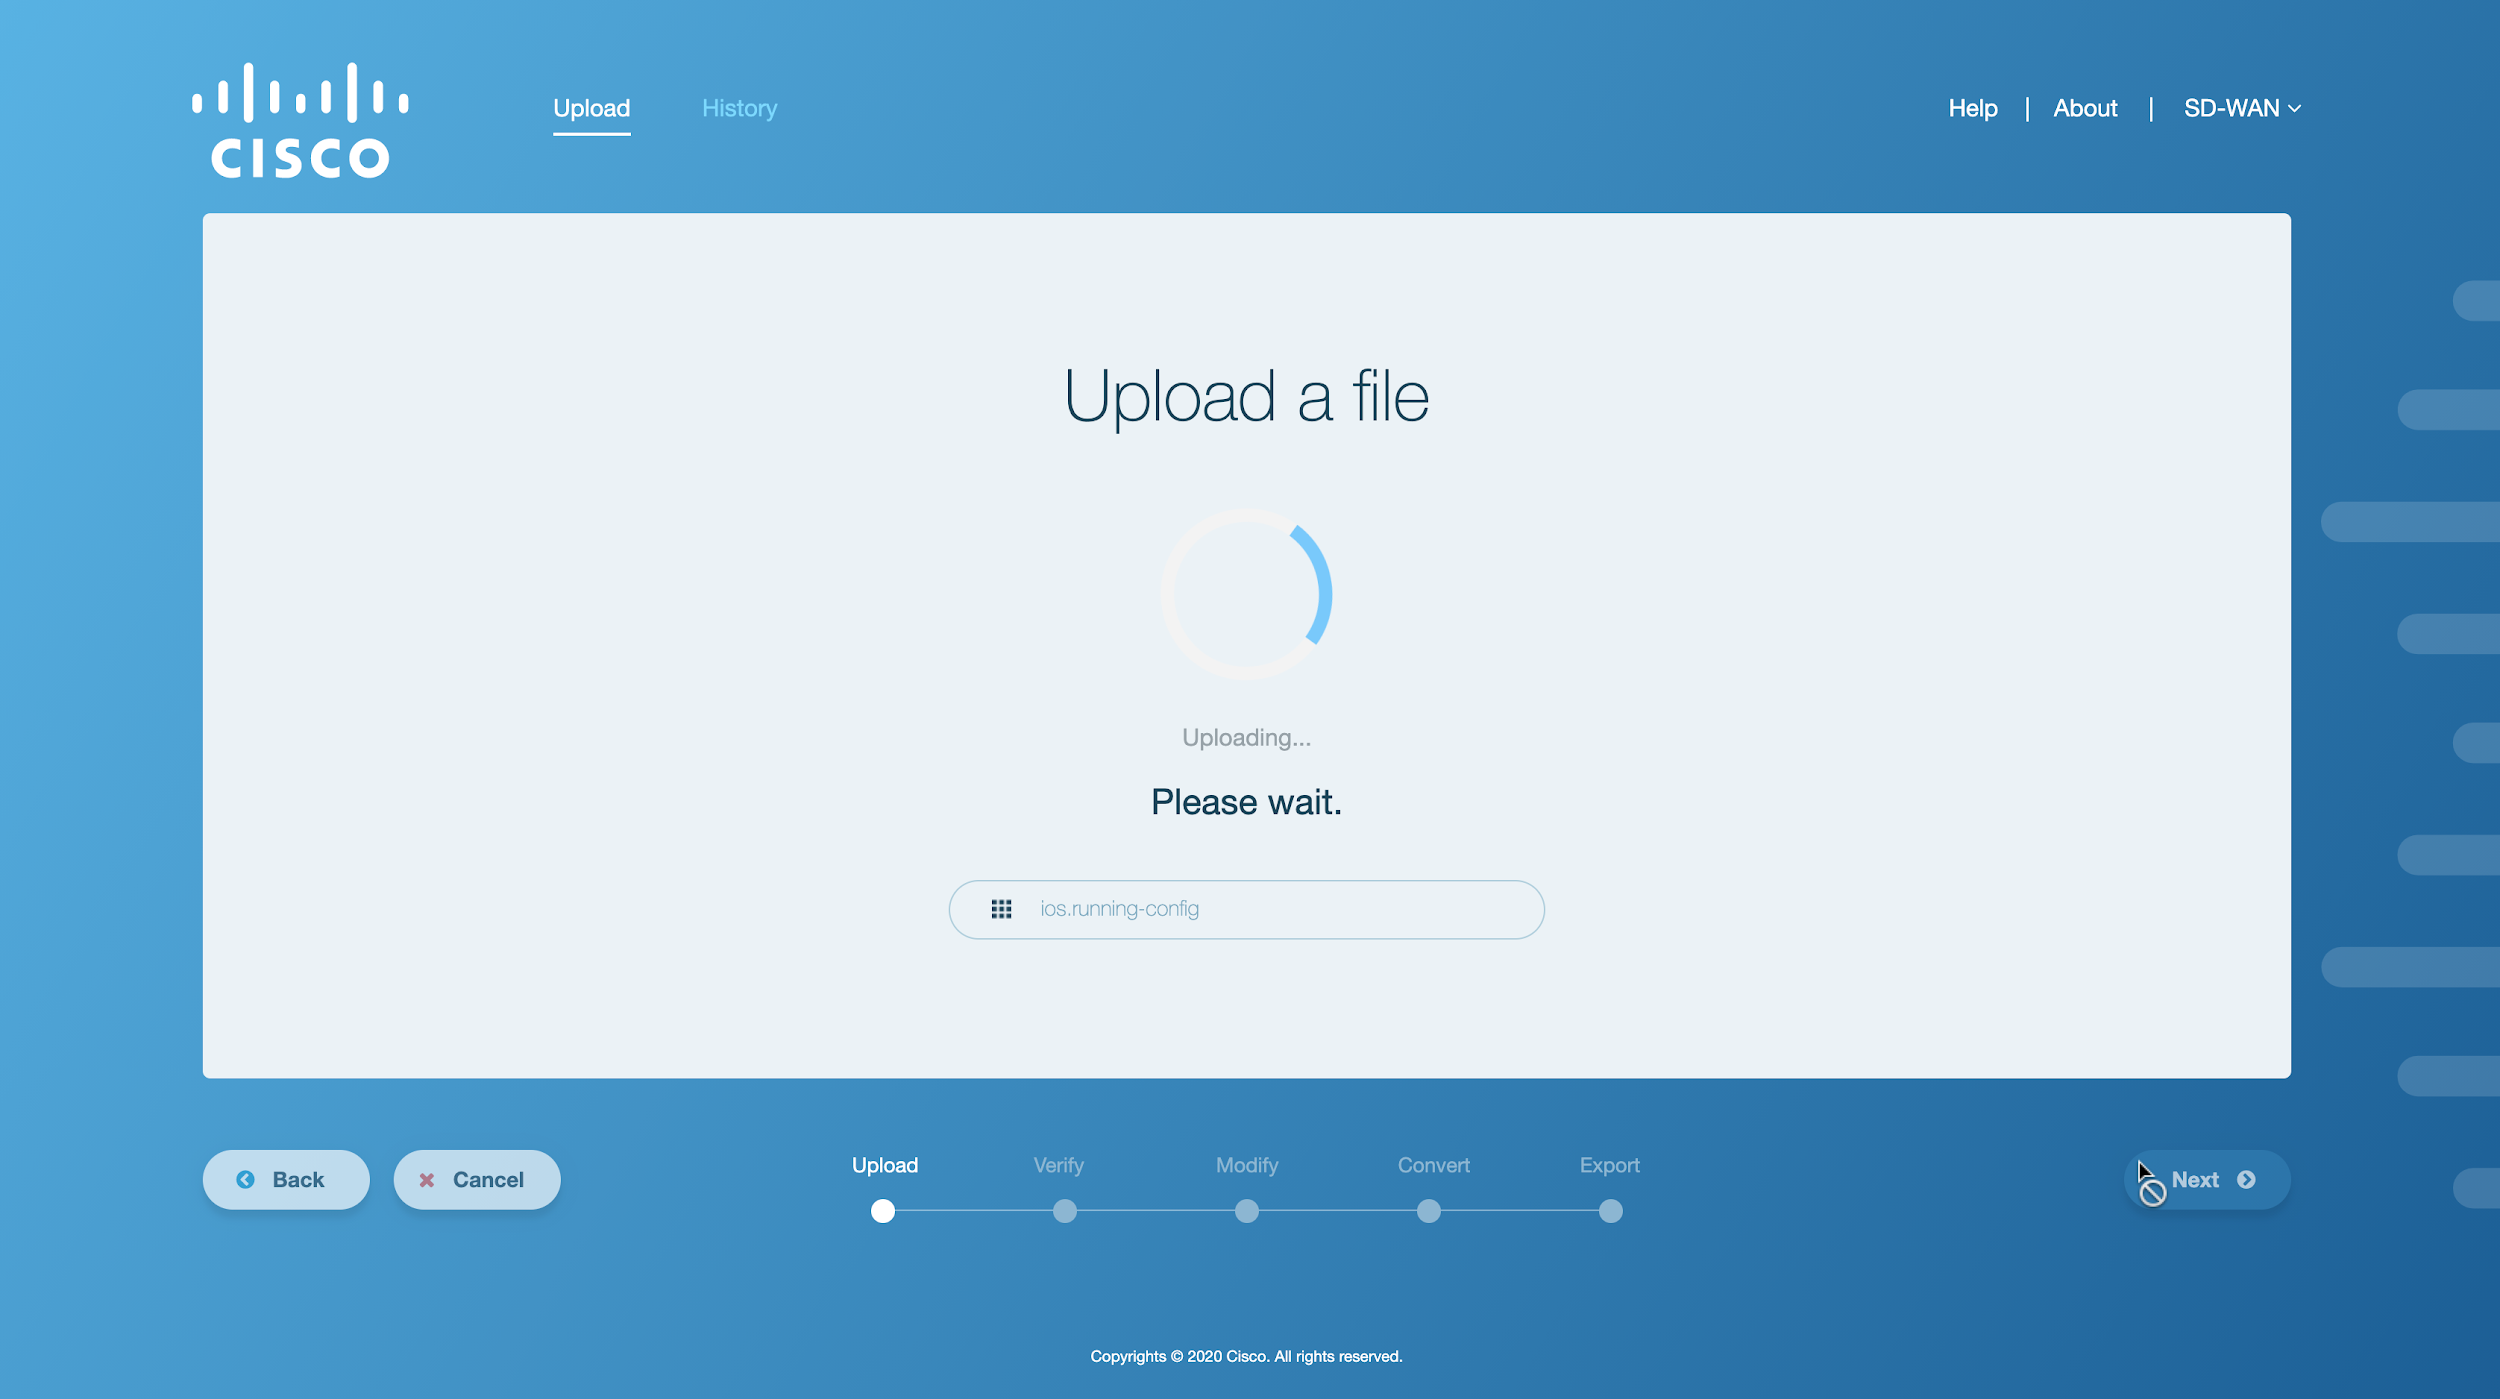
Figure 2. Uploading the sample config file
Upon successfully uploading the file on SD-WAN Conversion Tool, the following message will be displayed on the screen as shown in the figure below. Also, the contents of the original file will be displayed in an on-screen editor.
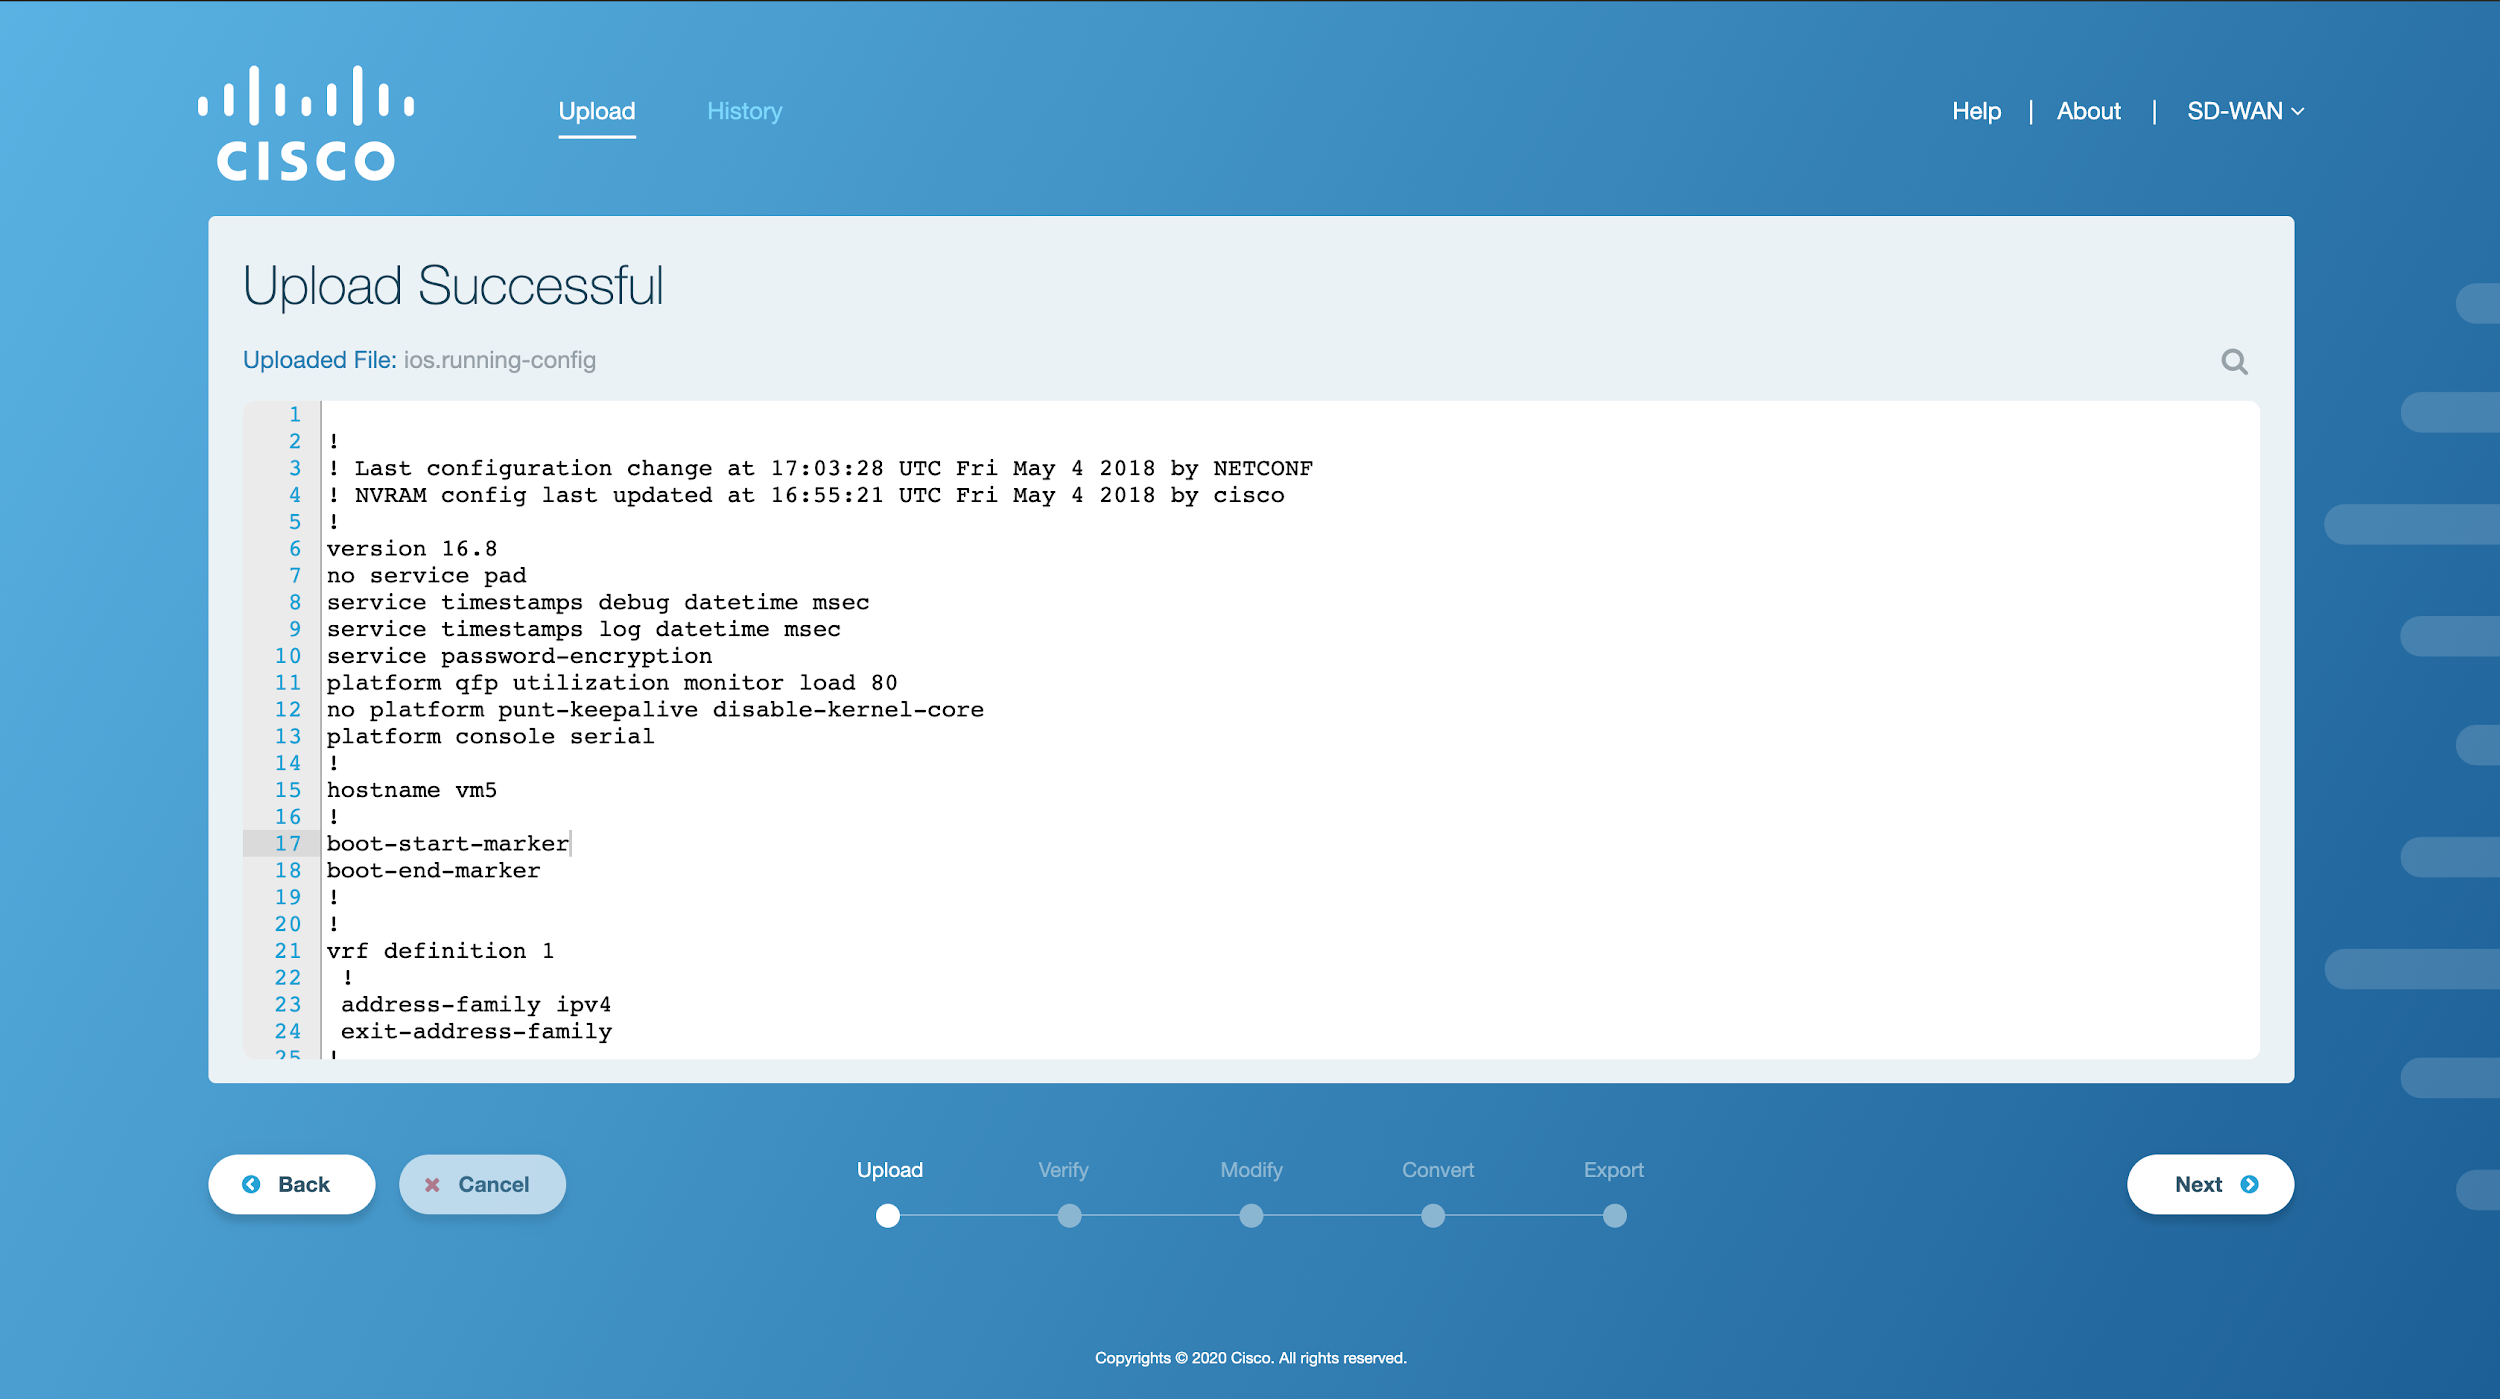
Figure 3. Sample Config file uploaded successfully
Click on Next to proceed. A loading screen will appear on the application window as shown in the figure below. This indicates the beginning of the validation process.
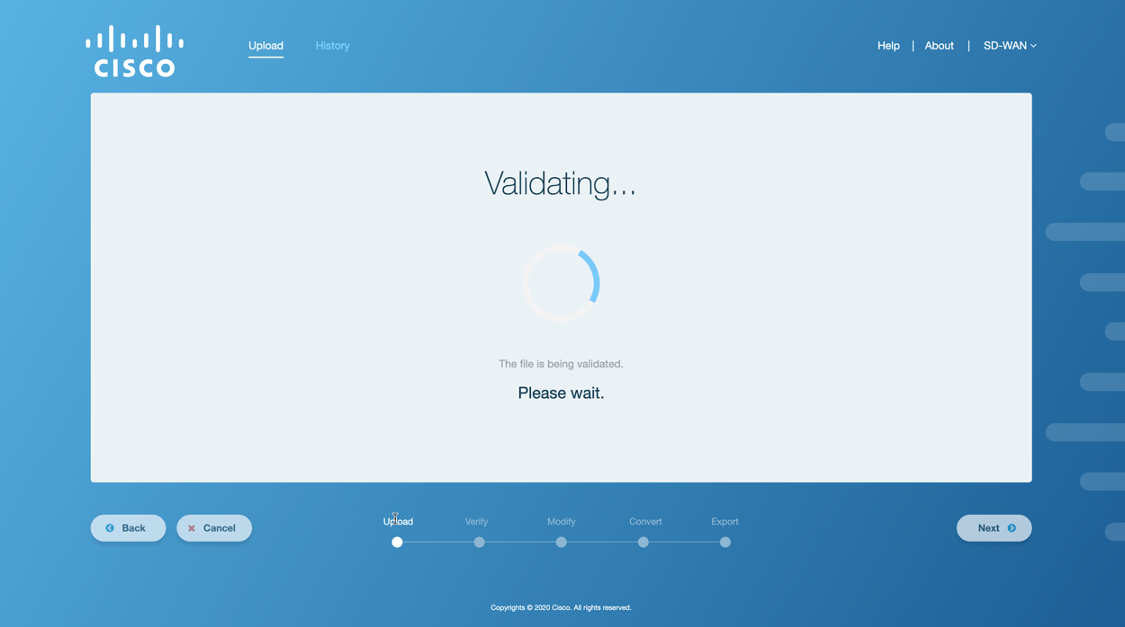
Figure 4. Validating the config file
Once validation is complete, a parsed file is shown in a side-by-side view, grouped by interfaces/features similar to vManage components. At this stage, the user can update the original file in the on-screen editor and click the
 button to see reflected changes in supported/unsupported configuration.
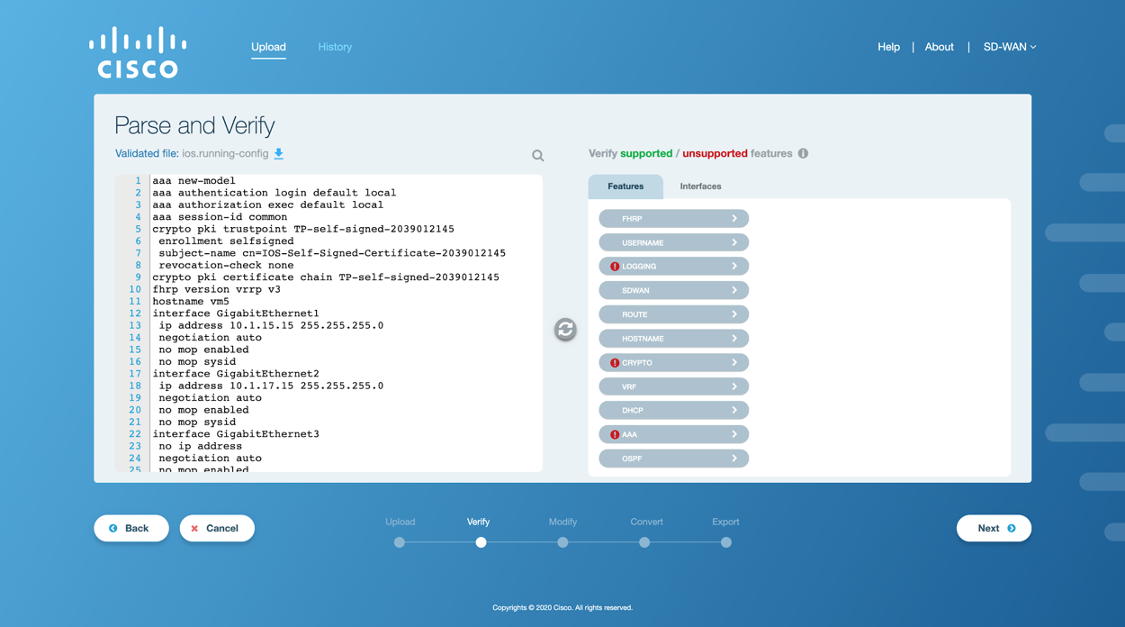
Figure 5. Parsed sample config file
The
icon indicates an unsupported feature. Clicking on any of the listed features displays the status of that feature in the Features tab and highlights it in the editable window.
Note
The user should reconfigure any unsupported features or interfaces if they want them to be a part of the SD-WAN configuration before proceeding to the next step. Any unsupported features left at this point will be removed from the XE SD-WAN configuration.
Once the user has reconfigured the unsupported features and interfaces, click on Next to proceed. A loading screen will appear on the application window that indicates the beginning of the verification process in the backend.
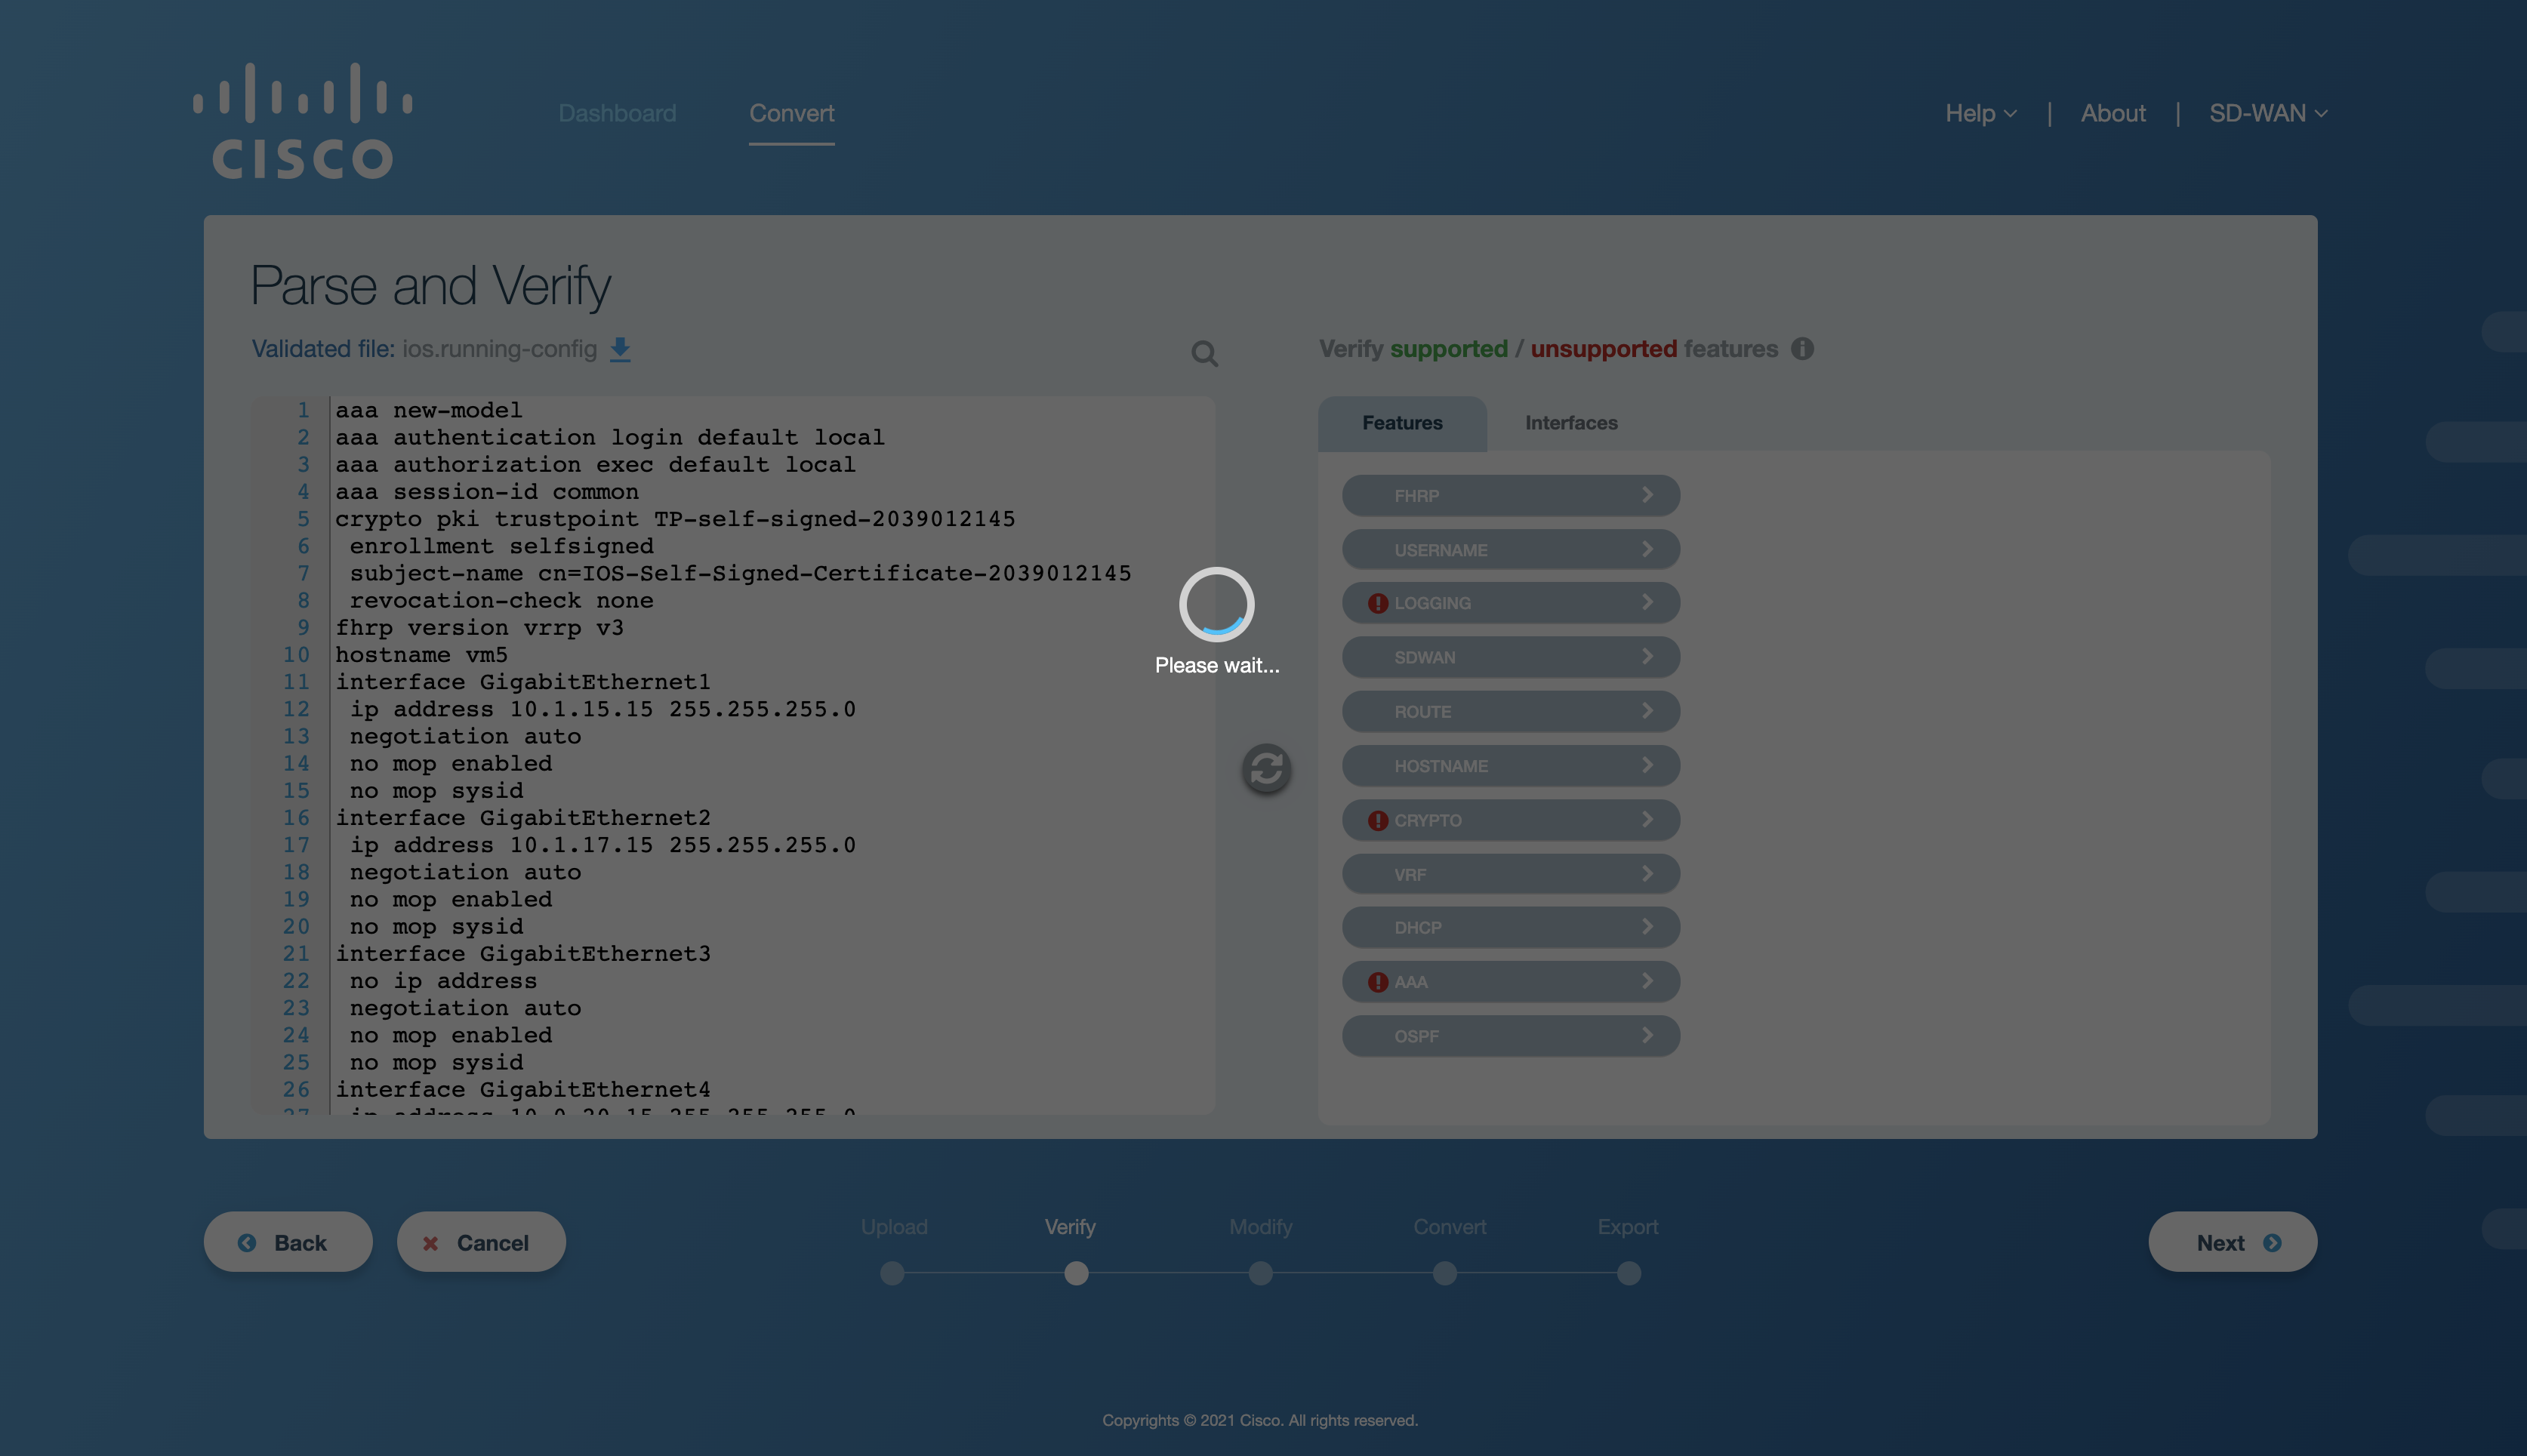
Figure 6. Verifying the sample config file
After the config file has been successfully verified, the following screen appears on the application window.
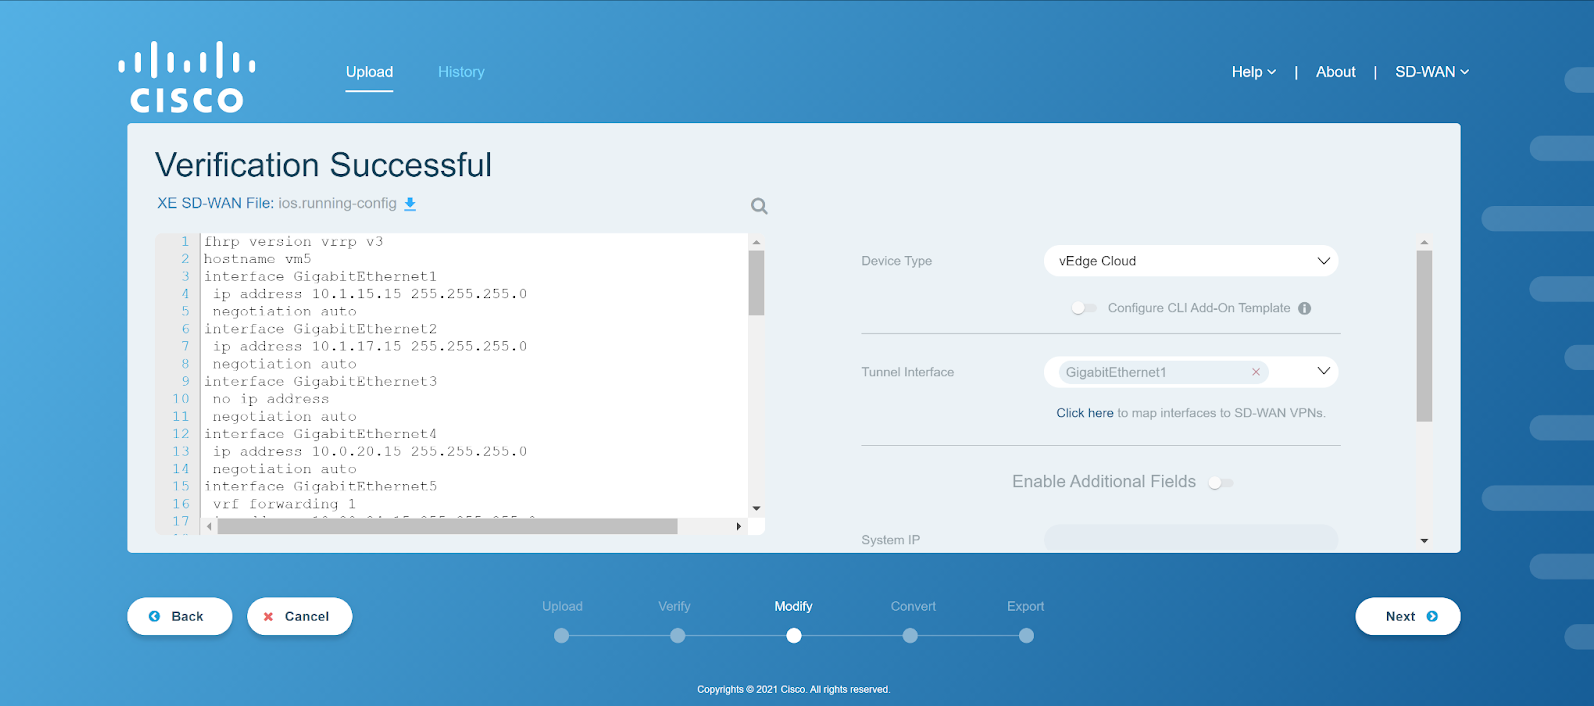
Figure 7. Sample config file verified successfully
Click on the dropdown arrow for Device Type to select a device type. By default, vEdge Cloud will be selected. In this example, select CSR1000V as the device type. The CLI Add-On Template feature can be enabled by clicking on the toggle switch. This option is only available if the selected device type is a cEdge device.
Click on the dropdown arrow to select a tunnel interface(s). Multiple interfaces can also be selected as per the use case. For example, GigabitEthernet1 and GigabitEthernet2 have been selected in the figure below.
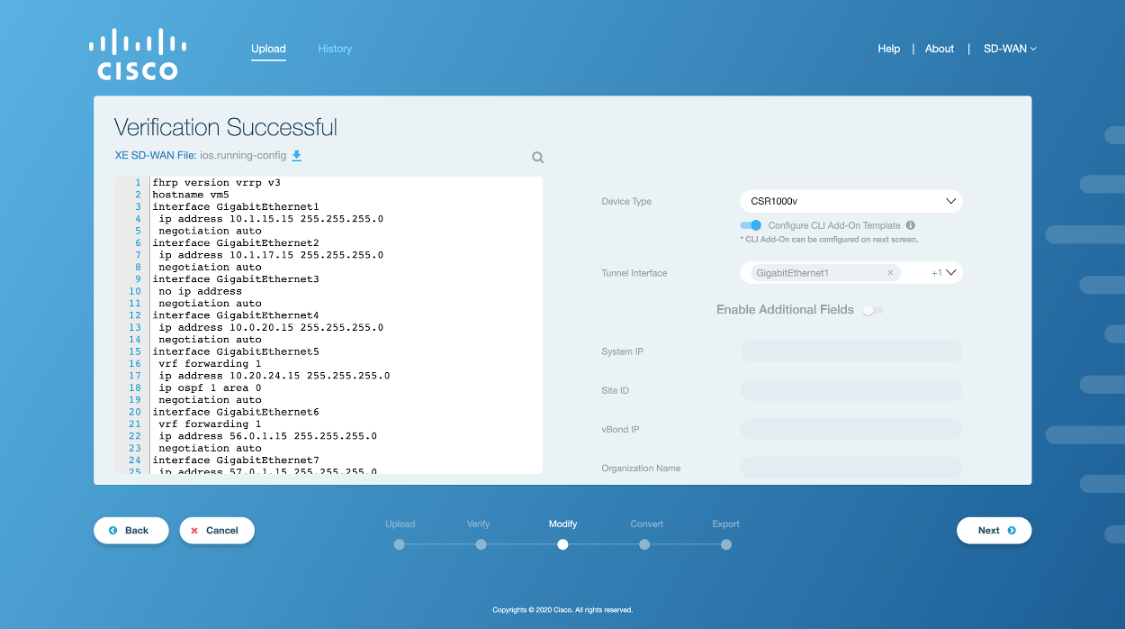
Figure 9. Select tunnel interfaces from drop-down menu
Click on Next to proceed. A loading screen appears on the application window as shown in the figure below. This indicates the beginning of the modification process.
Upon successfully modifying the configuration file, the following screen will appear on the application window indicating a successful modification process.
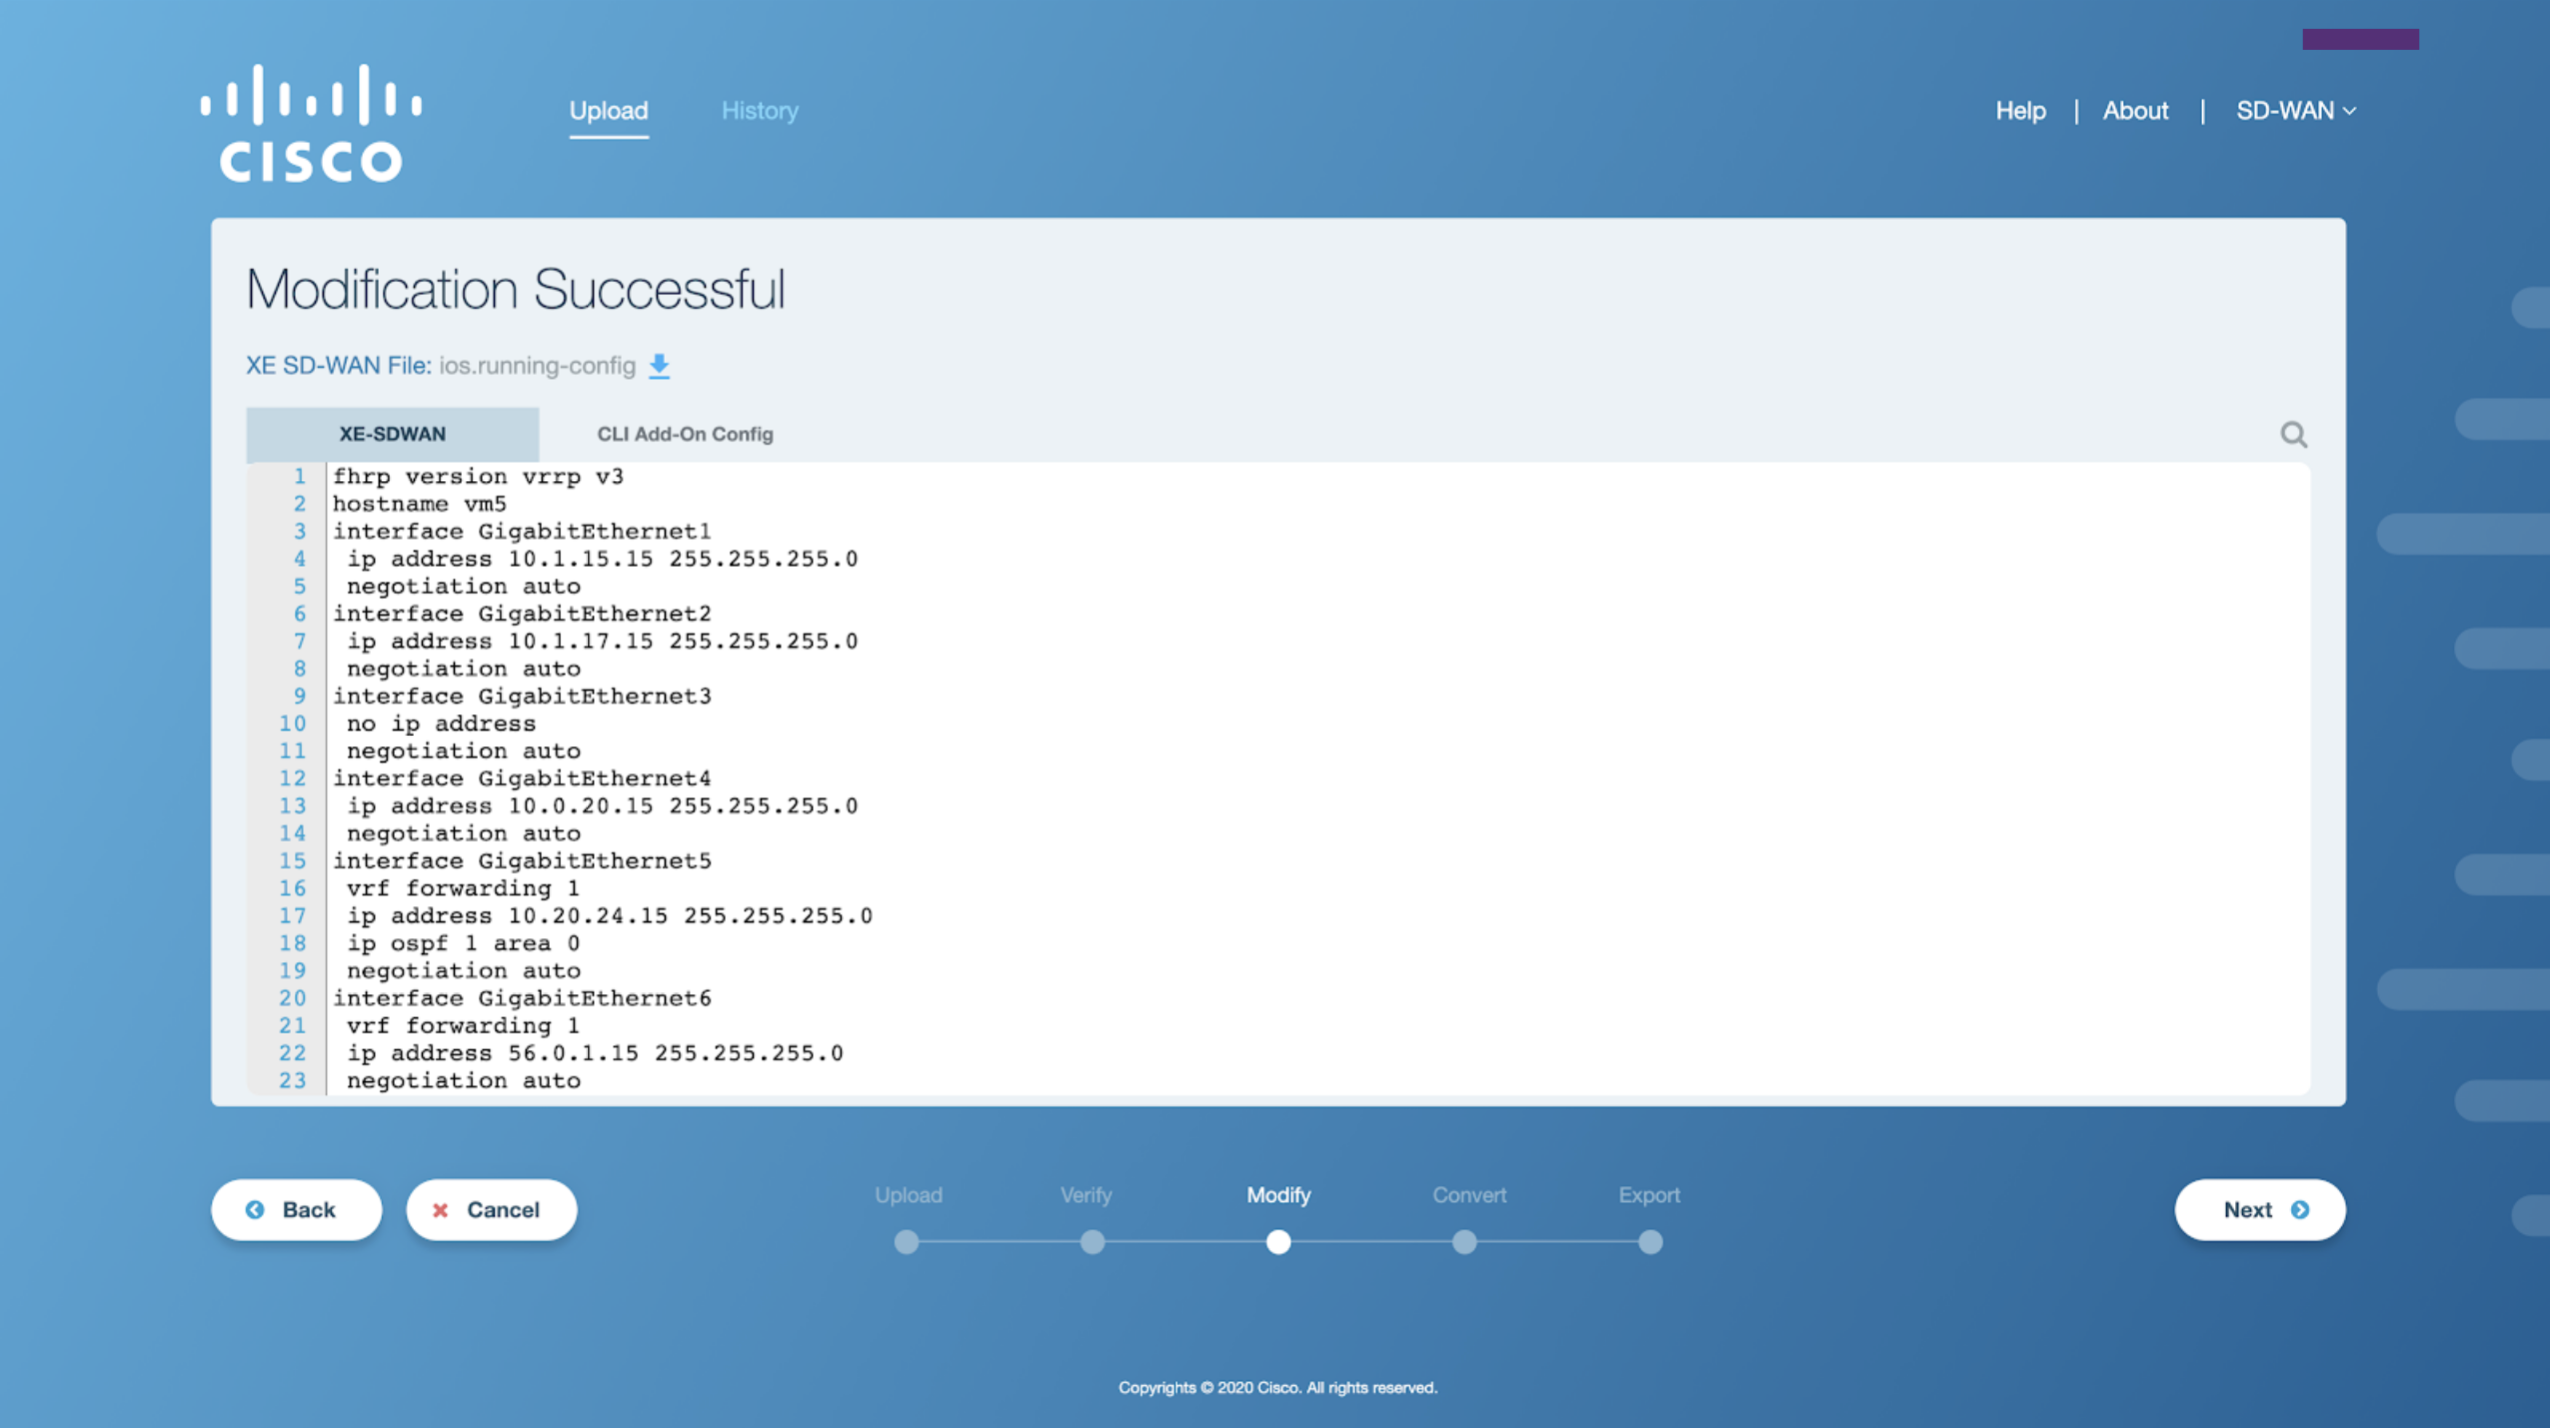
Figure 11. Sample config file modified successfully
If the CLI Add-On Template feature is enabled, the user will be presented with two tabs. One for the XE SD-WAN config, and one for the CLI Add-On config. Both can be edited at this point.
After the config file has been successfully modified, click on Next to proceed. A loading screen will appear on the application window that indicates the beginning of the conversion process.
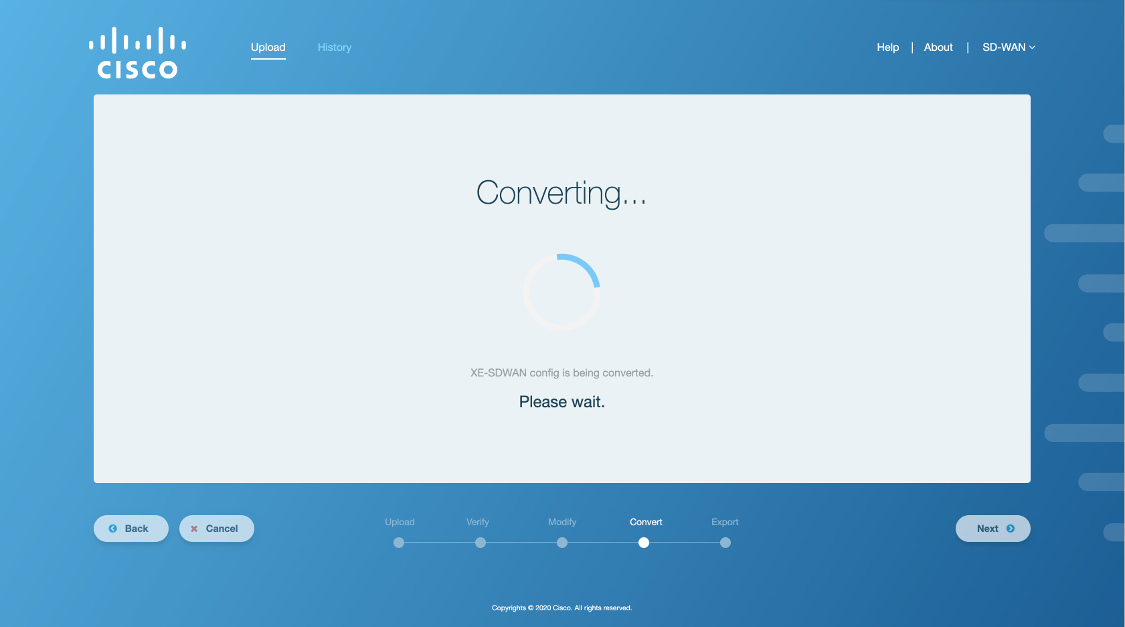
Figure 12. Converting the sample config file
Upon successfully converting the config file into a compatible XE SD-WAN config file, the following screen will appear on the application window indicating a successful conversion process.

Figure 13. Sample config file converted successfully
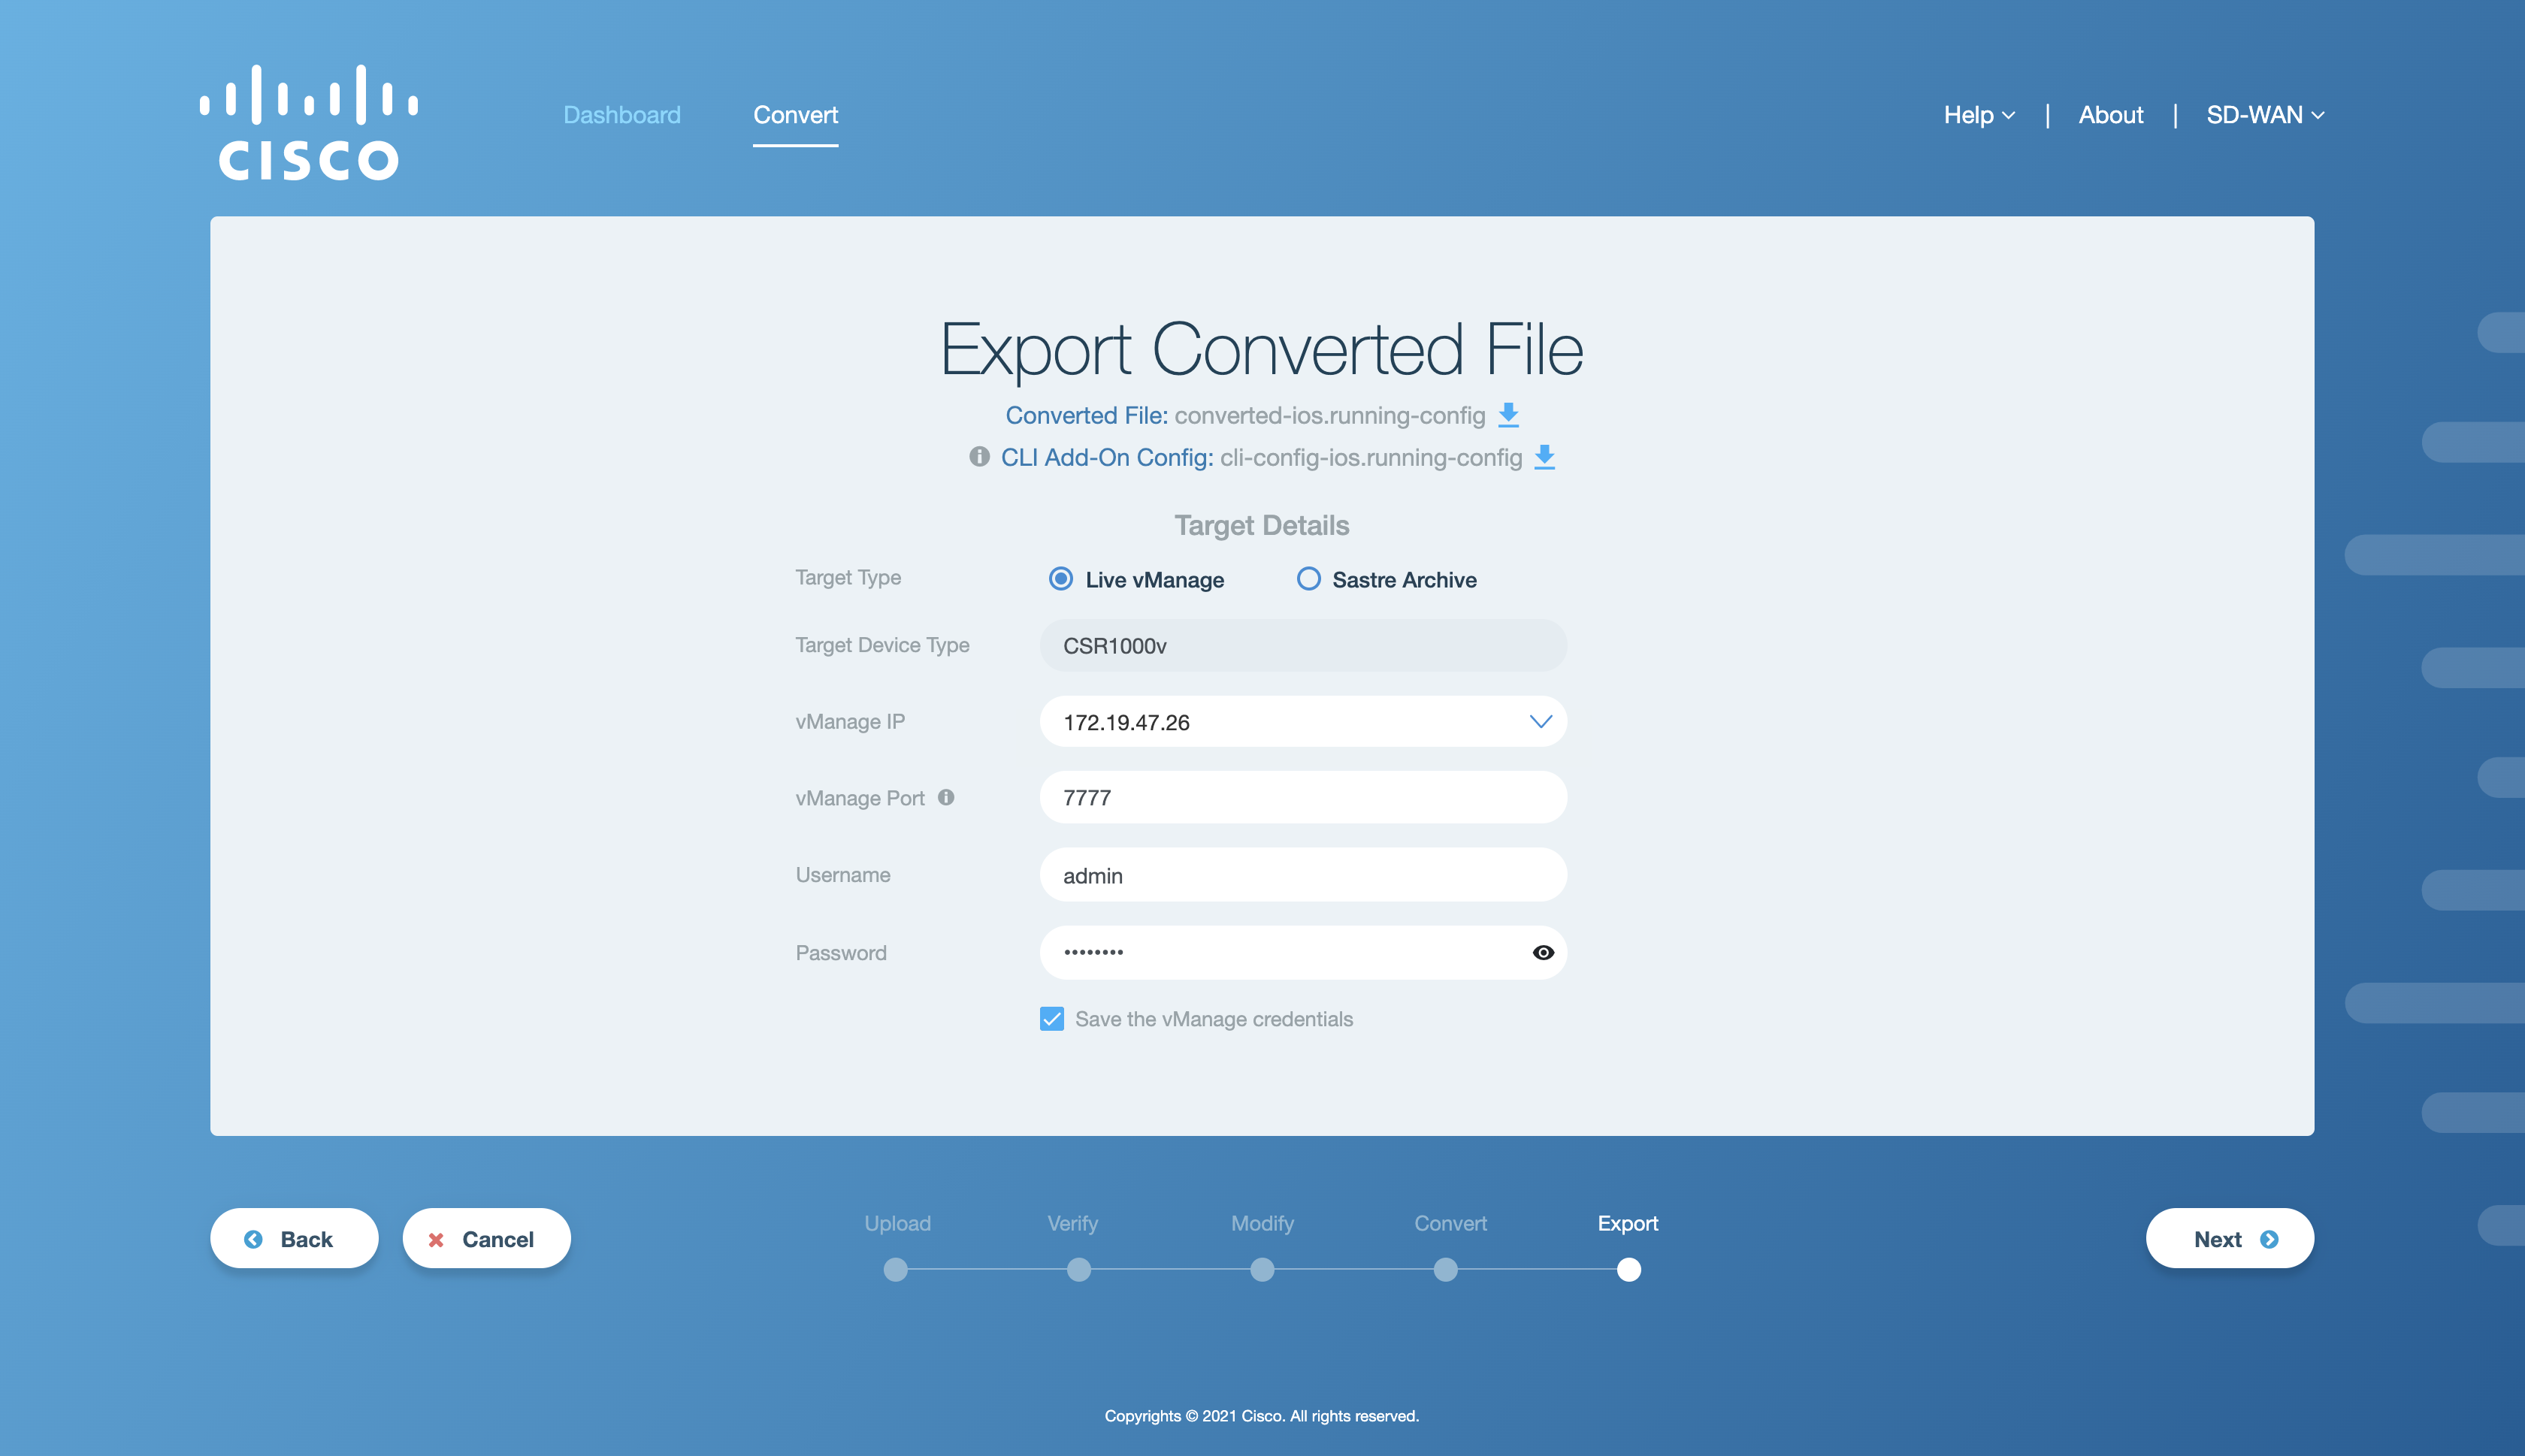
After the config file has been successfully converted to SD-WAN compatible config file, click on Next to proceed. The following application window will appear on the screen.

Figure 14. Application window to export converted file
Fill in the required fields by entering the relevant configuration details to proceed with the export process. An example config is shared in the figure below.
Once the user has filled in the relevant fields, click on Next to proceed. A loading screen will appear on the application window that indicates the beginning of the export process in which the config file is exported to vManage.
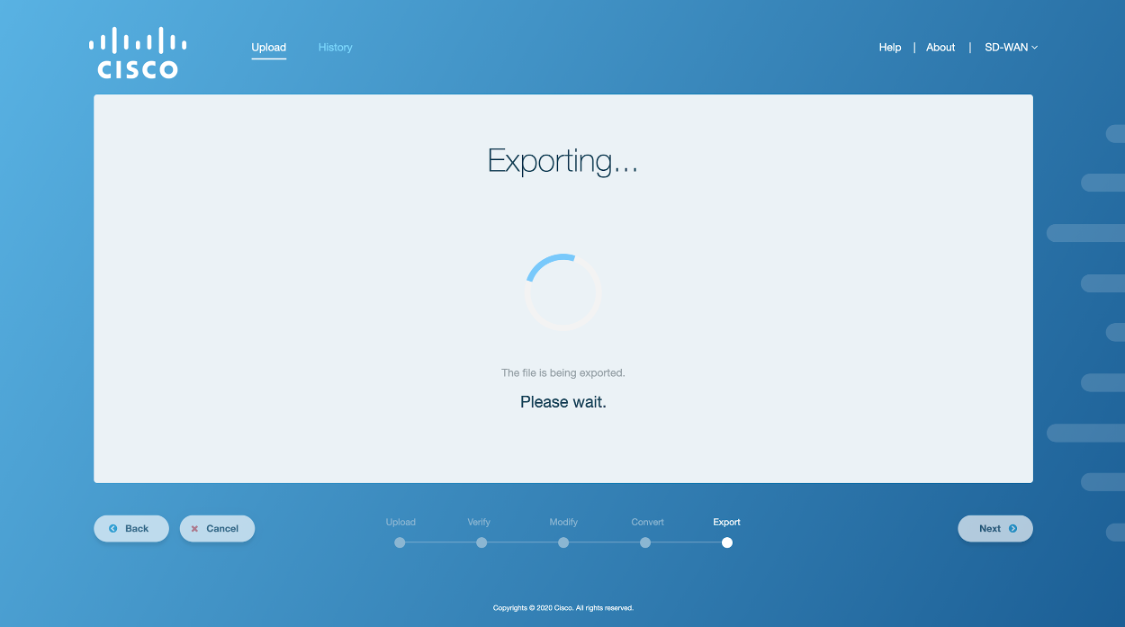
Figure 16. Exporting the sample config file
After the config file has been successfully exported to vManage, the following screen will appear on the application window indicating a successful export process.
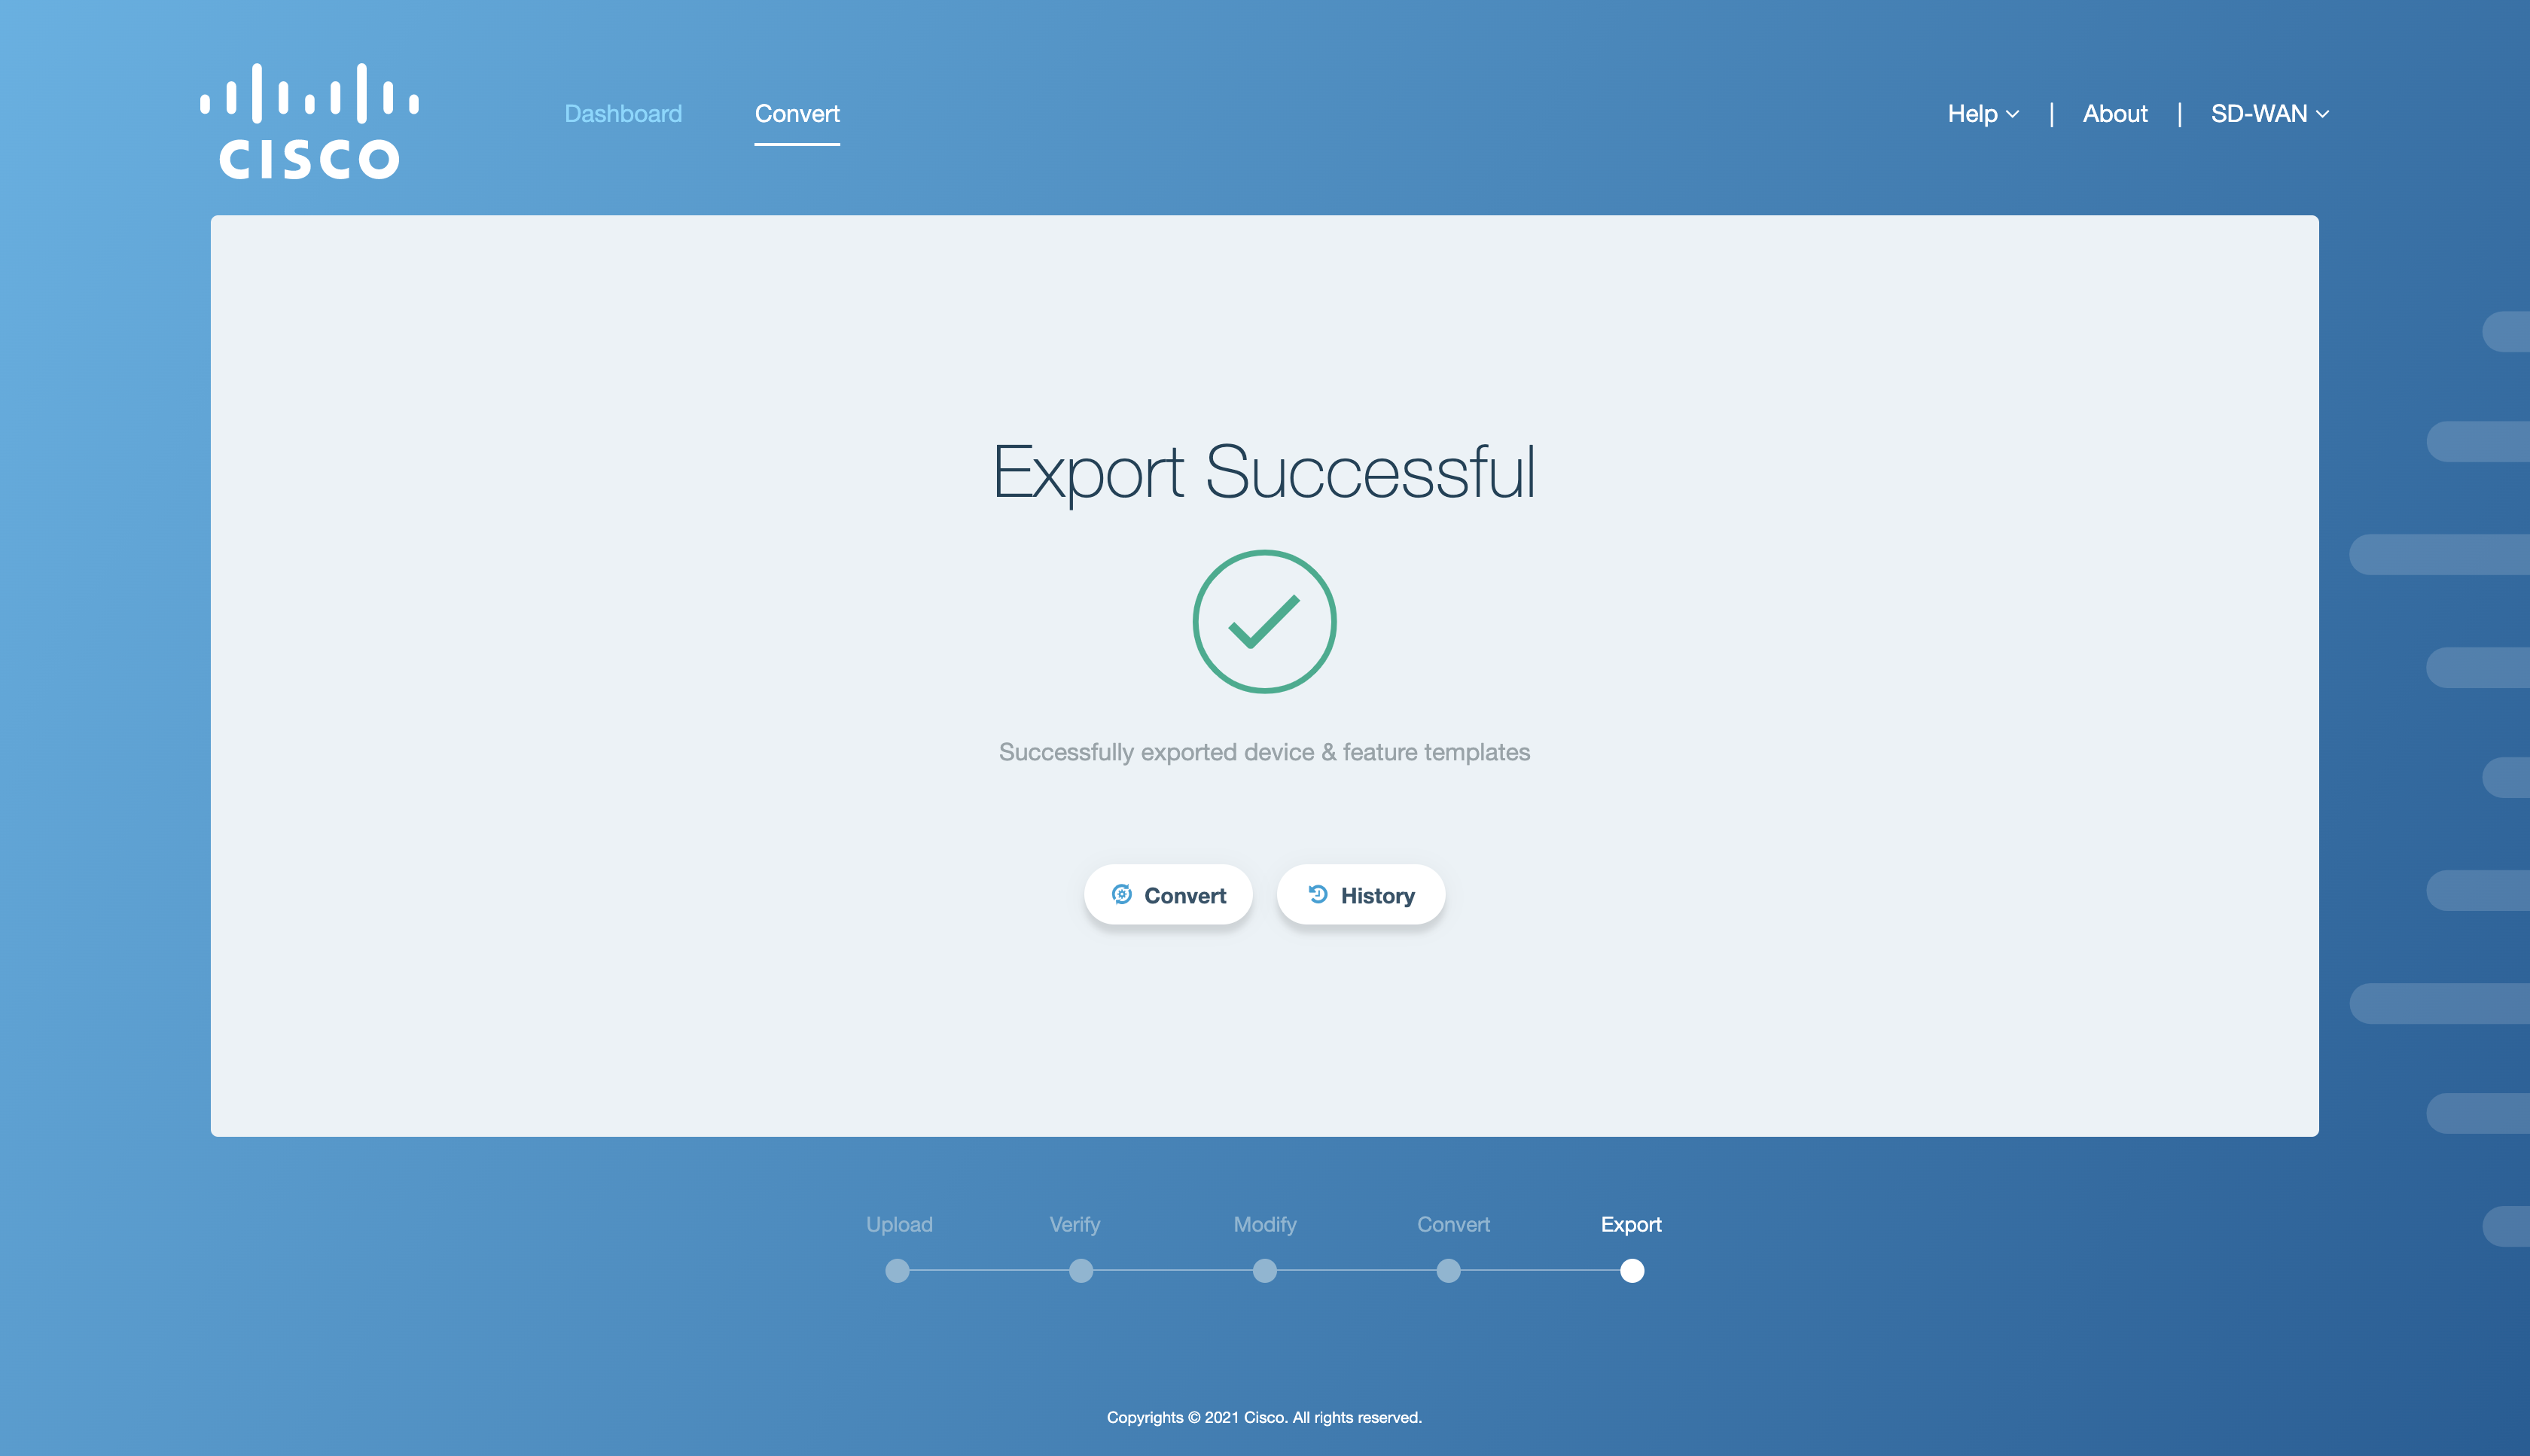
Figure 17. Config file successful export - Live vManage as target
This concludes the basic workflow for converting an IOS-XE config file to SD-WAN compatible configuration with vManage as the target.